Installation Manual
CA294-03070 rev 00
page 116 of 153
11.
Connect the BID hoses to the BIDs in the following order from left to right: 7
th
, 6
th
K, Y, M, C
5
th
12.
Level the ink cabinet.
Secure it to the printing engine by closing the latches.
13.
Place the working surface on the ink cabinet.
Position the working surface about 5 cm from the rear edge of the ink cabinet to facilitate
passing cables through the slot.
14.
Carefully push the working surface into place.
15.
Secure the working surface to the ink cabinet with four screws from inside the cabinet
(Figure 95).
16.
Connect the grounding cable to the printing engine frame.
17.
Install the keyboards, mice, and LCD monitor at the printing engines.
Adjusting the web guide
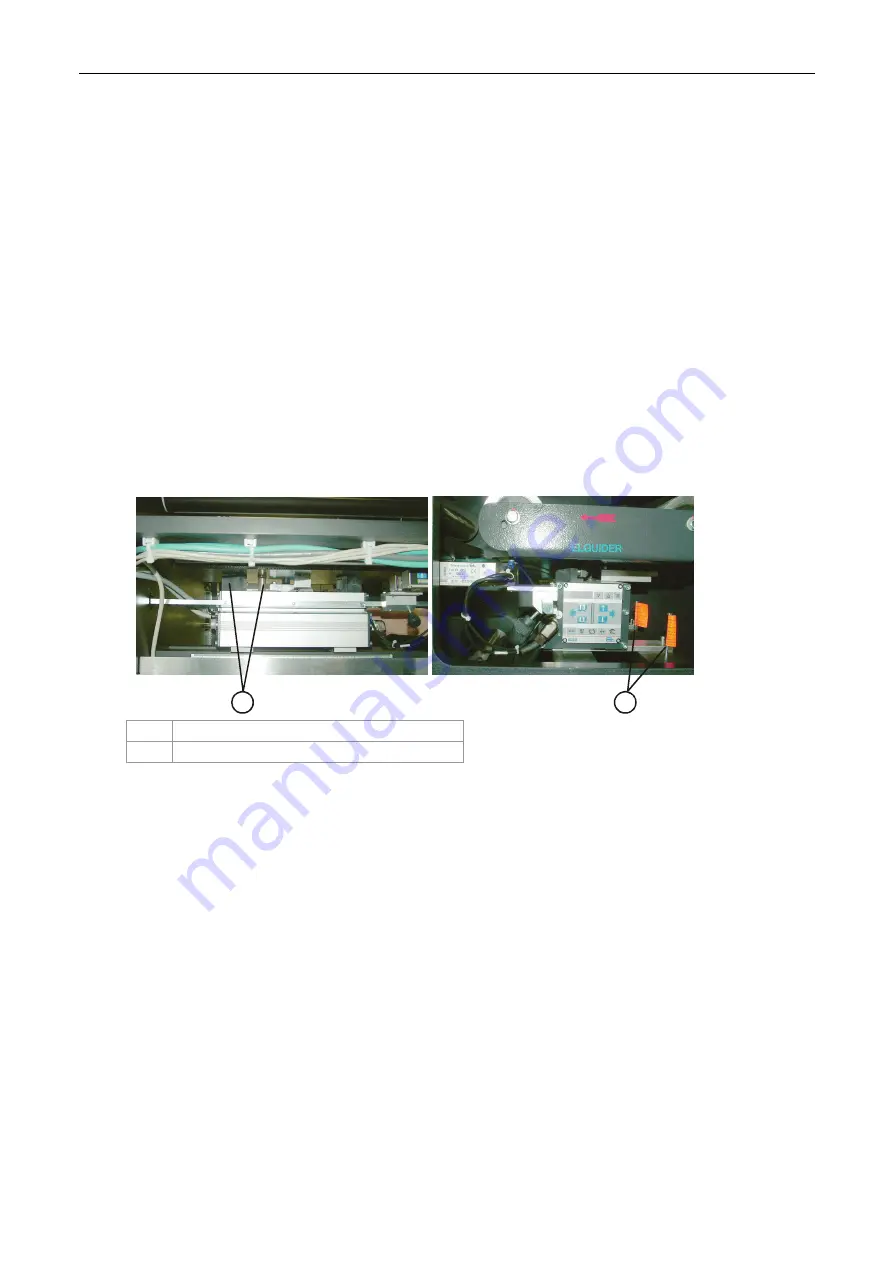
Figure 97 Removing the transport securing screws
1
2
1
Transport screws in post-installation position
2
Original position of transport screws
1.
Remove the transport securing screws (Figure 97-2).
Insert the transport screws to their post-installation position.
2.
Adjust the web guide. See HP Indigo Service Instruction
Calibrations
, MNU-1633-01.


