Installation Manual
CA294-03070 rev 00
page 74 of 153
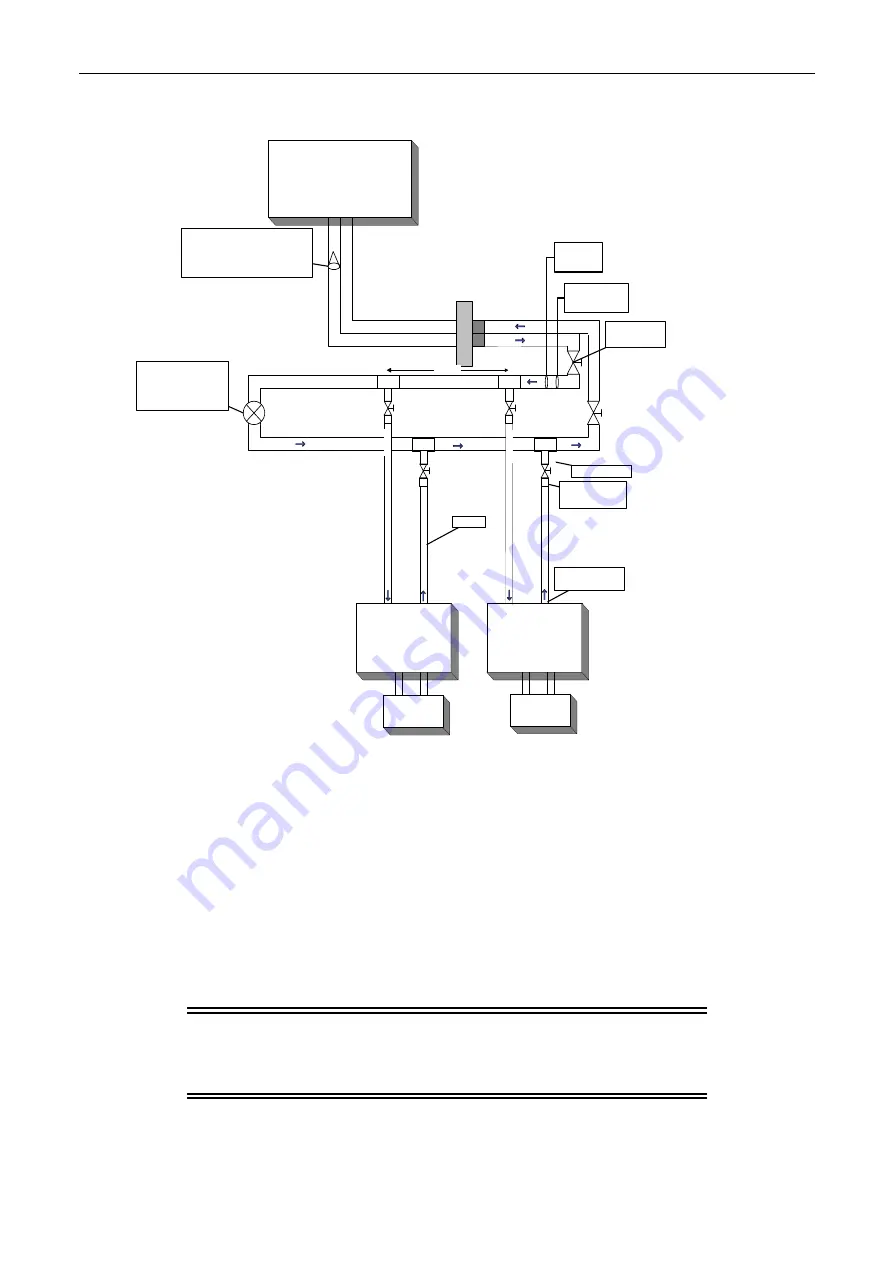
Figure 54 Chiller pipe routing (Japan)
Chiller
Engine No. 2
Blower
Engine No. 1
Blower
160 cm
(63 inches)
External wall
2" pipe
Flow-rate
gauge
Temperature
gauge
2" main ball
valve
1" ball valve
Barb fitting, 1"
inside diameter
1" flexible tube
installed by HP
1" pipe
2" ball valve. Closed
during normal press
operation. Open for
chiller maintenance
and inspection.
2" one-way valve suitable for 100
liter/minute flow rate with
minimum pressure drop. Present
when chiller water exit is below
press level.
2.
To connect the cooling water hoses to the press use the following adapters and tools:
a.
Two hose 1.5" pipe fasteners BSP and four pipe clamps for inlet and outlet water
connections.
b.
A single hose 0.5" pipe fasteners and two pipe clamps
c. Teflon
tape
d.
Two 90° elbow connections
3.
Perform all connections of the cooling water hoses to the press and make sure that the
routing pipes to the chiller are as shown in Figure 53 and Figure 54, depending on the country
of installation.
IMPORTANT:
Make sure not to turn the water supply on at this
stage. The water should be turned on only after the
unwinder and ink cabinets are connected to the
printing engines.


