Chapter 5
Troubleshooting
69
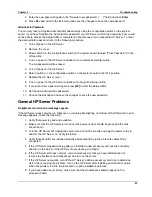
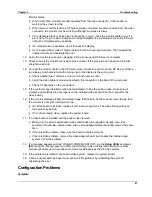
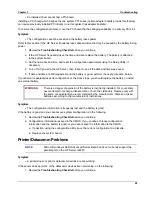
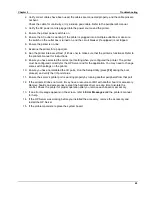
2. Verify correct cables have been used, the cables are connected properly, and the cable pins are
not bent.
Check the cable for continuity, or try a known good cable. Refer to the peripheral's manual.
3. Verify the AC power cord is plugged into the power source and the printer.
4. Ensure the printer power switch is on.
5. Ensure the AC outlet is working. If the printer is plugged into a multiple-outlet box, make sure
the switch on the outlet box is turned on, and the circuit breaker (if equipped) is not tripped.
6. Ensure the printer is on-line.
7. Examine the printer for a paper jam.
8. Run the printer internal self-test (if it has one) to make sure that the printer is functional. Refer to
the printer’s manual for instructions.
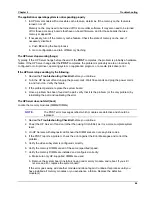
9. Ensure you have selected the correct port setting when you configured the printer. The printer
must be configured correctly for the HP Server and for the application. You may need to change
some switch settings on the printer.
10. Ensure you have not disabled the I/O ports. Run the Setup Utility (press
[F2]
during the boot
process) and verify the I/O port status.
11. Ensure the server’s printer port is working properly by running another peripheral from that port.
12. If the printer still does not work, it may have a resource conflict with another board or accessory.
Remove boards and accessories (except the hard disk drive) one at a time to isolate the
conflict. Check the printer for proper operation after you remove each board or accessory.
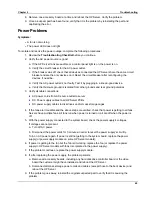
13. If an error message appears on the screen, refer to
Error Messages
and the printer’s manual
for help.
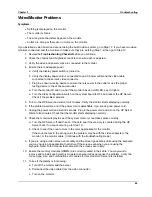
14. If the HP Server was working before you installed the accessory, remove the accessory and
restart the HP Server.
15. If the problem persists, replace the system board.
Summary of Contents for Integrity rx4610
Page 1: ...hp server rx4610 Service Manual Online Version 1 0 Last Updated June 2001 ...
Page 8: ...8 ...
Page 16: ...Chapter 1 General Information 8 ...
Page 38: ......
Page 86: ......
Page 144: ...Chapter 6 Replacing Parts 136 ...

