Hub-14 Installation Summary
The remainder of this chapter describes the installation procedures for the
Hub-14. A summary of the procedures is provided below:
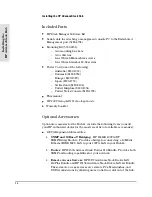
1. If required, install any
optional accessories
.
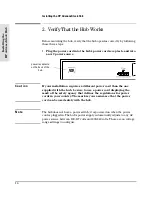
2. Verify that the hub works correctly.
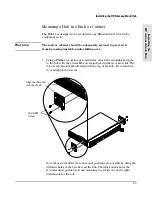
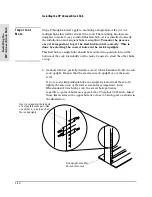
3. Mount the hub in a rack, on a wall, or on a tabletop.
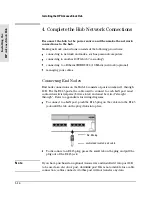
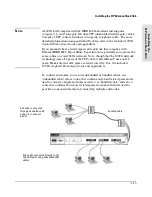
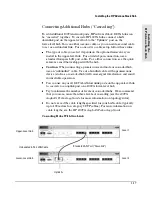
4. Connect the hub to the network. This includes:
•
LAN downlink port connections to network end nodes, such as
computers or other supported devices
•
Cascade connections to other 100VG hubs
•
Connections to other networks, such as a 10 Mbit/s Ethernet/IEEE
802.3 network (requires an HP 100VG SNMP/Bridge Module)
5. If appropriate, connect a management console (Windows-based PC) to
the hub or chain of hubs (only one hub in a chain needs to have a console
connected). Run HP Stack Manager or HP Interconnect Manager on the
management console to configure and manage the hub (refer to chapter
2, “Installing and Using HP Stack Manager,” for more information).
In
s
ta
ll
in
g
t
h
e
H
P
A
d
v
a
n
c
e
S
ta
c
k
H
u
b
Installing the HP AdvanceStack Hub
1-3
Summary of Contents for J2415A
Page 1: ...Installation and Reference Guide HP J2415A HP AdvanceStack 100VG Hub 14 ...
Page 2: ......
Page 3: ...HP AdvanceStack 100VG Hub 14 Installation and Reference Guide ...
Page 8: ......
Page 10: ......
Page 14: ...B Specifications Safety and Regulatory Statements Index Contents x ...
Page 40: ......
Page 58: ......
Page 86: ......
Page 95: ...B Specifications ...
Page 98: ......
Page 99: ...Safety and Regulatory Statements ...
Page 105: ...Safety Information Japanese Safety Information Safety Information Japanese 7 ...
Page 108: ......
Page 109: ...Index ...
Page 115: ......


