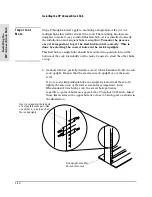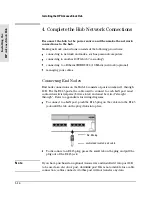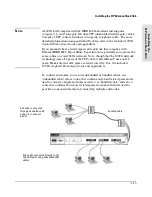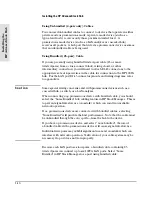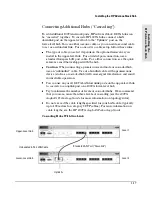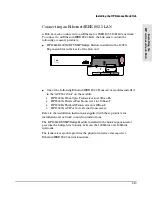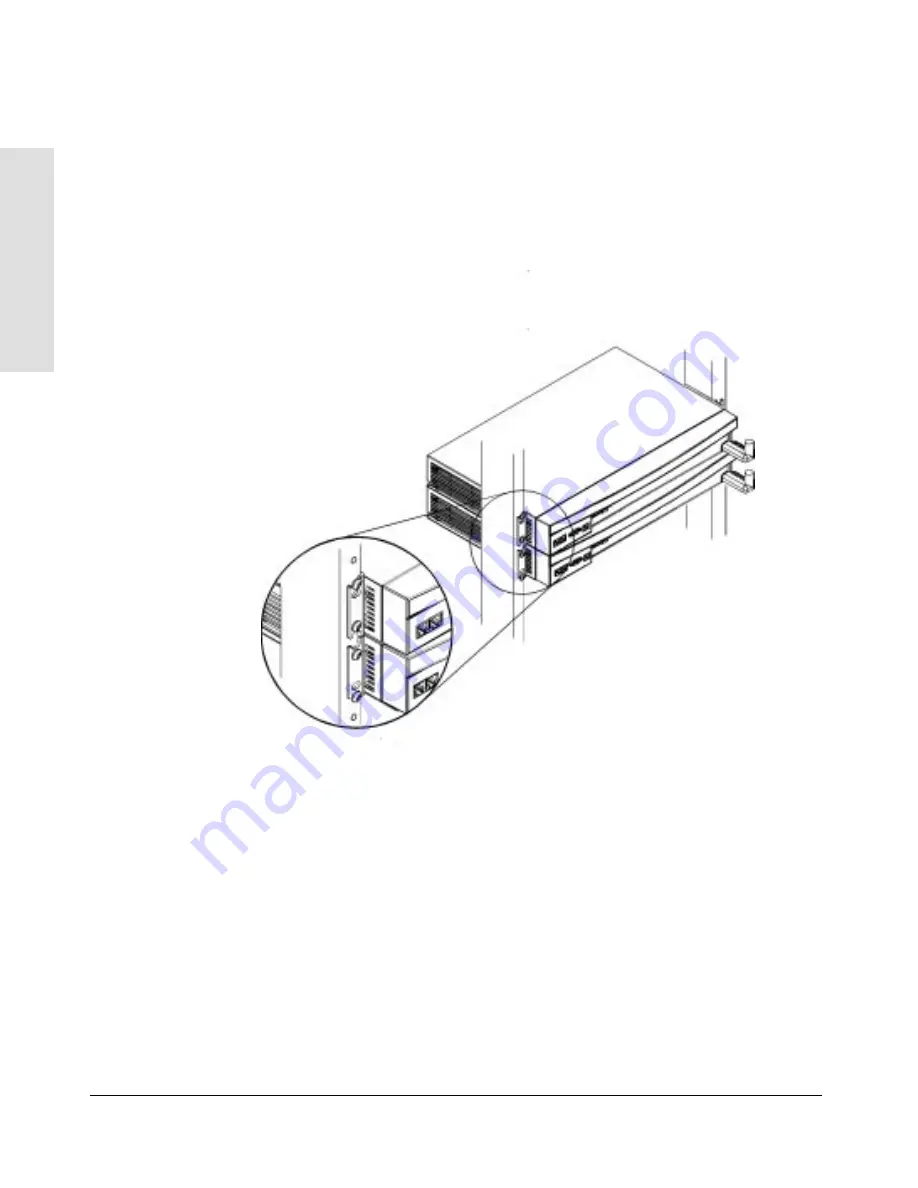
Notice that for the first hub you mounted, you used the bottom notch and
the top hole in the bracket. For the next hub above, you use the bottom hole
and the top notch, as shown in the illustration below. Continue to alternate
“notch and hole, hole and notch” for all hubs to be installed.
In
sta
lli
n
g
t
h
e
HP
A
d
v
a
nc
e
S
t
a
c
k
H
u
b
Installing the HP AdvanceStack Hub
1-12
Summary of Contents for J2415A
Page 1: ...Installation and Reference Guide HP J2415A HP AdvanceStack 100VG Hub 14 ...
Page 2: ......
Page 3: ...HP AdvanceStack 100VG Hub 14 Installation and Reference Guide ...
Page 8: ......
Page 10: ......
Page 14: ...B Specifications Safety and Regulatory Statements Index Contents x ...
Page 40: ......
Page 58: ......
Page 86: ......
Page 95: ...B Specifications ...
Page 98: ......
Page 99: ...Safety and Regulatory Statements ...
Page 105: ...Safety Information Japanese Safety Information Safety Information Japanese 7 ...
Page 108: ......
Page 109: ...Index ...
Page 115: ......


