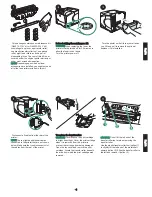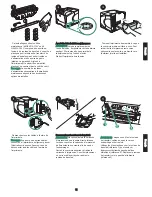
WARNING!
Do not allow the front of the
printer to extend beyond the edge of the
table. The printer can become unbalanced
and fall, causing damage or injury.
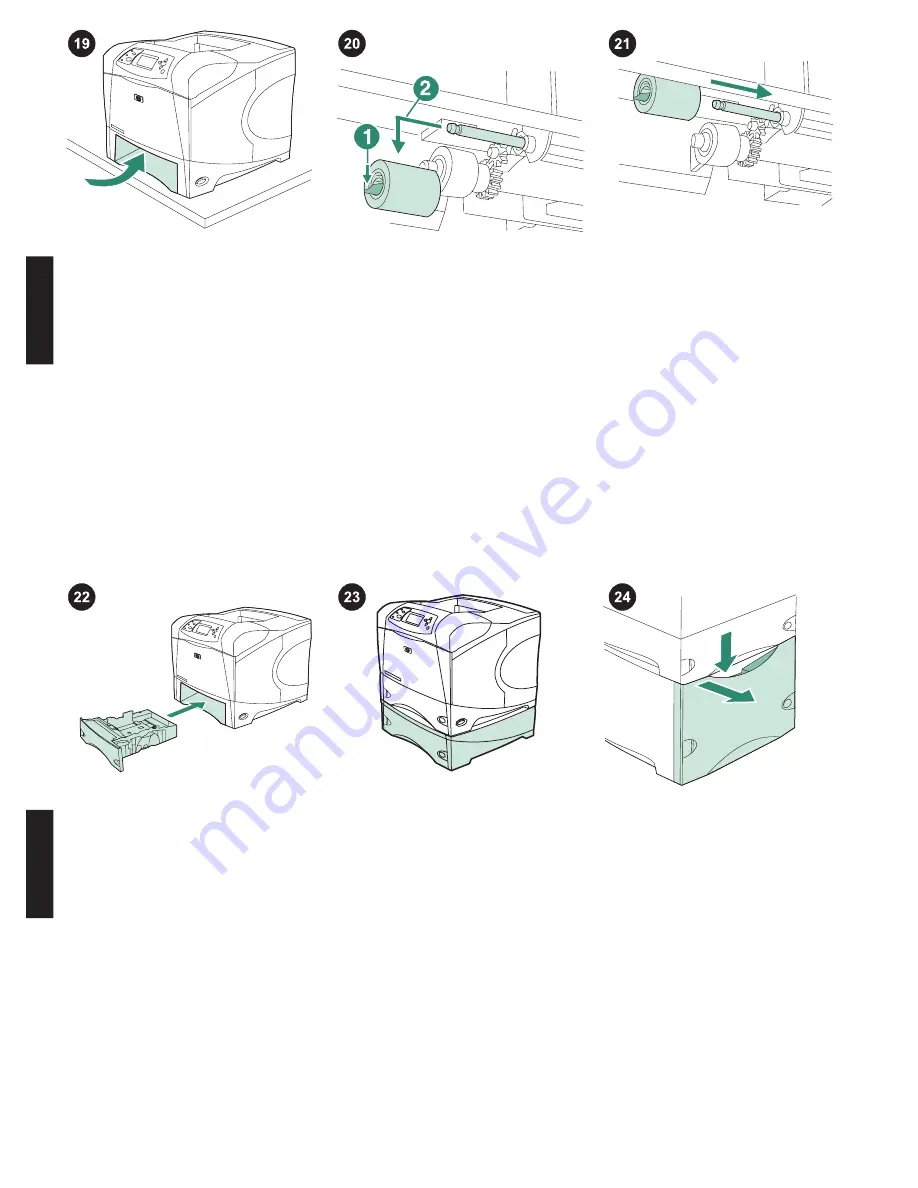
Move the front of the printer to the edge of
the table top for better access to the feed
roller that is located inside the printer.
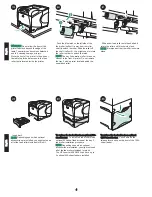
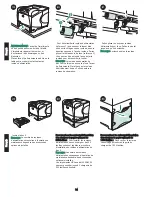
Insert tray 2.
NOTE
Depending upon which optional
accessories are installed, you might not need
all of the feed rollers included in this kit.
Push the blue latch on the left side of the
feed roller (callout 1) away from the roller
shaft to unlock the roller. Slide the roller off
the shaft (callout 2). You might need to rotate
the roller in order to unlock the latch.
NOTE
The tray 2 separation roller is the one
closest to the front of printer. Do not remove
the tray 2 pick-up roller located behind the
separation roller.
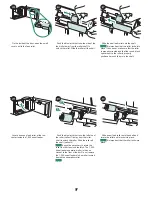
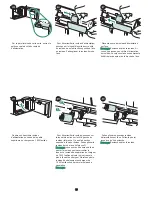
To replace the feed rollers in an optional 500-
sheet feeder: To install the feed rollers in an
optional 500-sheet feeder, repeat the tray 2
feed roller installation procedure.
NOTE
Depending upon which optional
accessories are installed, you might not need
all of the feed rollers included in this kit.
The HP LaserJet 4250/4350 can have up to
3 optional 500-sheet feeders installed.
Slide a new feed roller onto the shaft and
rotate the roller until it locks into place.
NOTE
It is important that the roller locks into
place.
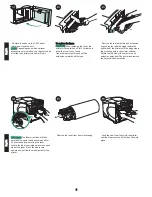
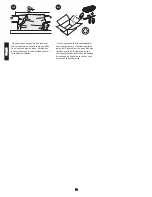
To replace the feed rollers in an optional
1,500-sheet feeder: Push down on the
release lever and open the door of the 1500-
sheet feeder.
English
En
glish
6


