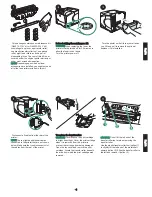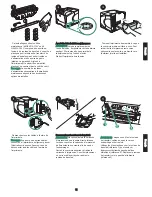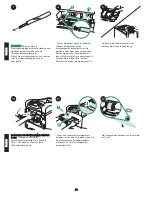
Install the rear output bin. Insert the right
hinge pin in the hole in the chassis. Push the
left-side of the output bin toward the right-
side of the printer. Slide left hinge into the
printer until the left hinge pin is inserted into
the hole in the chassis. Pull gently on the
output bin to make sure that the hinge pins
are fully inserted.
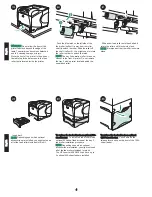
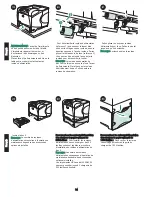
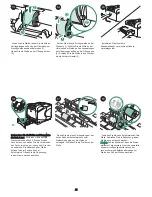
To finish the installation: Turn the printer
power on. When the message XXXMB
appears on the control-panel display, press
and hold down
for several seconds, until
all three control panel lights turn on and
remain on. Press until the NEW
MAINTENANCE KIT message appears on
the display, and then press
.
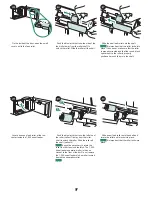
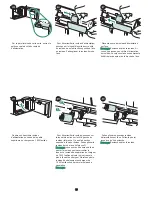
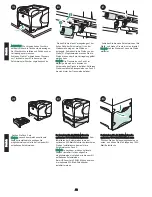
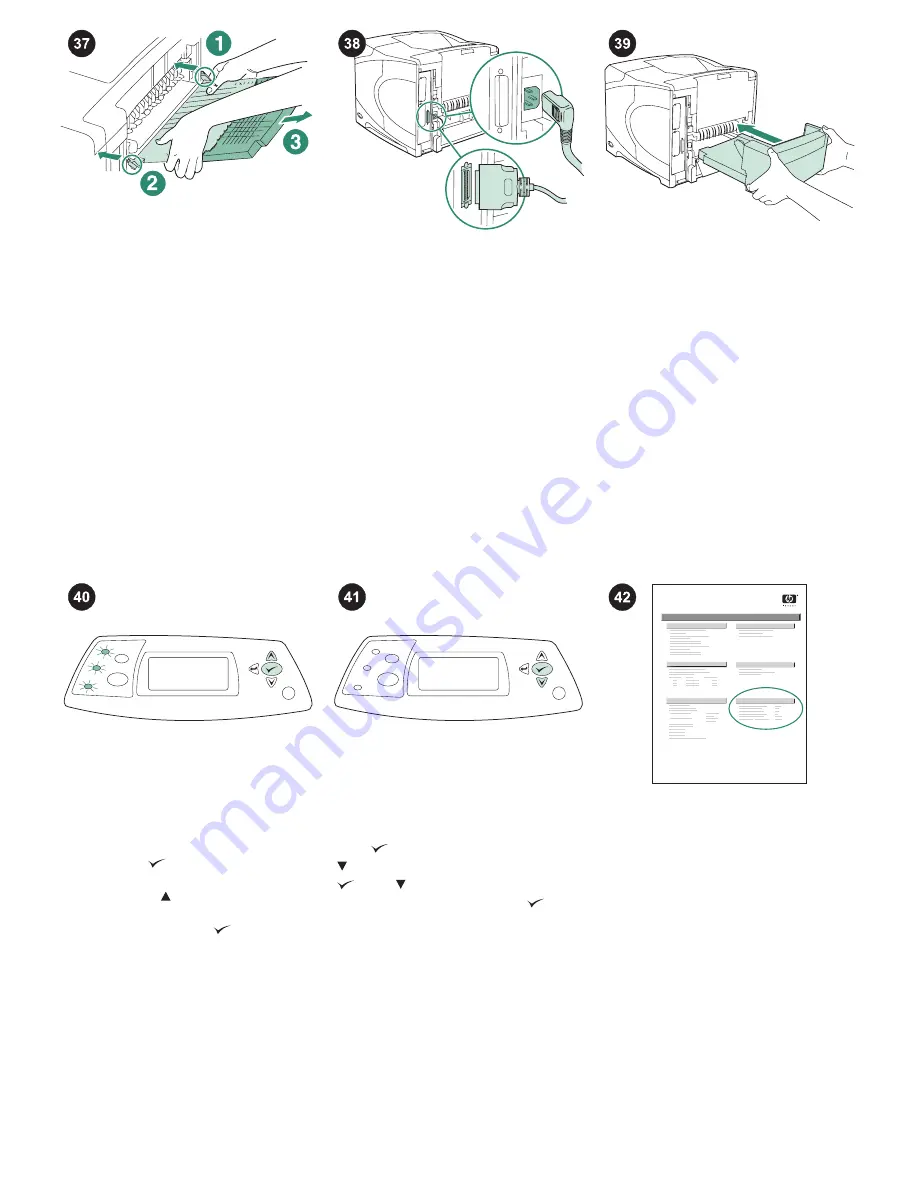
After installing the maintenance kit: Connect
the cables to the rear of the printer.
NOTE
There might be additional cables that
were connected to the printer that are not
shown in this illustration. Make sure that you
connect
all
of the cables that were previously
connected to the printer.
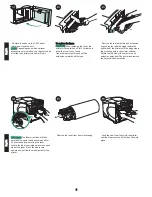
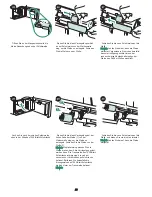
To verify that installation is complete, print a
configuration page from the control panel.
Press
to open the printer menus. Press
to select INFORMATION, and then press
. Press to select PRINT
CONFIGURATION, and then press
.
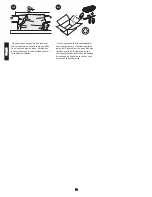
Install the optional duplexer, if it was
removed.
hp
LaserJet
4250/4350 series
1
Check that the number of “Pages since last
maintenance” is reset to zero. If the number
is not reset, repeat steps 40 through 42 in
this procedure, or see the support flyer that
came with the printer.
9


