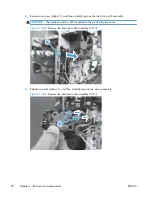
4.
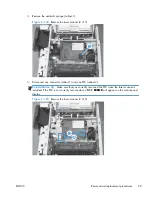
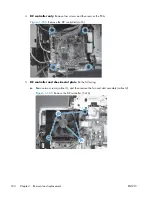
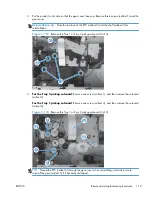
DC controller only
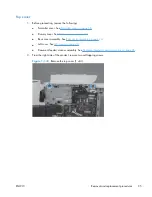
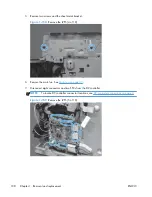
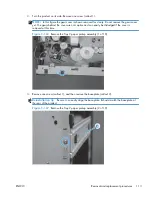
: Remove four screws and then remove the PCA.
Figure 1-152
Remove the DC controller (4 of 6)
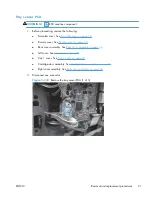
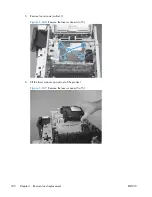
5.
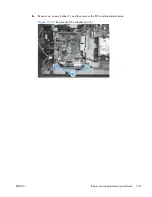
DC controller and sheet-metal plate
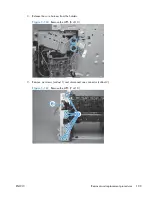
: Do the following.
a.
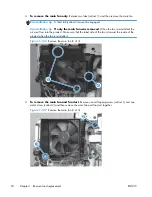
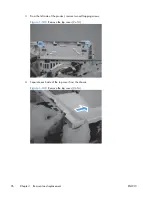
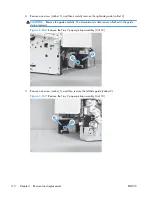
Remove two screws (callout 1), and then remove the fan and duct assembly (callout 2).
Figure 1-153
Remove the DC controller (5 of 6)
1
2
104
Chapter 1 Removal and replacement
ENWW
Summary of Contents for LaserJet Pro M521
Page 1: ...LASERJET PRO MFP Repair Manual M521 2 ...
Page 2: ......
Page 3: ...HP LaserJet Pro MFP M521 Printer Repair Manual ...
Page 6: ...iv Conventions used in this guide ENWW ...
Page 10: ...viii ENWW ...
Page 14: ...14 mm 4 Chapter 1 Removal and replacement ENWW ...
Page 148: ...138 Chapter 1 Removal and replacement ENWW ...
Page 155: ...ENWW Assembly locations 145 ...
Page 186: ...176 Chapter 2 Parts and diagrams ENWW ...
Page 189: ......
Page 190: ... 2012 Hewlett Packard Development Company L P www hp com A8P79 90904 A8P79 90904 A8P79 90904 ...

