7.
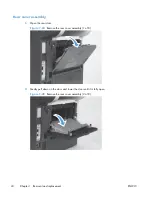
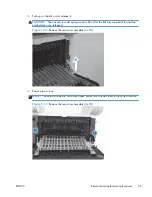
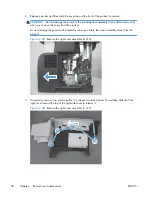
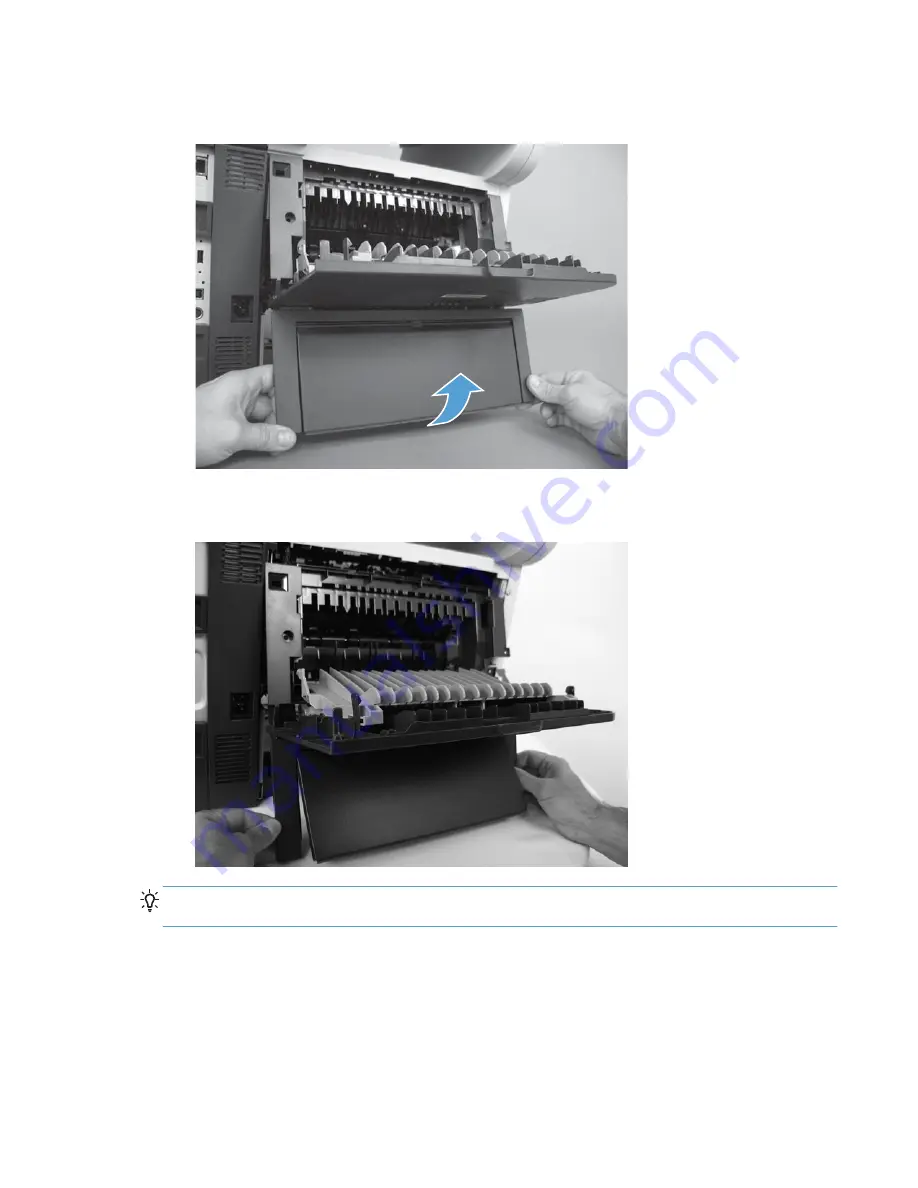
Rotate the bottom of the rear cover assembly away from the product.
Figure 1-30
Remove the rear cover assembly (7 of 8)
8.
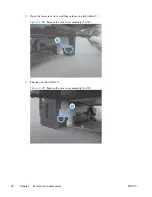
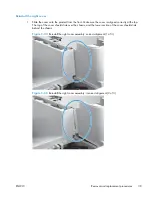
Pull down on the rear cover assembly to remove it.
Figure 1-31
Remove the rear cover assembly (8 of 8)
Reinstallation tip
Insert the top of the cover first to make sure the tabs are in place and then rotate
the bottom of the cover into place.
ENWW
Removal and replacement procedures
27
Summary of Contents for LaserJet Pro M521
Page 1: ...LASERJET PRO MFP Repair Manual M521 2 ...
Page 2: ......
Page 3: ...HP LaserJet Pro MFP M521 Printer Repair Manual ...
Page 6: ...iv Conventions used in this guide ENWW ...
Page 10: ...viii ENWW ...
Page 14: ...14 mm 4 Chapter 1 Removal and replacement ENWW ...
Page 148: ...138 Chapter 1 Removal and replacement ENWW ...
Page 155: ...ENWW Assembly locations 145 ...
Page 186: ...176 Chapter 2 Parts and diagrams ENWW ...
Page 189: ......
Page 190: ... 2012 Hewlett Packard Development Company L P www hp com A8P79 90904 A8P79 90904 A8P79 90904 ...

