Tray 2 or Tray 3 pickup roller
CAUTION:
Do not touch the surface of the roller. Skin oils deposited on the roller might cause print-
quality problems.
NOTE:
If you did not remove Tray 2 or Tray 3 before servicing the product, remove them now.
1.
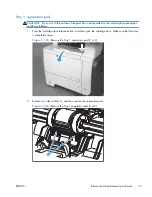
Carefully place the product front-side up, so that you can see into the opening where the tray
would be installed.
NOTE:
Debris can scratch or damage the back of the product. Before you place the product
front-side up, remove any debris from the work surface. If possible, set the product on a clean, dry
cloth to prevent scratching and damage.
2.
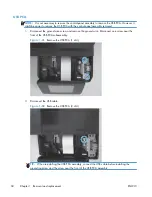
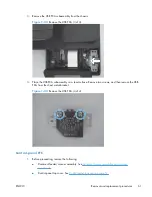
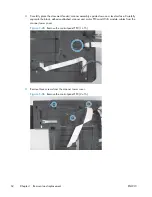
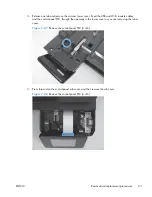
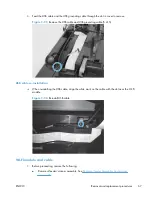
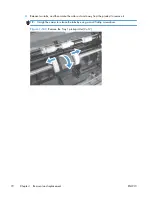
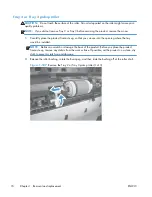
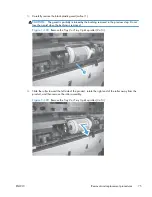
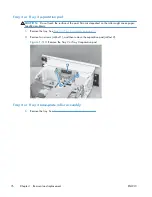
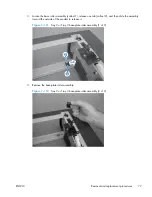
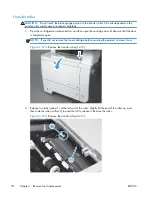
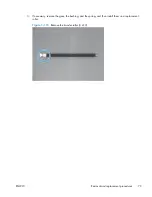
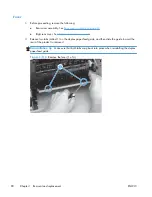
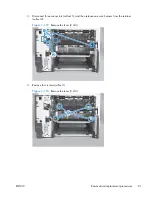
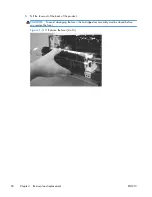
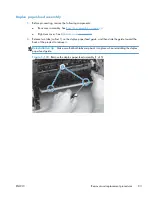
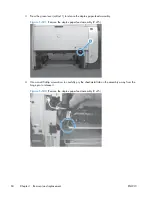
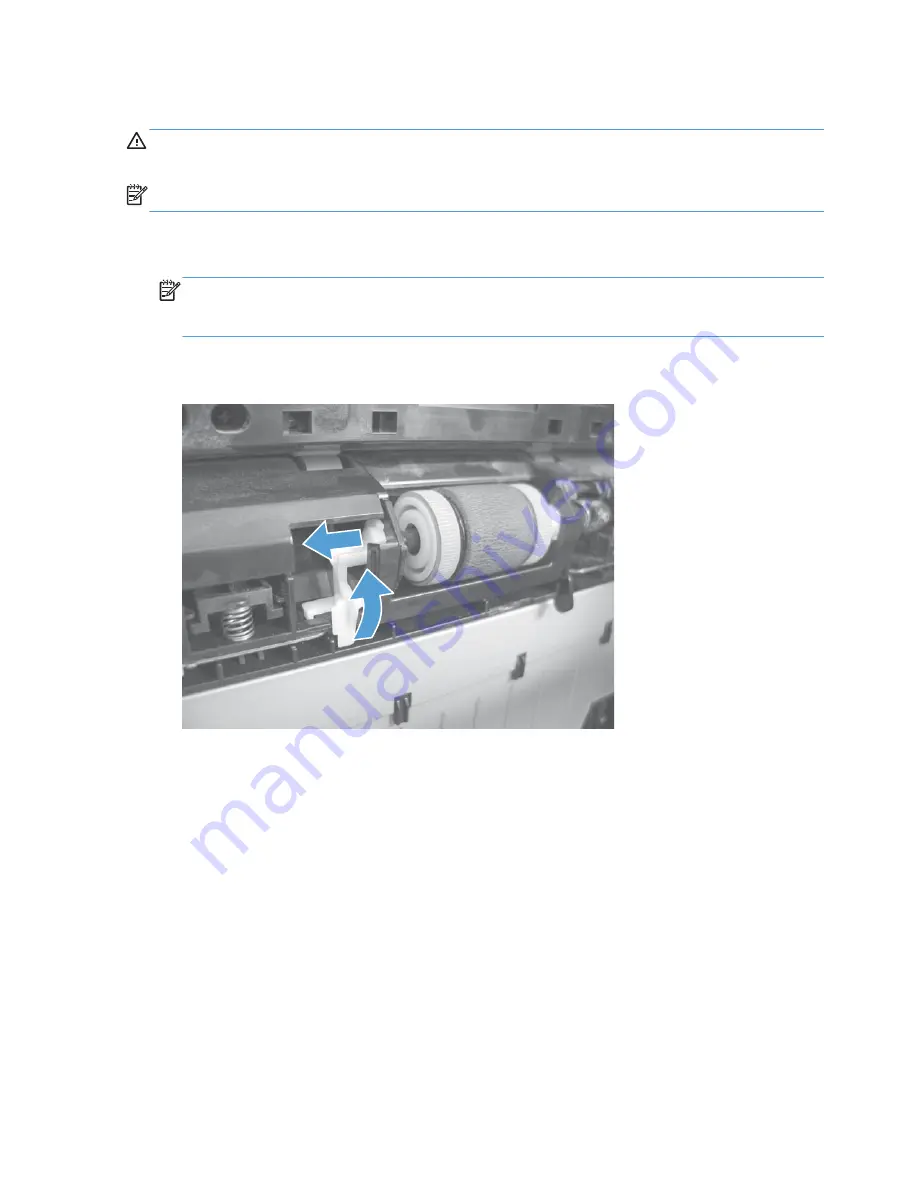
Release the roller bushing, rotate the busing up, and then slide the bushing off of the roller shaft.
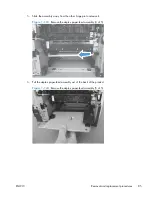
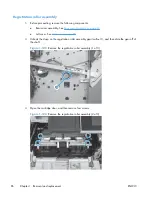
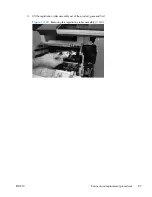
Figure 1-107
Remove the Tray 2 or Tray 3 pickup roller (1 of 3)
74
Chapter 1 Removal and replacement
ENWW
Summary of Contents for LaserJet Pro M521
Page 1: ...LASERJET PRO MFP Repair Manual M521 2 ...
Page 2: ......
Page 3: ...HP LaserJet Pro MFP M521 Printer Repair Manual ...
Page 6: ...iv Conventions used in this guide ENWW ...
Page 10: ...viii ENWW ...
Page 14: ...14 mm 4 Chapter 1 Removal and replacement ENWW ...
Page 148: ...138 Chapter 1 Removal and replacement ENWW ...
Page 155: ...ENWW Assembly locations 145 ...
Page 186: ...176 Chapter 2 Parts and diagrams ENWW ...
Page 189: ......
Page 190: ... 2012 Hewlett Packard Development Company L P www hp com A8P79 90904 A8P79 90904 A8P79 90904 ...

