34
Getting Started Updated Information
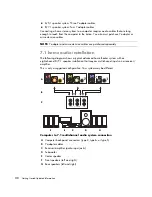
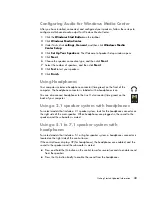
Using the Creative Sound Blaster X-Fi Sound Card
This section provides an overview of configuring and recording with the Creative Sound
Blaster X-Fi sound card (select models).
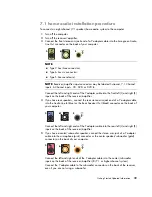
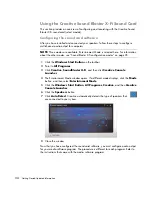
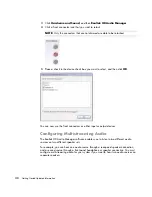
Configuring the sound card software
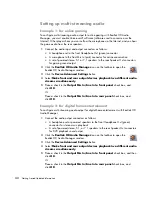
After you have installed and connected your speakers, follow these steps to configure
multichannel audio output for computers:
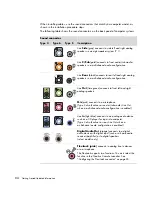
1
Click the
Windows Start Button
on the taskbar.
2
Point to
All Programs
.
3
Click
Creative
,
SoundBlaster X-Fi
, and then click
Creative Console
Launcher
.
4
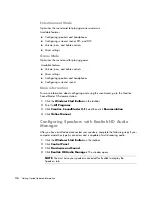
The Entertainment Mode window opens. If a different mode displays, click the
Mode
button, and then select
Entertainment Mode
.
5
Click the
Windows Start Button
,
All Programs
,
Creative
, and then
Creative
Console Launcher
.
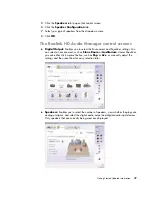
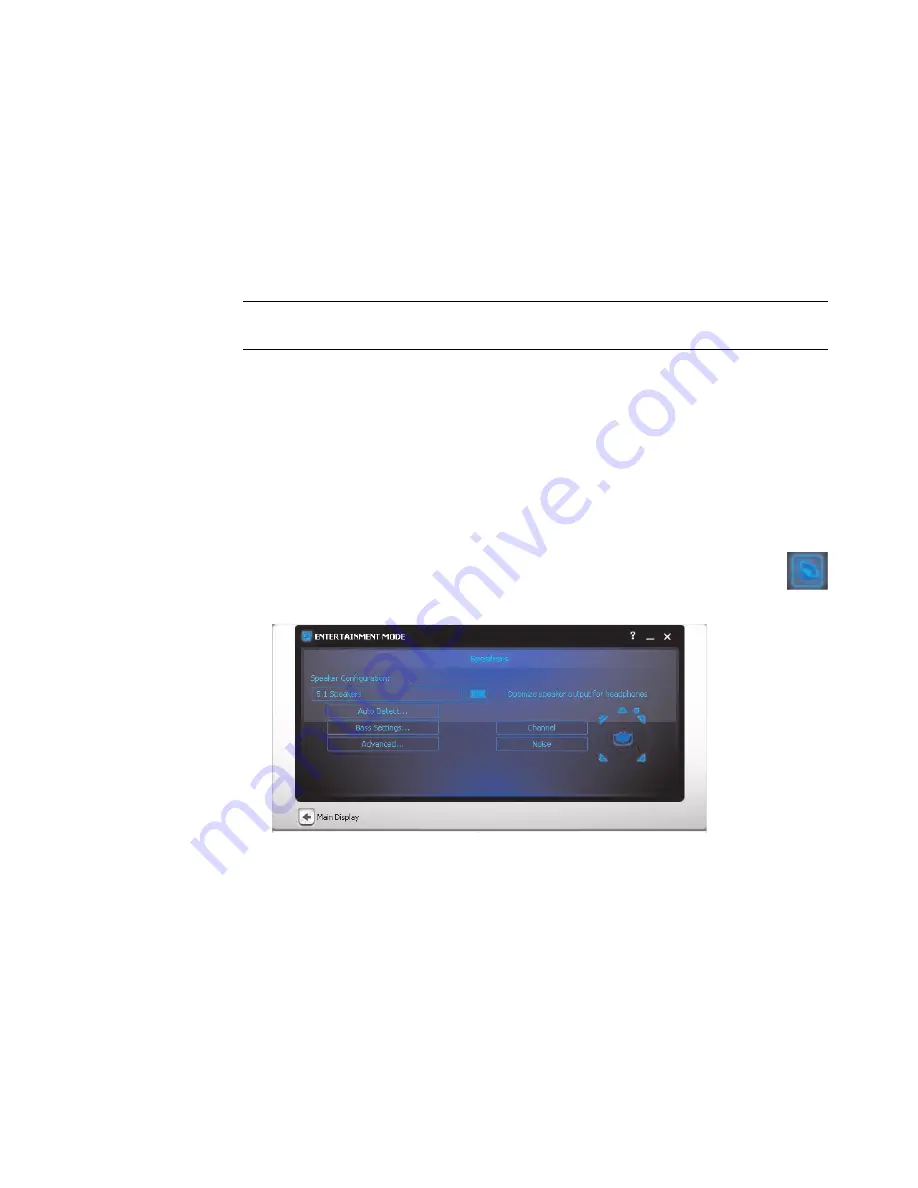
6
Click the
Speakers
button.
7
Click
Auto Detect
. Creative automatically detects the type of speakers that
are connected to your system.
8
Close the window.
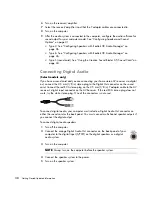
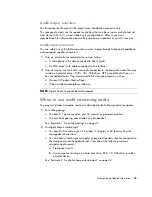
Now that you have configured the sound card software, you must configure audio output
for your media software program. The procedure is different for each program. Refer to
the instructions that came with the media software program.
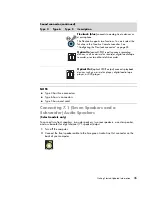
NOTE:
Three modes are available; Entertainment Mode is selected here. For information
about the other modes, see “Sound Blaster X-Fi configuration modes” on page 35.