507
Configuring WiNet
The Wisdom Network (WiNet) technology helps you centrally manage a large number of scattered
network devices by using a small number of public IP addresses.
WiNet has the following benefits:
•
Integration
—WiNet is integrated in network devices as a function without needing any dedicated
management device.
•
Easy to deploy
—To build a WiNet, you only need to select a management device to complete
network configurations.
•
Low cost
—No additional software is needed.
•
User-friendly GUI
—Facilitates operations and management.
•
Plug-and-play
—Displays a device in the network topology once it is connected to the network and
allows you to perform corresponding operations.
•
Easy and quick deployment of security authentication
—Allows you to configure a RADIUS server
on the administrator device through simple Web configuration and to configure interfaces of
member devices for security authentication through the administrator device.
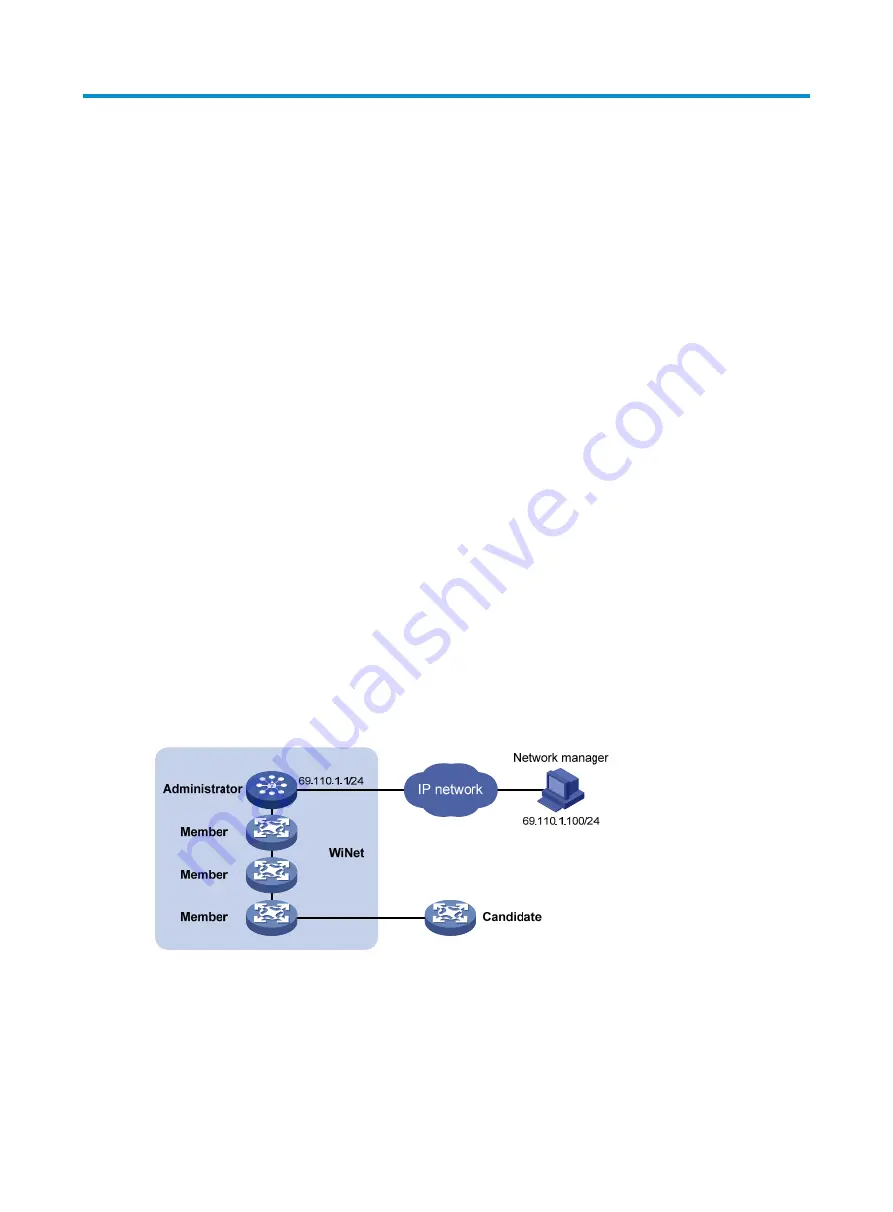
Devices in a WiNet are classified into three roles.
•
Administrator
—
Refers to the device serving as the WiNet management device. In a WiNet, only
the administrator is configured with a public IP address. You only need to specify one administrator
in each WiNet to configure, manage, and monitor other devices. The administrator collects
information to discover and add candidates.
•
Member
—
Refers to a device managed by the administrator.
•
Candidate
—
Refers to a WiNet-capable device that has not been added to the WiNet but its
topology information has been collected by the administrator.
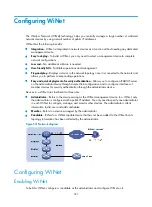
Figure 531
Network diagram
Configuring WiNet
Enabling WiNet
To build a WiNet, configure a candidate as the administrator and configure WiNet on it.
Summary of Contents for MSR SERIES
Page 17: ...xv Documents 835 Websites 835 Conventions 836 Index 838 ...
Page 20: ...3 Figure 3 Initial page of the Web interface ...
Page 42: ...25 Figure 13 Firefox Web browser setting ...
Page 59: ...42 Figure 27 Checking the basic service configuration ...
Page 73: ...56 Figure 35 Sample interface statistics ...
Page 156: ...139 Figure 139 Rebooting the 3G modem ...
Page 168: ...151 Figure 152 Configuring Web server 2 ...
Page 174: ...157 Figure 158 Configure the URL filtering function ...
Page 242: ...225 Figure 233 Enabling the DHCP client on interface Ethernet 0 1 ...
Page 247: ...230 Figure 236 The page for configuring an advanced IPv4 ACL ...
Page 255: ...238 Figure 241 Advanced limit setting ...
Page 298: ...281 e Click Apply 2 Configure Router B in the same way Router A is configured ...
Page 400: ...383 Figure 387 Verifying the configuration ...
Page 405: ...388 ...
Page 523: ...506 Figure 530 Ping configuration page ...
Page 775: ...758 Figure 785 Configuring a jump node ...


