


9-22
HP Netserver AA Solution Administrator’s Guide
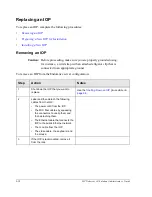
Replacing a CE
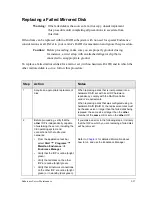
Caution:
Before proceeding
,
make sure you are properly grounded
using,
for instance, a wrist strap with an attached alligator clip that is
connected to an appropriate ground
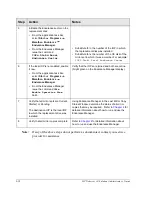
To replace a CE:
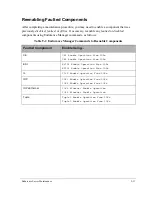
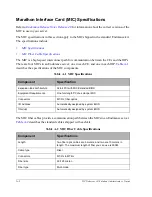
Updating MIC BIOS, FPGA, and Microcode
The MIC BIOS, FPGA, and microcode on the CEs and IOPs must be
identical
on all CEs and
IOPs for the Endurance server to function properly. Use the MTCFLASH Utility, described in
Chapter 7
, to upgrade the microcode revision levels.
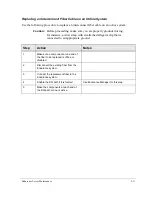
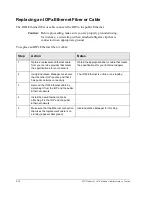
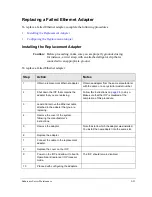
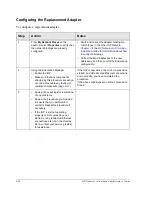
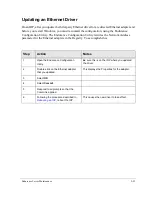
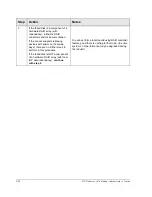
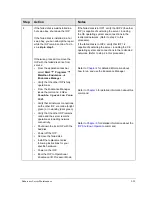
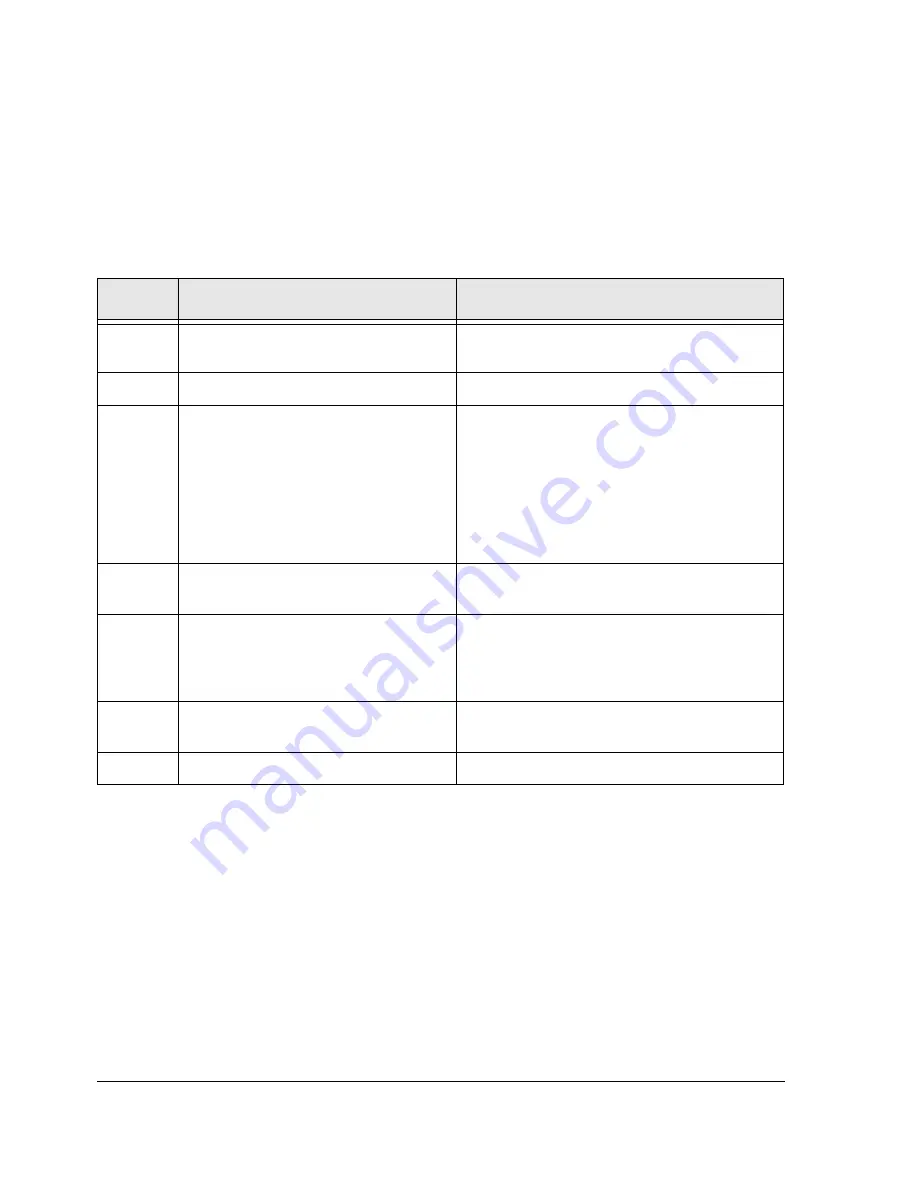
Step
Action
Notes
1
Shut down the CE as described on
page 9-8
.
2
Power off the CE.
3
Detach and label the following cables
from the CE:
• The power cord.
• The MIC fiber cables by squeezing
the connectors to unclip them and
detaching them.
• The video cable.
4
If the CE is rackmounted, remove it
from the rack.
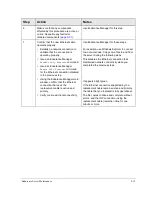
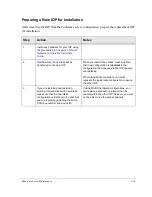
5
Prepare the new CE for installation, as
described in
Chapter 1
of the
HP
Netserver AA Solution Installation
Guide
.
Follow the procedure given in Chapter 2 of the
Endurance Installation Guide
.
6
If required, fasten the rackmount
brackets and install it in the rack.
7
Power up the CE.
Summary of Contents for NetServer AA 6200
Page 1: ...HP Netserver AA Solution Administrator s Guide HP Part Number 5971 3014 Printed in April 2001 ...
Page 8: ......
Page 11: ...Tables xi A 3 Firmware LED A 3 A 4 Fiber LEDs A 4 ...
Page 12: ......
Page 14: ......
Page 18: ...xviii HP Netserver AA Solution Administrator s Guide ...
Page 88: ......
Page 180: ...6 8 HP Netserver AA Solution Administrator s Guide Figure 6 2 Sample Endurance Configuration ...
Page 210: ......
Page 216: ......
Page 248: ......
Page 256: ......
Page 262: ......