Chapter 4
Installing Mass Storage Devices
23
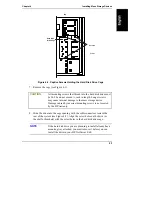
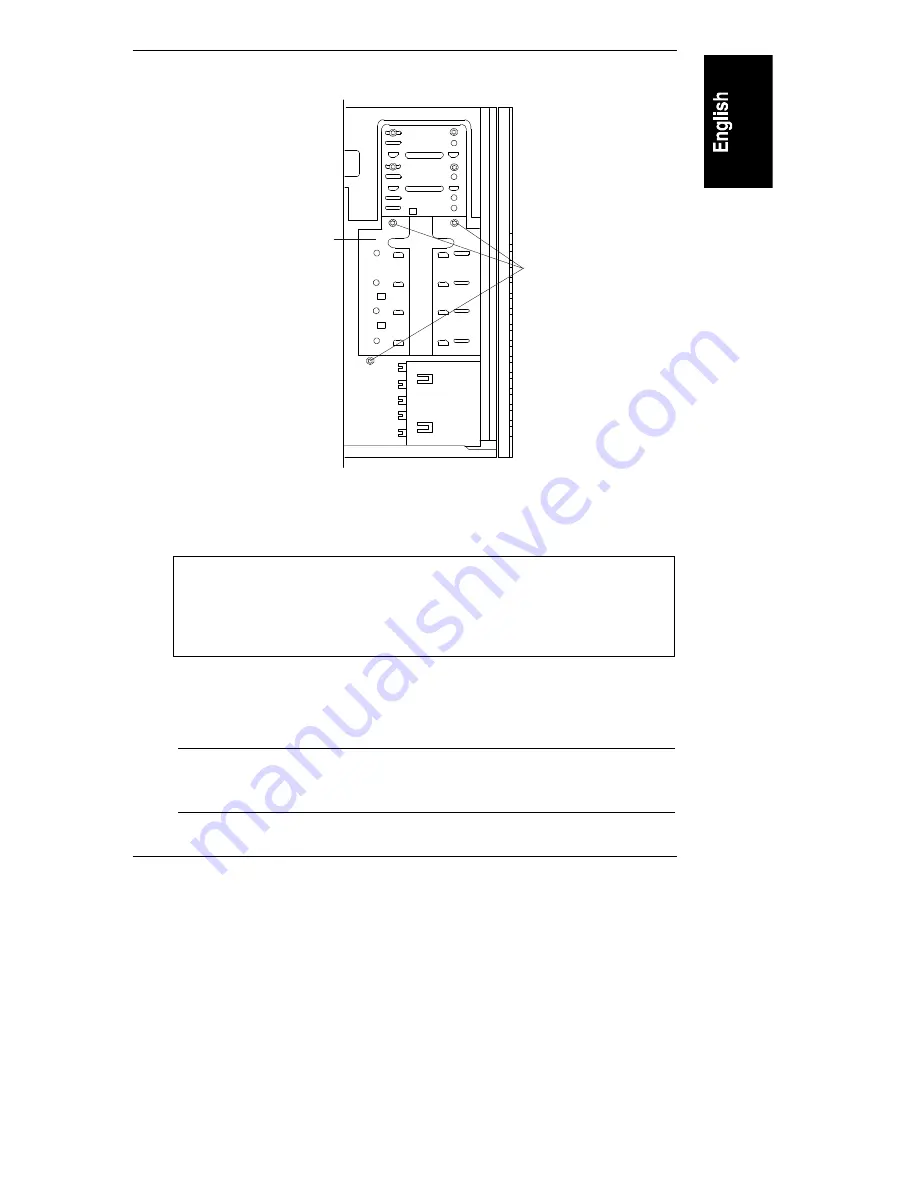
Top
Hard Disk
Drive Cage
Front
Screws
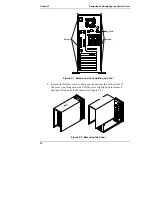
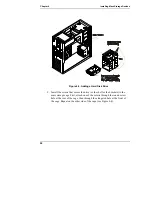
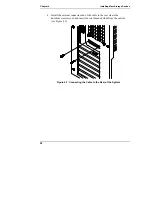
Figure 4-2. Captive Screws Holding the Hard Disk Drive Cage
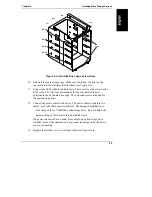
7. Remove the cage (see Figure 4-3).
CAUTION
All mounting screws that thread into the hard disk drive must
be #6-32 and not exceed ¼-inch in length. Longer screws
may cause internal damage to the mass storage device.
Damage caused by incorrect mounting screws is not covered
by the HP warranty.
8. Slide the drive into the cage opening with the cable connectors toward the
rear of the system (see Figure 4-3). Align the screw holes on the drive (or
the shelf or brackets) with the screw holes in the hard disk drive cage.
NOTE
If the hard disk drive you are planning to install already has a
mounting tray attached, you must remove it before you can
install the drive in your HP NetServer E 60.


