Making Connections
Using OmniBook Plug-In Modules
4-5
C A U T I O N
Be sure the safety latch is open before you insert the module. Otherwise, the
release latch could break if you force the module in.
6. Close the safety latch.
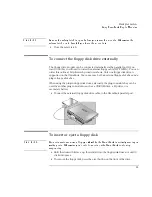
To connect the floppy disk drive externally
The floppy drive module can be connected externally via the parallel port. If you
want to do this, you’ll need to order the external floppy cable (HP F1380A). You can
order this online at http://www.hp.com/omnibook.
Only one floppy disk drive is
supported on the OmniBook.
You cannot use both an external floppy disk drive and a
plug-in floppy disk drive.
When using the plug-in floppy disk drive externally, the plug-in module bay can be
used by another plug-in module—such as a CD-ROM drive, a Zip drive, or a
secondary battery.
•
Connect the external floppy disk drive cable to the OmniBook parallel port.
To insert or eject a floppy disk
C A U T I O N
Do not insert or remove a floppy disk while the OmniBook is actively reading or
writing data. Otherwise, you could lose data or the OmniBook could stop
responding.
•
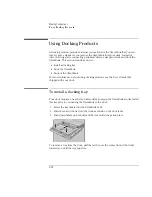
Hold the disk with its face up, then slide it into the floppy disk drive slot until it
clicks into place.
•
To remove the floppy disk, press the eject button on the front of the drive.
Summary of Contents for OmniBook 2100
Page 1: ...HP OmniBook 2100 Reference Guide ...
Page 9: ...1 Introducing the OmniBook ...
Page 25: ...2 Operating the OmniBook ...
Page 46: ......
Page 47: ...3 Managing Battery Power ...
Page 58: ......
Page 59: ...4 Making Connections ...
Page 79: ...5 Expanding the OmniBook ...
Page 87: ...6 Using the Recovery CD ...
Page 93: ...7 Troubleshooting ...
Page 110: ......
Page 111: ...8 Specifications and Regulatory Information ...


