2-8
Removal and Replacement
HP OmniBook 6000
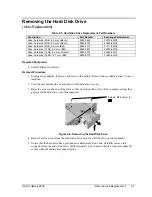
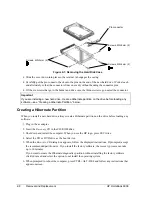
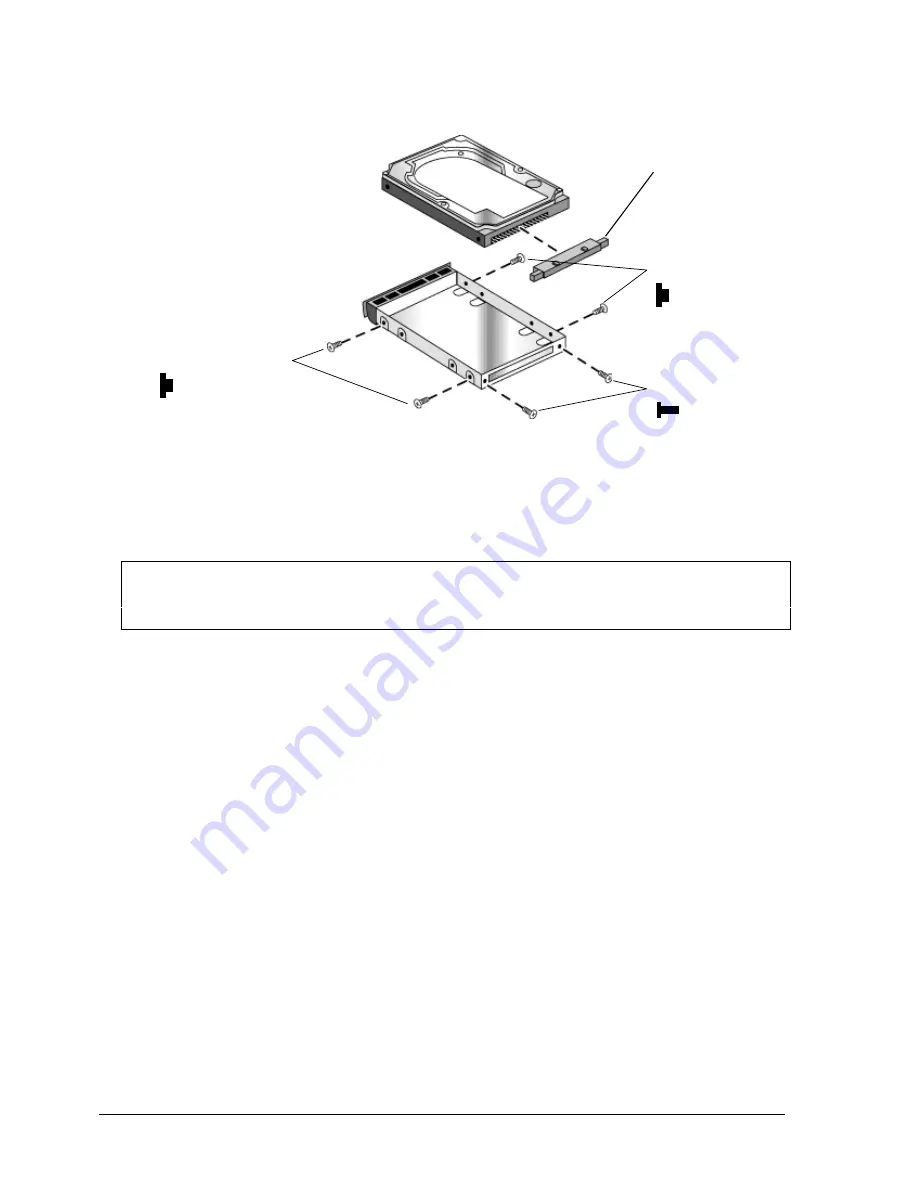
Figure 2-7. Removing the Hard Disk Case
•
Slide the cover down into place so the retainer tab engages the casing.
•
Carefully put the pin connector back onto the pins on the end of the new hard drive. Work at each
end alternately so that the connector slides on evenly without bending the connector pins.
•
Of the six screws that go in the holder and drive case, the thinner screws go nearest the connector.
Important
If you are installing a new hard drive, create a Hibernate partition on the drive before loading any
software—see “Creating a Hibernate Partition,” below.
Creating a Hibernate Partition
When you install a new hard drive, always create a Hibernate partition on the drive before loading any
software.
1.
Plug in the ac adapter.
2.
Insert the Recovery CD in the CD-ROM drive.
3.
Shut down and restart the computer. When you see the HP logo, press ESC twice.
4.
Select the CD or DVD drive as the boot device.
5.
When the Recovery CD dialog box appears, follow the displayed instructions. If prompted, accept
the recommended partition size. If you install the factory software, the recovery process can take
up to 10 minutes.
If you want to create the Hibernate/diagnostics partition without installing the factory software,
click Advanced and select the option to not install the operating system.
6.
When prompted to reboot the computer, press CTRL+ALT+DEL and follow any instructions that
appear onscreen.
Screws, M2×4mm (2)
Pin connector
Screws, M3×2mm (2)
Screws, M3×2mm (2)
Summary of Contents for OmniBook 6000
Page 1: ... HP OmniBook 6000 Service Manual ...
Page 52: ......
Page 82: ......
Page 84: ...4 2 Replaceable Parts HP OmniBook 6000 Figure 4 1 Exploded View ...
Page 95: ......

