HAFM Server Configuration
7–3
HAFM server installation guide
7–3
Configure HAFM Server Network Information
Verify the type of LAN installation with the customer’s network administrator. If the
HAFM server is installed on a dedicated LAN, the network information does not
require change, go to “
Set HAFM Server Date and Time
” on page 7–12.
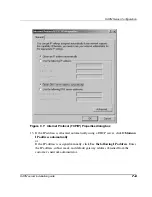
If the HAFM server is installed on a public LAN segment, the following TCP/IP
network information must be changed to conform to the customer’s LAN addressing
scheme:
•
IP address.
•
Subnet mask
•
Gateway address—the address of the local router for the corporate intranet
•
DNS host name
•
DNS domain name
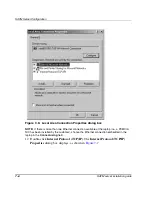
NOTE: At some customer installations, TCP/IP addresses for the HAFM server may be
allocated automatically using DHCP.
To configure TCP/IP network information for the HAFM server:
1. Power on the HAFM server. The notebook PC performs a POST and starts the
Windows 2000 operating system. After the operating system starts, the Begin
Logon dialog box displays.
2. Press Ctrl+Alt+Delete. The Logon Information dialog box displays.
3. Type the default Windows 2000 user name and password and click OK.
NOTE: The default user name is Administrator and the password is set up during
Windows 2000 installation. The user name and password are case-sensitive. Consult with the
customer’s network administrator to change the user name and password.
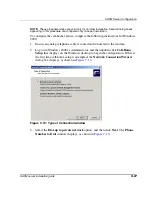
The Windows 2000 desktop opens and the HAFM Login dialog box displays, as
shown in
Figure 7–2
.


