5.
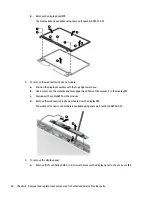
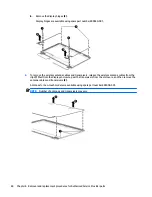
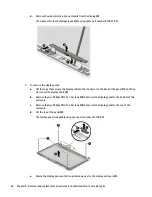
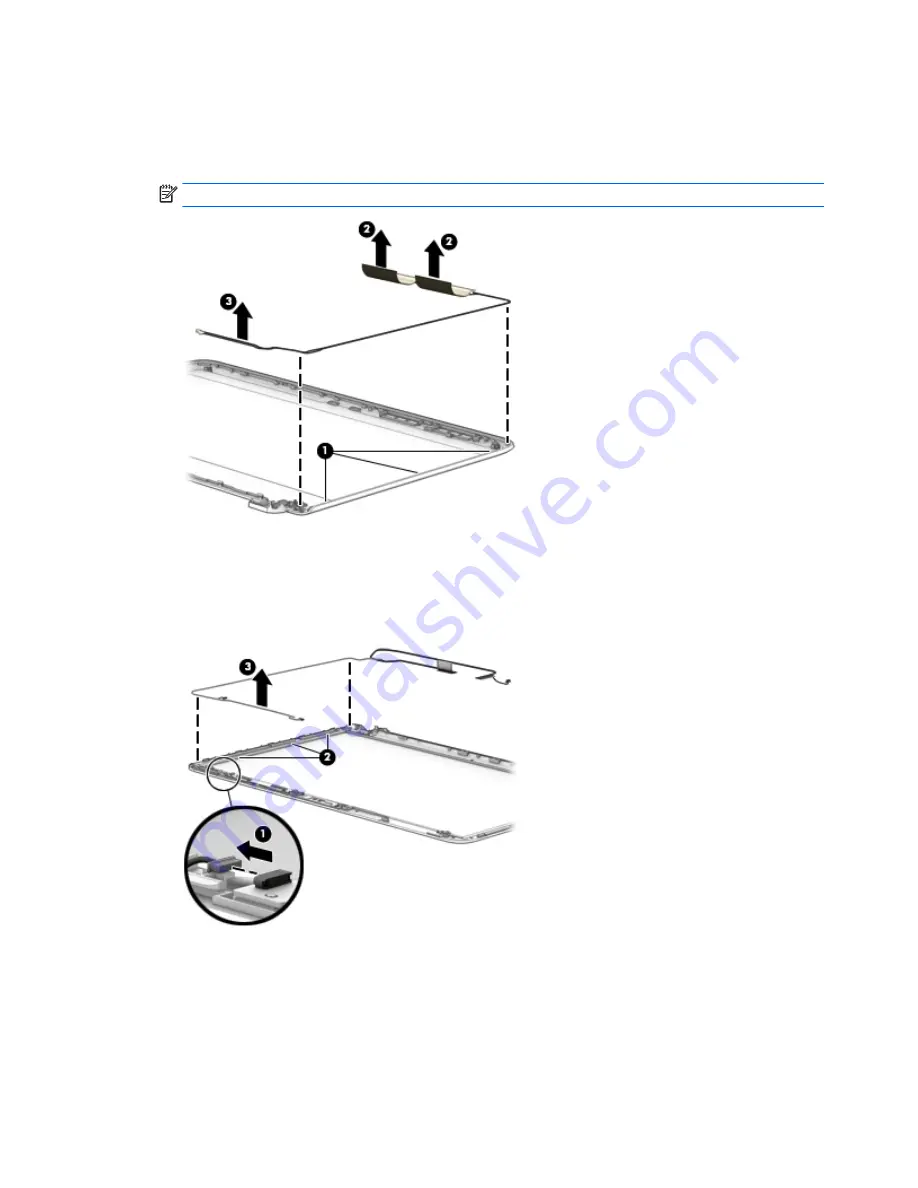
To remove the wireless antenna cables and transceivers, release the wireless antenna cables from the
clips
(1)
built into the display enclosure, peel the transceivers from the enclosure
(2)
, and then remove
the antenna cables and transceivers
(3)
.
The antennas are available using spare part number 811201-001.
NOTE:
Number of antennas and transceivers may vary.
6.
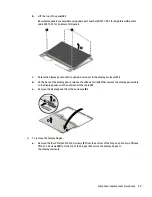
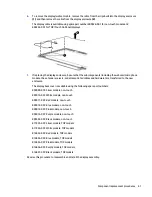
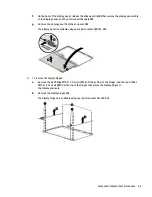
Disconnect the cable from the touch control board
(1)
.
7.
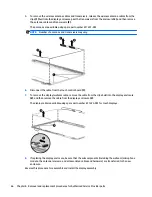
To remove the display/webcam cable, remove the cable from the clips built into the display enclosure
(2)
, and then remove the cable from the display enclosure
(3)
.
The display cable is available using spare part number 811222-001 for touch displays.
8.
If replacing the display enclosure, be sure that the subcomponents (including the webcam/microphone
module, the antenna receivers, and all associated cables and hardware) are transferred to the new
enclosure.
Reverse this procedure to reassemble and install the display assembly.
66
Chapter 6 Removal and replacement procedures for Authorized Service Provider parts
Summary of Contents for Pavilion 2159m
Page 1: ...HP Pavilion Notebook AMD Maintenance and Service Guide ...
Page 4: ...iv Safety warning notice ...
Page 8: ...14 Recycling 97 Index 99 viii ...
Page 12: ...4 Chapter 1 Product description ...
Page 32: ...24 Chapter 3 Illustrated parts catalog ...
Page 40: ...32 Chapter 5 Removal and replacement procedures for Customer Self Repair parts ...
Page 80: ...72 Chapter 8 Using Setup Utility BIOS in Windows 8 1 ...
Page 88: ...80 Chapter 10 Backing up restoring and recovering in Windows 8 1 ...
Page 100: ...92 Chapter 12 Specifications ...
Page 104: ...96 Chapter 13 Power cord set requirements ...
Page 106: ...98 Chapter 14 Recycling ...
Page 110: ...102 Index ...

