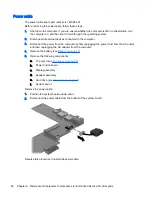
Before removing the system board, follow these steps:
1.
Shut down the computer. If you are unsure whether the computer is off or in Hibernation, turn
the computer on, and then shut it down through the operating system.
2.
Disconnect all external devices connected to the computer.
3.
Disconnect the power from the computer by first unplugging the power cord from the AC outlet,
and then unplugging the AC adapter from the computer.
4.
Remove the battery (see
Battery on page 27
).
5.
Remove the following components:
a.
Top cover (see
Top cover on page 29
)
b.
Power button board
c.
Display assembly
d.
Speaker assembly
e.
Hard drive (see
Hard drive on page 42
)
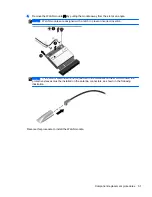
When replacing the system board, be sure to remove the following components from the defective
system board and install on the replacement system board:
●
WLAN/Bluetooth module (see
WLAN/Bluetooth combo card on page 50
)
Remove the system board:
1.
Position the computer upright with the front toward you.
2.
Remove the 4 Phillips screws that secure the system board to the computer.
3.
Lift the left side of the system board up at an angle (1).
44 Chapter 6 Removal and replacement procedures for Authorized Service Provider parts
Summary of Contents for Pavilion10
Page 1: ...HP Pavilion10 TouchSmart Notebook PC Maintenance and Service Guide ...
Page 4: ...iv Important Notice about Customer Self Repair Parts ...
Page 6: ...vi Safety warning notice ...
Page 10: ...x ...
Page 23: ...3 Illustrated parts catalog Computer major components Computer major components 13 ...


