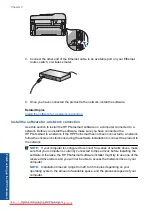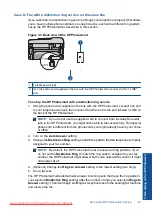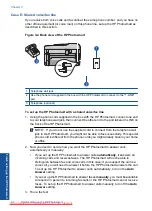
4.
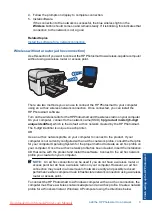
Follow the prompts on display to complete connection.
5.
Install software.
If the connection to the network is successful, the blue wireless light on the
Wireless
button should come on and remain steady. If it is blinking, this indicates that
connection to the network is not a good.
Related topics
Install the software for a network connection
Wireless without a router (ad hoc connection)
Use this section if you want to connect the HP Photosmart to a wireless-capable computer
without using a wireless router or access point.
There are two methods you can use to connect the HP Photosmart to your computer
using an ad hoc wireless network connection. Once connected, you can install the
HP Photosmart software.
Turn on the wireless radio for the HP Photosmart and the wireless radio on your computer.
On your computer, connect to the network name (SSID)
hp (product model).(6-digit
unique identifier)
, which is the default ad hoc network created by the HP Photosmart.
The 6-digit identifier is unique to each printer.
OR
Use an ad hoc network profile on your computer to connect to the product. If your
computer is not currently configured with an ad hoc network profile, consult the Help file
for your computer Operating System for the proper method to create an ad hoc profile on
your computer. Once the ad hoc network profile has been created, insert the installation
CD that came with the product and install the software. Connect to the ad hoc network
profile you created on your computer.
NOTE:
An ad hoc connection can be used if you do not have a wireless router or
access point but do have a wireless radio on your computer. However, an ad hoc
connection may result in a lower level of network security and possibly reduced
performance when compared to an infrastructure network connection using a wireless
router or access point.
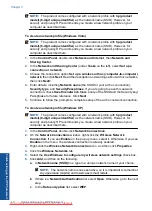
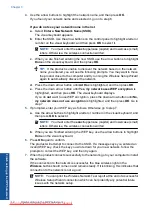
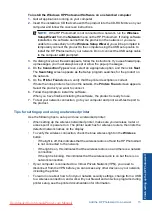
To connect the HP Photosmart to a Windows computer with an ad hoc connection, the
computer must have a wireless network adapter and an ad hoc profile. Create a network
profile for a Windows Vista or Windows XP computer using the directions below.
Add the HP Photosmart to a network
9
Finish
sett
ing u
p
t
h
e HP Ph
oto
sma
rt
Summary of Contents for Photosmart Premium Fax e-All-in-One Printer - C410
Page 1: ...HP Photosmart Premium Fax C410 series Downloaded from ManualsPrinter com Manuals ...
Page 2: ...Downloaded from ManualsPrinter com Manuals ...
Page 8: ...Chapter 2 6 How do I How do I Downloaded from ManualsPrinter com Manuals ...
Page 52: ...Chapter 5 50 Paper basics Paper basics Downloaded from ManualsPrinter com Manuals ...
Page 74: ...Chapter 6 72 Print Print Downloaded from ManualsPrinter com Manuals ...
Page 88: ...Chapter 8 86 Copy Copy Downloaded from ManualsPrinter com Manuals ...
Page 96: ...Chapter 9 94 Fax Fax Downloaded from ManualsPrinter com Manuals ...
Page 100: ...Chapter 10 98 Save photos Save photos Downloaded from ManualsPrinter com Manuals ...
Page 259: ...Japan safety statement 257 Technical information Downloaded from ManualsPrinter com Manuals ...
Page 264: ...262 Index Downloaded from ManualsPrinter com Manuals ...


