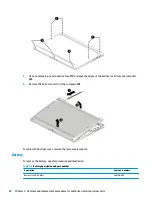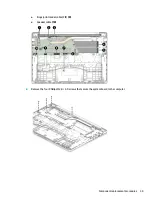
3.
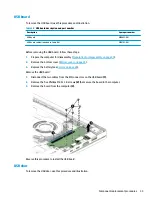
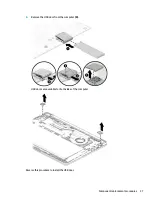
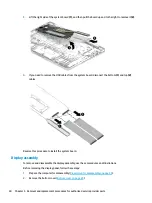
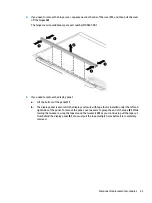
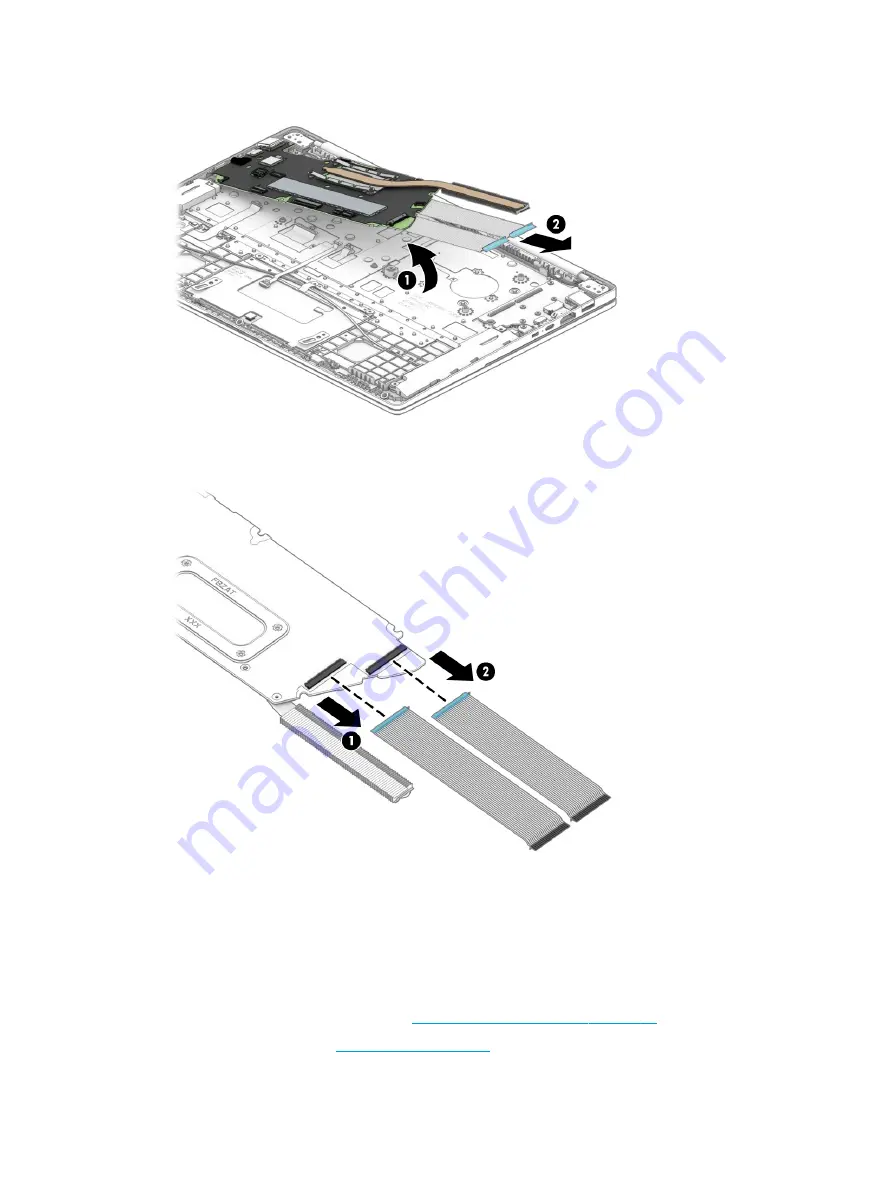
Lift the right side of the system board (1), and then pull the board up and to the right to remove it (2).
4.
If you need to remove the USB cables from the system board, disconect the bottom (1) and top (2)
cables.
Reverse this procedure to install the system board.
Display assembly
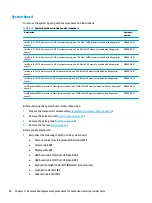
To remove and disassemble the display assembly, use these procedures and illustrations.
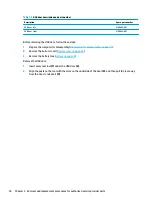
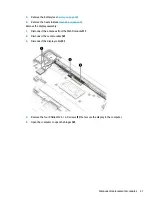
Before removing the display panel, follow these steps:
1.
Prepare the computer for disassembly (
Preparation for disassembly on page 25
2.
Remove the bottom cover (
).
40
Chapter 5 Removal and replacement procedures for authorized service provider parts
Summary of Contents for Pro c640 Chromebook
Page 4: ...iv Safety warning notice ...
Page 7: ...Index 65 vii ...
Page 8: ...viii ...
Page 12: ...4 Chapter 1 Product description ...
Page 32: ...24 Chapter 4 Removal and replacement procedures preliminary requirements ...
Page 58: ...50 Chapter 5 Removal and replacement procedures for authorized service provider parts ...
Page 72: ...64 Chapter 10 Recycling ...

