Upgrading a 20-Slot Library to 40 or 60 Slots
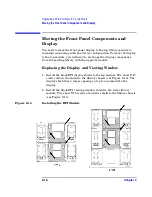
Moving the Front Panel Components and Display
Chapter 2
2-19
U
pgrad
ing 2
0
-S
lo
t
Li
brari
e
s
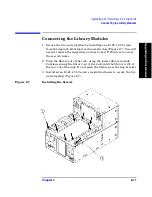
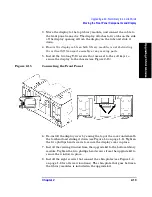
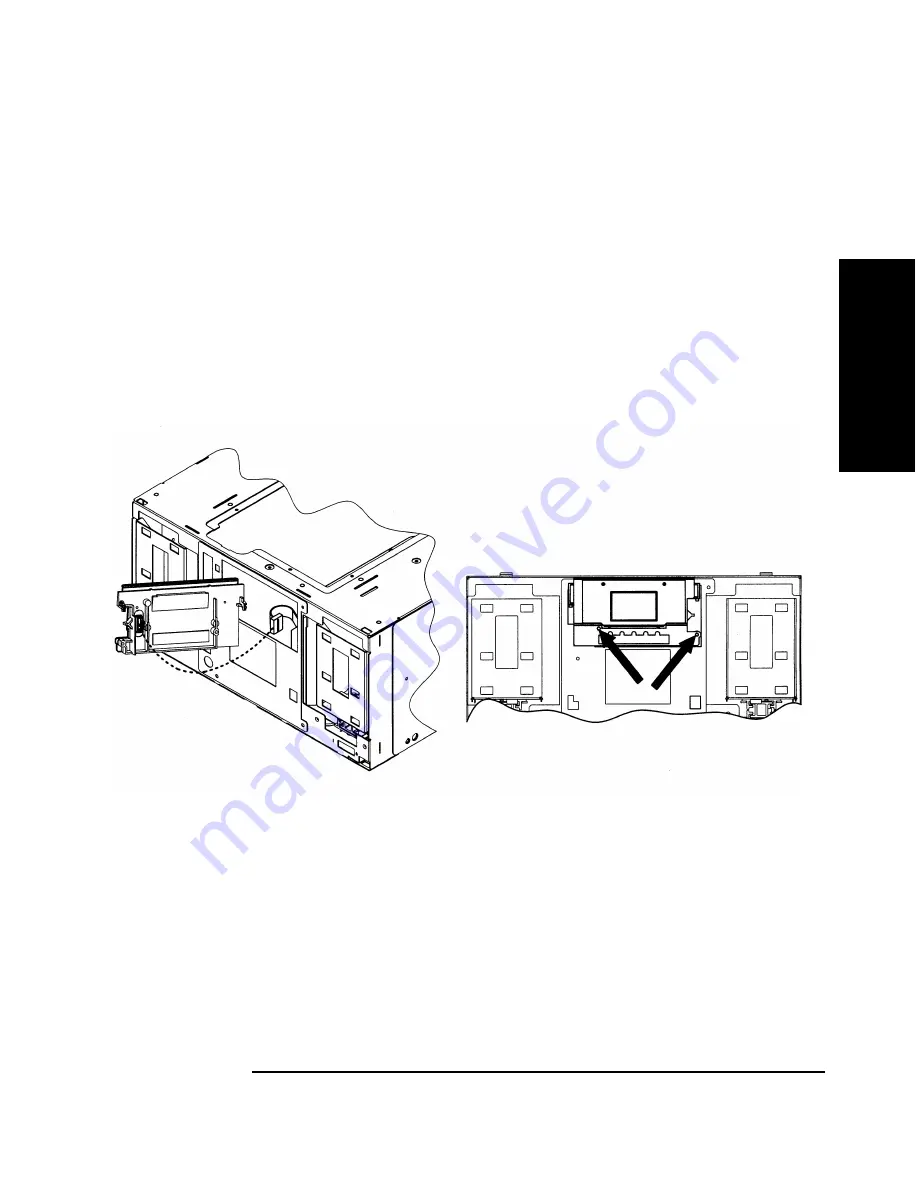
3. Move the display to the top library module, and connect the cable to
the front panel connector. The display attaches to two tabs on the side
of the display opening. Attach the display on the tabs and slide it
down.
4.
Ensure the display cable on both library modules is not obstructing
the vertical lift transport assembly or any moving parts.
5. Install the two long T-10 screws that are next to the soft keys to
secure the display to the chassis (see Figure 2-15).
Figure 2-15
Connecting the Front Panel
6. Re-install the display cover by easing the top of the cover underneath
the forehead and sliding it down (see Figure 1-4 on page 1-8). Tighten
the two phillips head screws to secure the display cover in place.
7. Install the viewing window from the upgrade kit to the bottom library
module. Tighten the two phillips head screws from the upgrade kit to
secure the window in place.
8. Install the eight screws that connect the chin plates (see Figure 1-4
on page 1-8 for all screw locations). The chin plate that goes between
the library modules is included in the upgrade kit.
Summary of Contents for ProBook 440
Page 7: ...Chapter 1 1 1 Preparing for the Upgrade 1 Preparing a 2 20 and 4 40 Library for the Upgrade ...
Page 17: ...Chapter 2 2 1 Upgrading 20 Slot Libraries 2 Upgrading a 20 Slot Library to 40 or 60 Slots ...
Page 39: ...Chapter 3 3 1 Upgrading 40 Slot Libraries 3 Upgrading a 40 Slot Library to 60 Slots ...
Page 56: ...Upgrading a 40 Slot Library to 60 Slots Verifying the Connection Chapter 3 3 18 ...
Page 57: ...Chapter 4 4 1 Upgrading Library 6 140 4 Upgrading Library Model 6 140 ...

