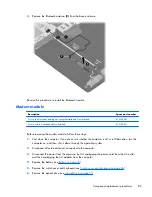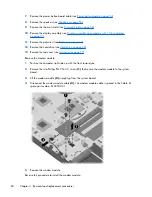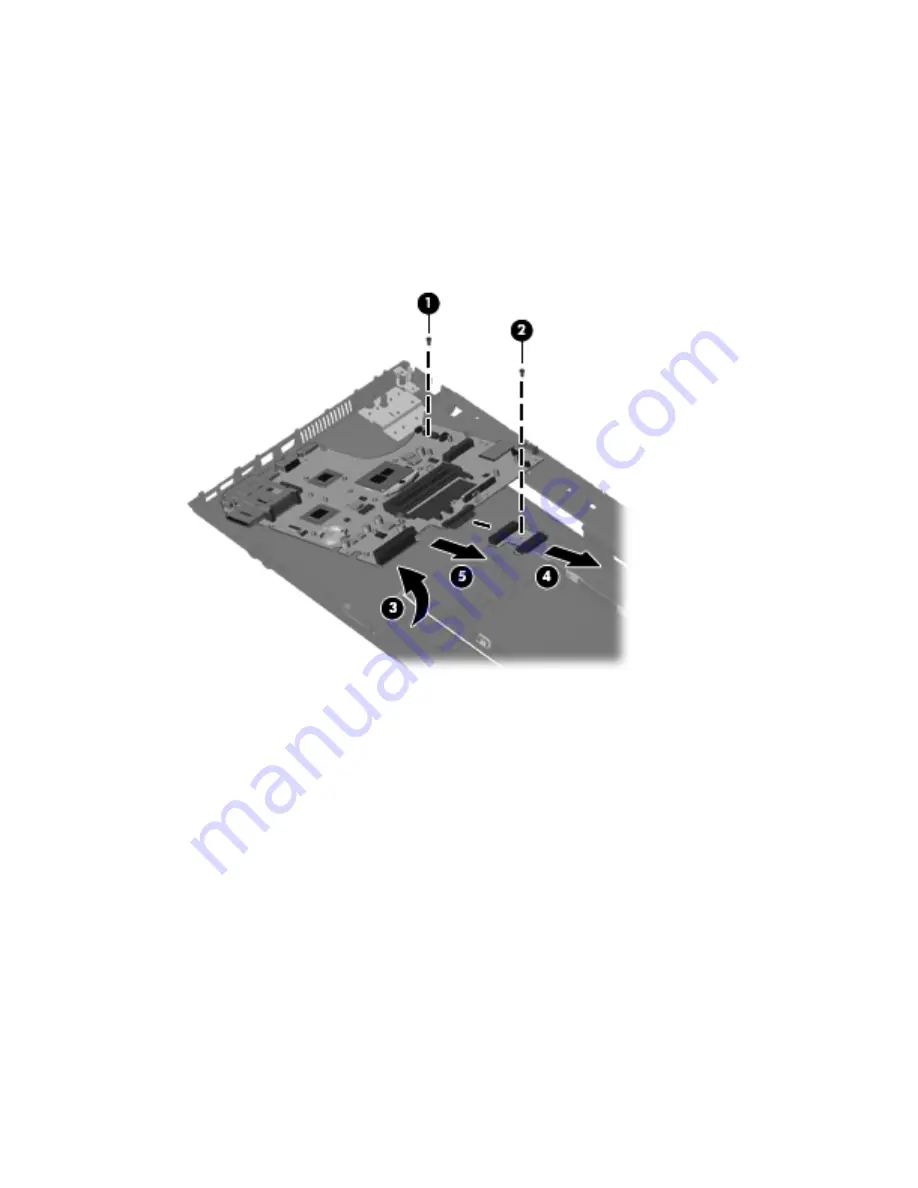
Remove the system board:
1.
Position the computer right-side up with the front toward you.
2.
Remove the M2.0x3.0 screw on the left of the system board
(1)
.
3.
Remove the M2.0x2.5 screw
(2)
that secures the optical drive extender to the base enclosure.
4.
Lift the board at an angle
(3)
and remove the optical drive extender
(4)
.
5.
Slide the board partially out of the base pan
(5)
.
88
Chapter 4 Removal and replacement procedures
Summary of Contents for ProBook 4525s - Notebook PC
Page 1: ...HP ProBook 4525s Notebook PC Maintenance and Service Guide ...
Page 4: ...iv Safety warning notice ...
Page 8: ...10 Recycling 131 Battery 131 Display 131 Index 137 viii ...
Page 135: ...RJ 11 modem Pin Signal 1 Unused 2 Tip 3 Ring 4 Unused 5 Unused 6 Unused RJ 11 modem 127 ...
Page 149: ......


