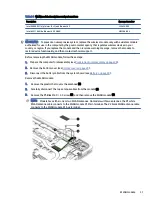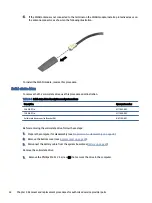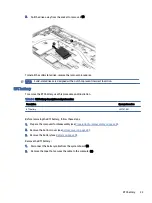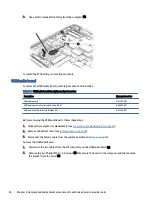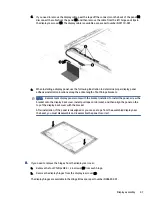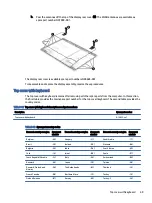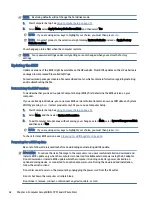
Before removing the heat sink, follow these steps:
1.
Prepare the computer for disassembly (see
Preparation for disassembly on page 28
2.
Remove the bottom cover (see
3.
Disconnect the battery cable from the system board (see
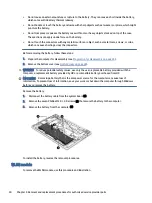
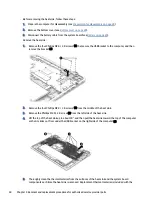
Remove the heat sink:
1.
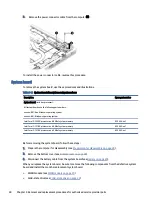
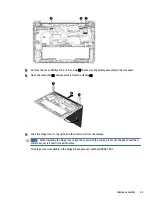
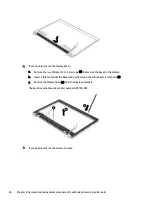
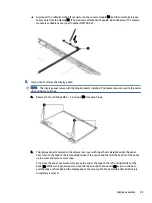
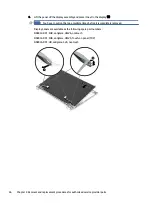
Remove the four Phillips M2.0 × 4.0 screws (1) that secure the USB bracket to the computer, and then
remove the bracket (2).
2.
Remove the four Phillips M2.0 × 3.0 screws (1) from the middle of the heat sink.
3.
Remove the Phillips M2.0 × 3.0 screw (2) from the left side of the heat sink.
4.
Lift the top of the heat sink up to about 30°, and then pull the heat sink toward the top of the computer
so that it slides out from under the USB bracket on the right side of the computer (3).
5.
Thoroughly clean the thermal material from the surfaces of the heat sink and the system board
components each time the heat sink is removed. Replacement thermal material is included with the
38
Chapter 5 Removal and replacement procedures for authorized service provider parts

