2-17
Installing the HP 5400 zl Switches
Installation Procedures
Installing the HP 5400 zl
Switches
4.
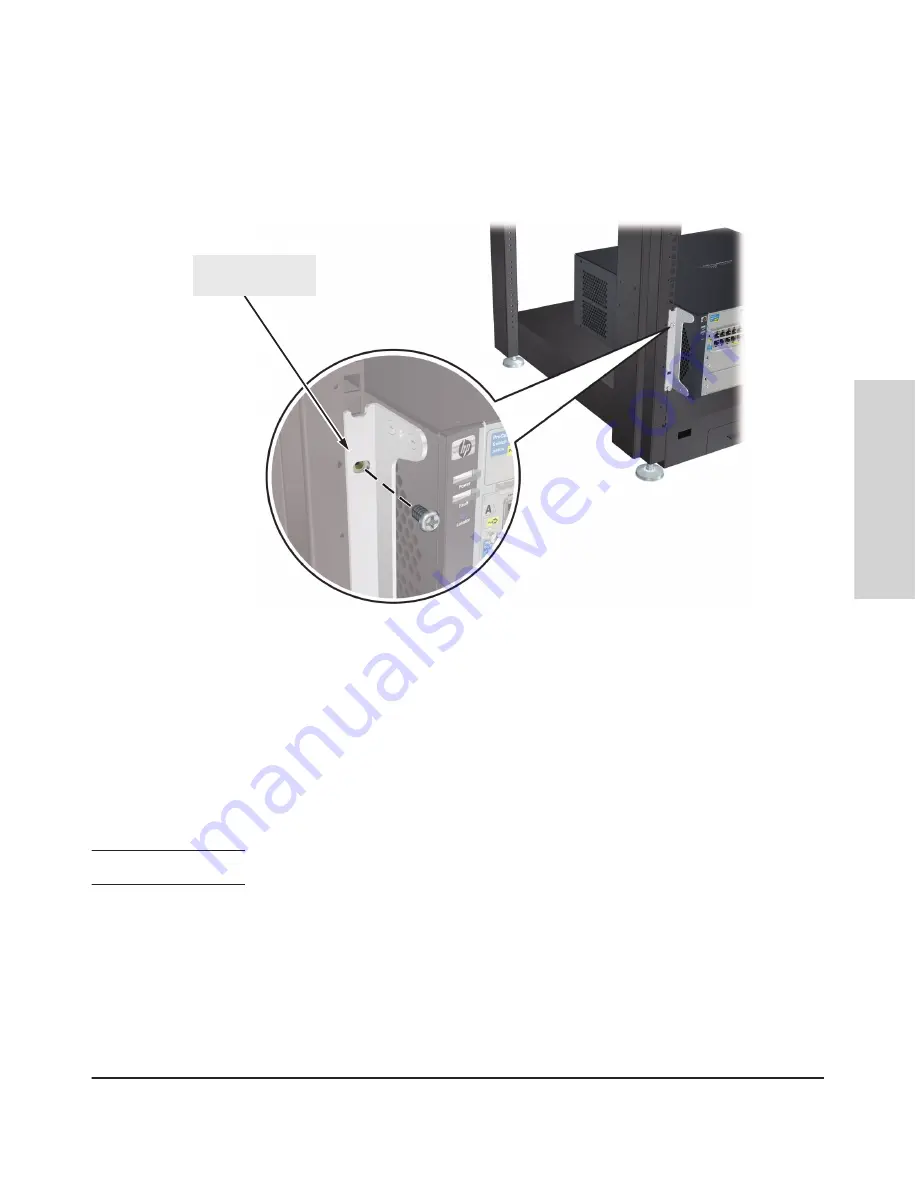
Install the other screw into the upper hole in each bracket. Tighten these
screws.
install and tighten the
other 12-24 screws
Figure 2-10. Screws in bracket being installed
Horizontal Surface Mounting
Place the switch on a table or other horizontal surface. Use a sturdy surface
in an uncluttered area. You may want to secure the networking cables and
switch power cord to the table legs or other part of the surface structure to
help prevent people from tripping over the cords.
N o t e
Ensure the air flow is not restricted around the sides and back of the switch.
6. Install the Grounding Wire
If a grounding wire is to be attached to the switch chassis, the grounding lug
must be removed and a wire crimped to it and the grounding lug must be
reinstalled.
1.
Use a #1 Phillips (cross-head) screwdriver and remove the grounding lug
and two screws from the back of the switch.
Summary of Contents for ProCurve 5400zl Series
Page 1: ...HP 5400 zl Switches Installation and Getting Started Guide Power over Ethernet ...
Page 2: ......
Page 3: ...HP 5400 zl Switches Installation and Getting Started Guide ...
Page 10: ......
Page 60: ......
Page 93: ...5 15 Troubleshooting HP Customer Support Services Troubleshooting ...
Page 94: ...5 16 Troubleshooting HP Customer Support Services Troubleshooting ...
Page 110: ......
Page 134: ......


