ProCurve Secure Access 700wl Series Installation and Getting Started Guide
4-3
Basic Configuration
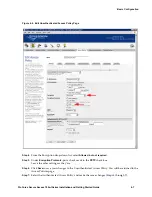
Step 1.
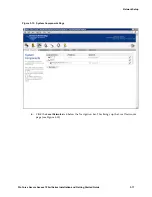
Point your browser to the IP address or hostname of your Access Control Server, and log on to
the Administrative Console.
Step 2.
From the initial page, click the
RIGHTS
button to go to the Rights Manager.
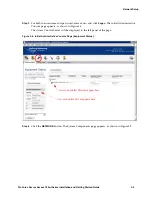
The Rights Setup page appears.
Step 3.
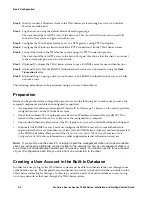
Click the
Identity Profiles
tab below the Navigation bar.
The Identity Profiles page appears, showing a list of the currently-defined Identity Profiles.
Step 4.
Click the
Users
link in the left panel of the page.
The Users page appears, with an empty Users list.
Step 5.
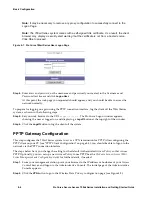
Click the
New User
button.
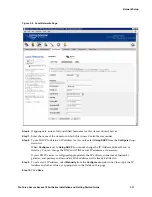
The New User page appears.
Step 6.
Enter the following information:
•
Name:
A descriptive name, such as
Demonstration User
. This is
not
the logon name.
•
Username/MAC Address
:
Demo
(or a different user name). This is the logon name.
Do
not
check the MAC Address User check box.
•
Password
:
password
(or any password you like)
Confirm Password
: must be the same as that entered into the first password field.
Step 7.
Click
Save
.
User Authentication Through the Default Logon Page
In this step, you connect your Windows PC to an Access Controller Module downlink port and log onto
your network using the username and password you added to the built-in database. If this is successful,
you should be able to access the Internet and other resources on your network as normal.
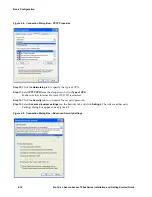
Note:
If you are using the same Windows PC as a client that you have been using for configuration,
and the PC’s network interface is configured to use a static IP address, you must change its properties
so that it will obtain an IP address automatically using DHCP.
Step 1.
Plug the Ethernet cable from your PC into one of the Access Controller downlink ports.
If you are using the same PC as both a client and a management station, you must release the
existing IP configuration (in Windows) from the network interface of the PC as follows:
From the Windows
Start
menu, click
Run
then enter the command:
ipconfig /release
Step 2.
Power on the PC to obtain a new IP configuration from DHCP through the Access Controller, or
do the following:
From the
Start
menu, click
Run
, then enter the command:
ipconfig /renew
The PC should receive an IP address in the 42.x.x.x range.
Step 3.
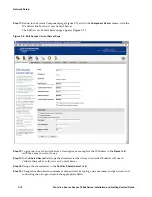
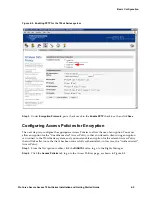
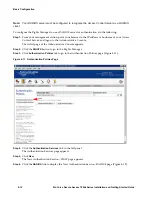
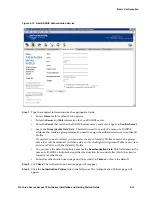
Start your web browser and go to any web site. After a moment the web browser will display the
ProCurve 700wl Series Logon page (Figure 4-1).
Summary of Contents for ProCurve 745wl
Page 1: ...Installation and Getting Started Guide www procurve com ProCurve Secure Access 700wl Series ...
Page 2: ......
Page 3: ...PROCURVE SECURE ACCESS 700WL SERIES INSTALLATION AND GETTING STARTED GUIDE ...
Page 8: ......
Page 12: ......
Page 24: ......
Page 44: ......
Page 60: ......
Page 66: ......
Page 82: ...E 12 ProCurve Secure Access 700wl Series Installation and Getting Started Guide ...
Page 91: ......

