Setup 27
Use the following information when connecting peripheral cables and power cords to the server.
WARNING:
This server is very heavy. To reduce the risk of personal injury or damage to the
equipment:
•
Observe local occupational health and safety requirements and guidelines for manual
material handling.
•
Get help to lift and stabilize the product during installation or removal, especially when the
product is not fastened to the rails. When the server weighs more than 22.5 kg (50 lb), at least
two people must lift the server into the rack together. A third person may be required to help
align the server if the server is installed higher than chest level.
•
Use caution when installing the server in or removing the server from the rack; it is unstable
when not fastened to the rails.
CAUTION:
Always plan the rack installation so that the heaviest item is on the bottom of the rack.
Install the heaviest item first, and continue to populate the rack from the bottom to the top.
1.
Install the server and cable management arm into the rack. See the installation instructions that ship with
the Quick Deploy Rail System.
2.
Connect peripheral devices to the server.
3.
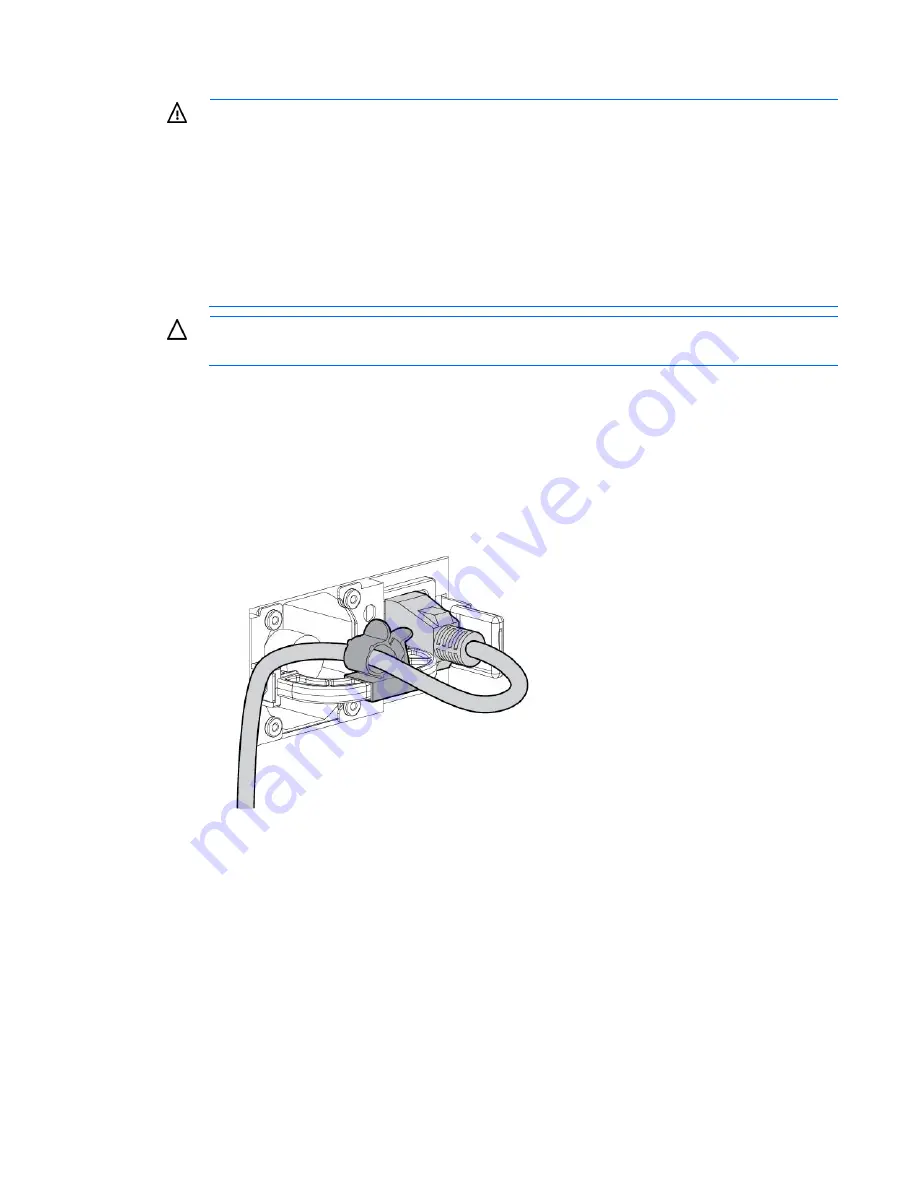
Connect the power cord to the server.
4.
Using the strain relief clip from the server hardware kit, secure the power cord.
5.
Connect the power cord to the power source.
6.
Power up the server. ("
" on page
Powering up and configuring the server
To power up the server, press the Power On/Standby button.
While the server boots, RBSU and the ORCA utility are automatically configured to prepare the server for
operating system installation.
To configure these utilities manually:


