


• Private or hybrid cloud computing
• Big data and mobility requirements
• Improving data center infrastructure
• Better use of server, storage, and networking technology
For more information, see the Hewlett Packard Enterprise website:
http://www.hpe.com/services/consulting
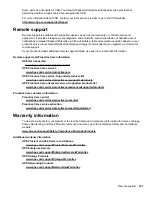
Proactive notifications
30 to 60 days in advance, Hewlett Packard Enterprise sends notifications to subscribed customers on
upcoming:
• Hardware, firmware, and software changes
• Bulletins
• Patches
• Security alerts
You can subscribe to proactive notifications on the
Hewlett Packard Enterprise website
Proactive notifications
129


