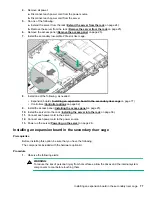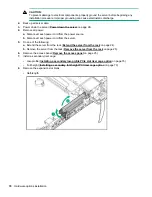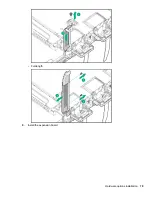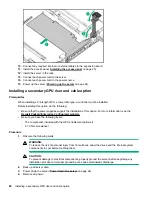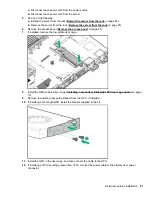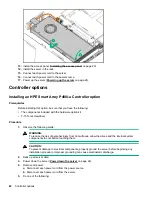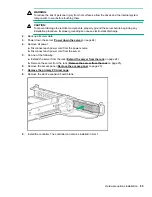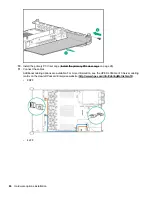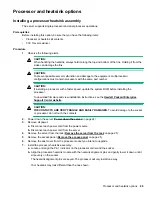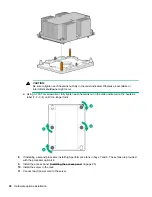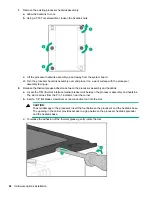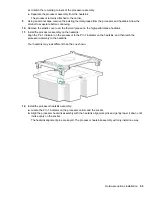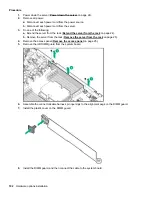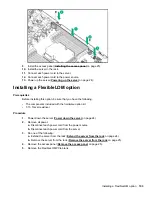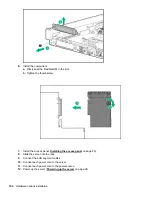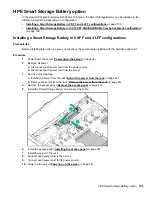
12.
Connect each power cord to the power source.
13.
Power up the server (
on page 24).
Installing a high-performance heatsink
Prerequisites
CAUTION:
Installing a high-performance heatsink requires the installation of a processor assembly onto the
heatsink. To avoid damage to server or components, do not remove or install the processor assembly
when installing or replacing other heatsinks.
Before installing this option, be sure that you have the following:
• The components included with the hardware option kit
• T-30 Torx screwdriver
• 1/4" flat blade screwdriver or nonconductive tool
Hewlett Packard Enterprise recommends using a nonconductive tool.
Procedure
1.
Observe the following alerts.
CAUTION:
The processor assembly must be removed and replaced as a unit. Do not remove the processor
from the carrier.
CAUTION:
When handling the heatsink, always hold it along the top and bottom of the fins. Holding it from the
sides can damage the fins.
CAUTION:
THE CONTACTS ARE VERY FRAGILE AND EASILY DAMAGED.
To avoid damage to the socket
or processor, do not touch the contacts.
2.
Power down the server (
on page 24).
3.
Remove all power:
a.
Disconnect each power cord from the power source.
b.
Disconnect each power cord from the server.
4.
Do one of the following:
a.
Extend the server from the rack (
Extend the server from the rack
on page 24).
b.
Remove the server from the rack (
Remove the server from the rack
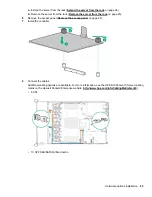
5.
6.
Observe the following cautions.
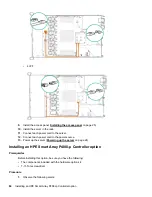
CAUTION:
Be sure to loosen each heatsink nut in the order indicated. Otherwise, damage might occur to the
heatsink or processor.
CAUTION:
Install the processor heatsink assembly as soon as possible after removing it. Do not leave the
processor socket unpopulated for extended periods of time.
Installing a high-performance heatsink
91

