Hardware options installation 88
•
When using BitLocker, always retain the recovery key/password. The recovery key/password is
required to enter Recovery Mode after BitLocker detects a possible compromise of system integrity.
•
HP is not liable for blocked data access caused by improper TPM use. For operating instructions, see the
encryption technology feature documentation provided by the operating system.
Installing the Trusted Platform Module board
WARNING:
To reduce the risk of personal injury, electric shock, or damage to the equipment,
remove the power cord to remove power from the server. The front panel Power On/Standby
button does not completely shut off system power. Portions of the power supply and some internal
circuitry remain active until AC power is removed.
WARNING:
To reduce the risk of personal injury from hot surfaces, allow the drives and the
internal system components to cool before touching them.
1.
Power down the server (on page
23
).
2.
Remove all power:
a.
Disconnect each power cord from the power source.
b.
Disconnect each power cord from the server.
3.
Remove the server from the rack, if necessary.
4.
Place the server on a flat, level work surface.
5.
Remove the access panel (on page
24
).
6.
Remove the PCI riser cage (on page
29
).
7.
Remove the air baffle (on page
32
).
CAUTION:
Any attempt to remove an installed TPM from the system board breaks or disfigures
the TPM security rivet. Upon locating a broken or disfigured rivet on an installed TPM,
administrators should consider the system compromised and take appropriate measures to ensure
the integrity of the system data.
8.
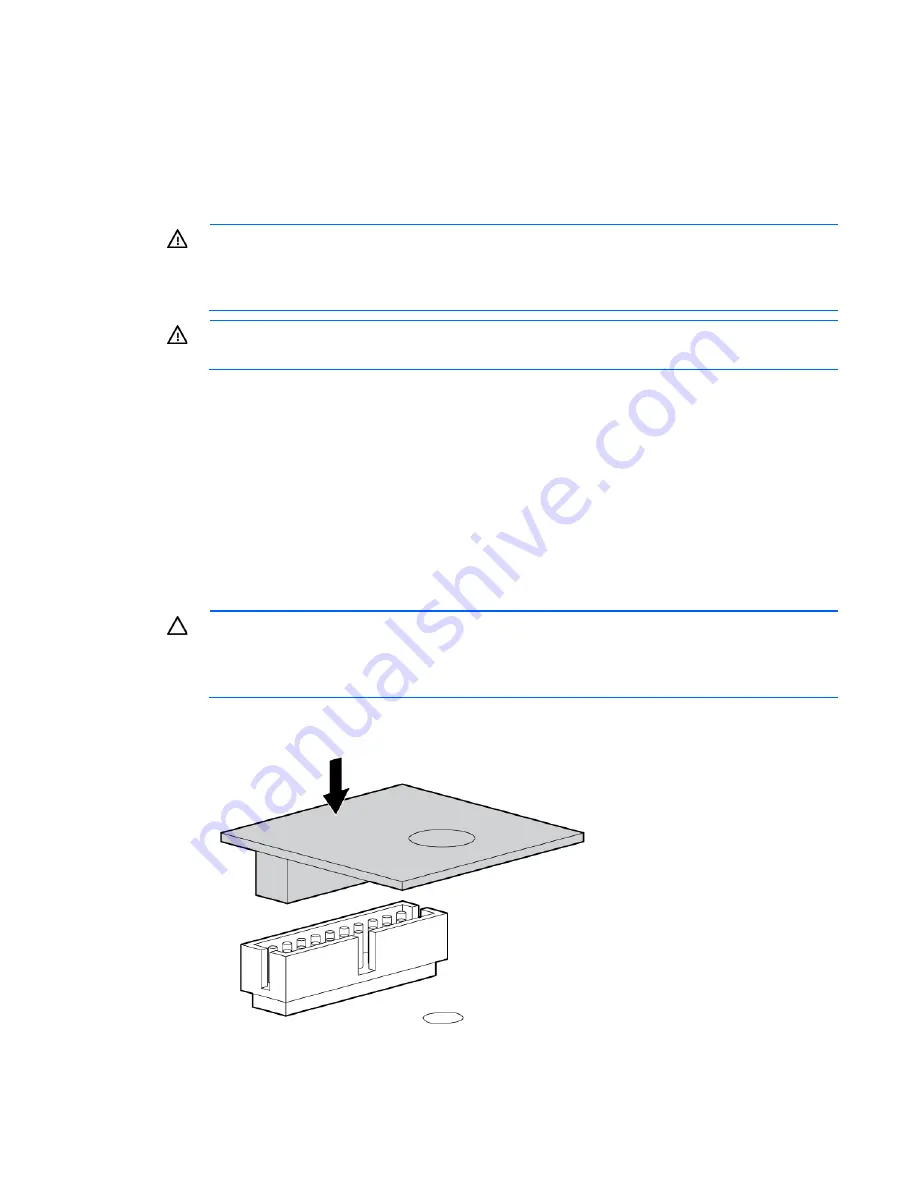
Install the TPM board. Press down on the connector to seat the board ("
System board components
" on
page
15
).
Summary of Contents for ProLiant DL380p Gen8
Page 6: ...Contents 6 Index 131 ...
Page 47: ...Hardware options installation 47 14 Install the heatsink 15 Remove the two fan blanks ...
Page 92: ...Cabling 92 LFF hard drive cabling Optical drive cabling ...
Page 93: ...Cabling 93 FBWC cabling 8 or 16 drive SFF 8 drive LFF ...
Page 98: ...Cabling 98 Connect the cable as indicated ...
Page 125: ...Support and other resources 125 ...
Page 126: ...Support and other resources 126 ...

