background image


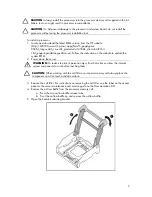
CAUTION:

 The pins on the processor socket are very fragile. Any damage to them may 

require replacing the processor memory cell.


6.


Remove the processor socket protective cover. Retain the cover for future use. 


CAUTION: 

Failure to completely open the processor locking lever prevents the processor 

from seating during installation, leading to hardware damage.


7.


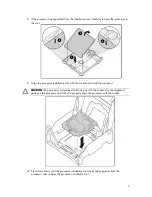
Open the processor retaining latch and the processor socket retaining bracket. 


IMPORTANT:

 Be sure the processor remains inside the processor installation tool. 


Summary of Contents for ProLiant DL785

Page 1: ...alidate the required switch setting for these processors NOTE Six core AMD Opteron Processors might show a 1 MB reduction in available L3 cache when performance enhancing HT Assist is enabled because HT Assist requires 1MB of L3 cache per CPU to operate Installing a processor The server supports a four or eight processor configuration CAUTION The cell filler is required in cells 3 6 in a four proc...

Page 2: ...ow the instruction on the website to update the system ROM 2 Power down the server WARNING To reduce the risk of personal injury from hot surfaces allow the internal system components to cool before touching them CAUTION When working with the cell filler or processor memory cell always place the component on a flat level antistatic surface 3 Remove the cell filler For instructions on removing the ...

Page 3: ...et protective cover Retain the cover for future use CAUTION Failure to completely open the processor locking lever prevents the processor from seating during installation leading to hardware damage 7 Open the processor retaining latch and the processor socket retaining bracket IMPORTANT Be sure the processor remains inside the processor installation tool ...

Page 4: ...with the socket and install the processor CAUTION The processor is designed to fit one way into the socket Use the alignment guides on the processor and socket to properly align the processor with the socket 10 Press down firmly until the processor installation tool clicks and separates from the processor then remove the processor installation tool ...

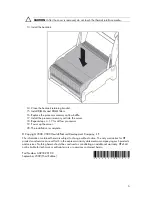
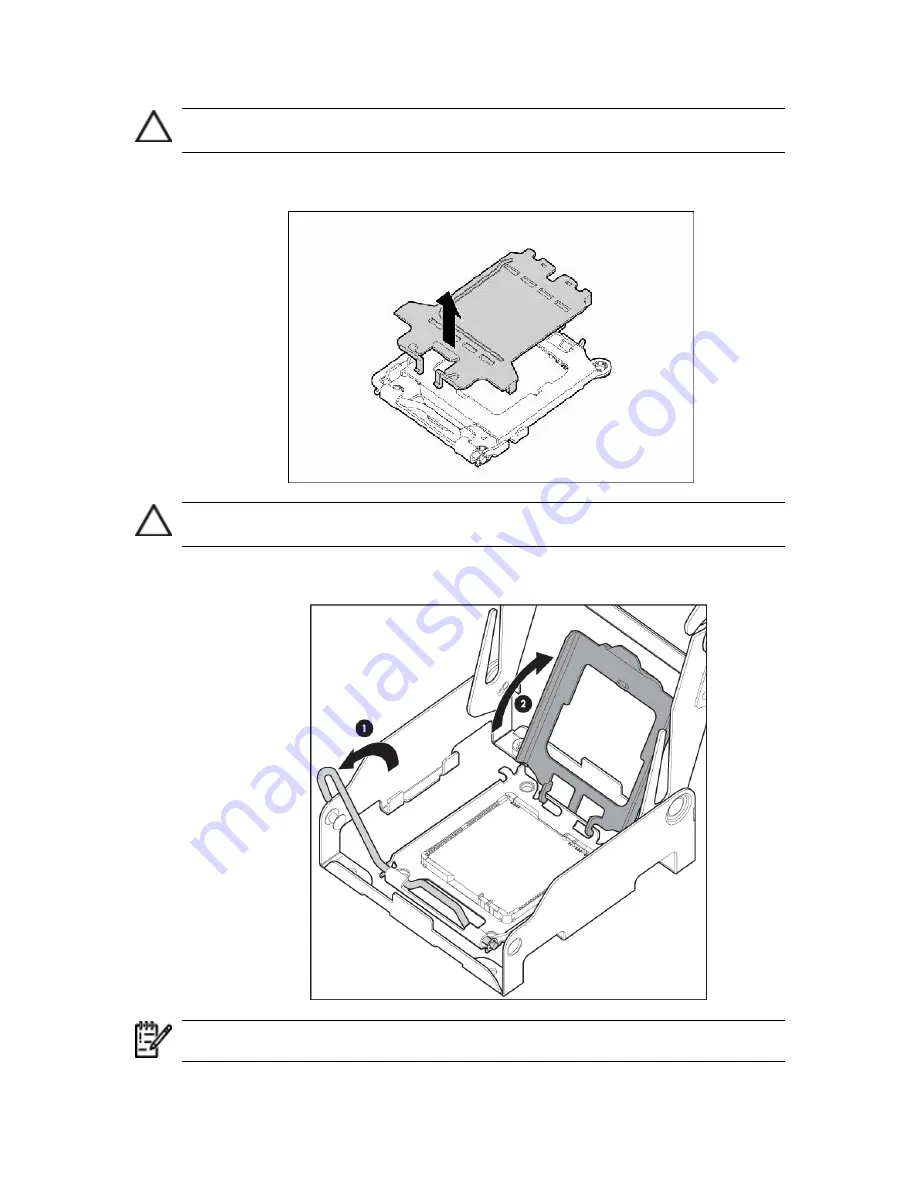
Page 5: ...5 11 Close the processor retaining latch and the processor socket retaining bracket 12 Remove the heatsink cover ...

Page 6: ...the server 20 The installation is complete Copyright 2008 2009 Hewlett Packard Development Company L P The information contained herein is subject to change without notice The only warranties for HP products and services are set forth in the express warranty statements accompanying such products and services Nothing herein should be construed as constituting an additional warranty HP shall not be ...

Reviews: