Installation 33
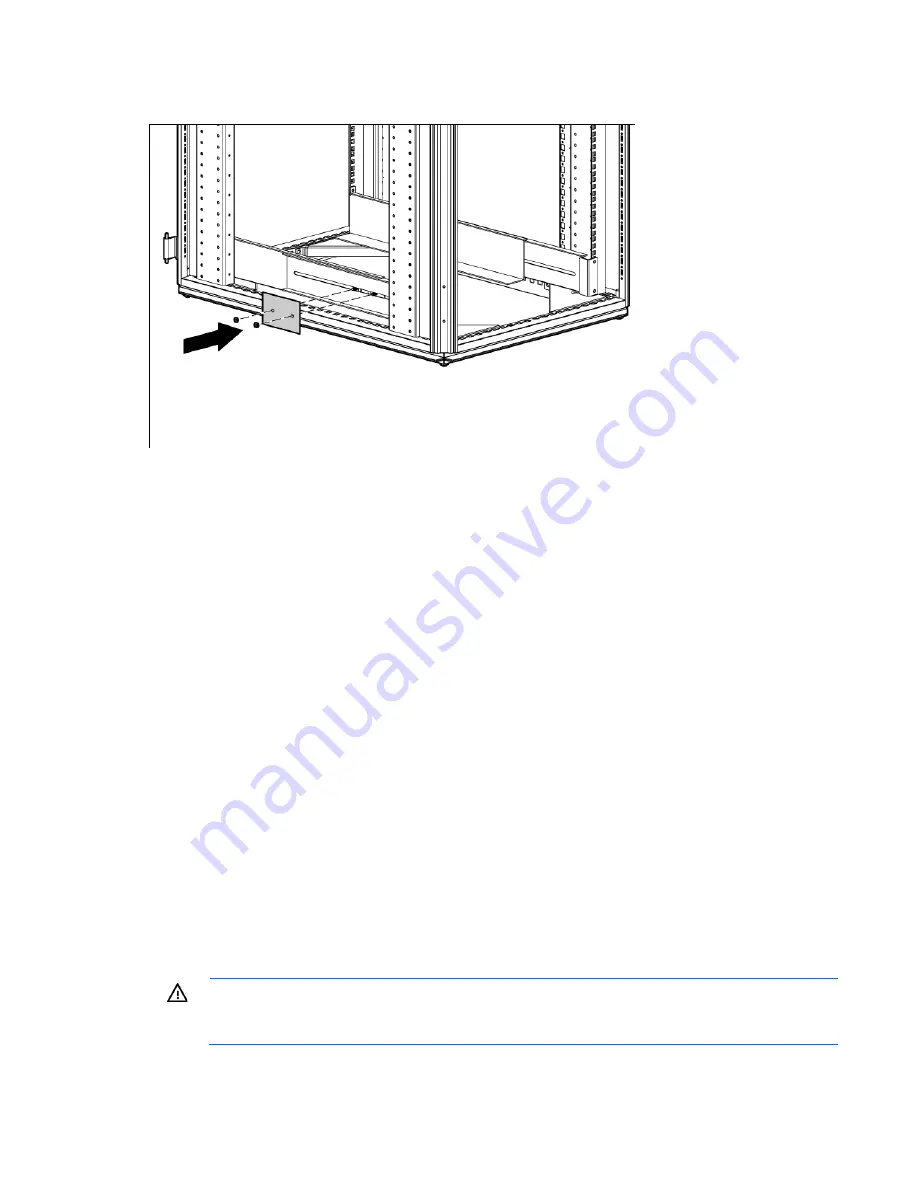
6.
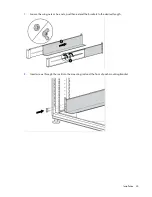
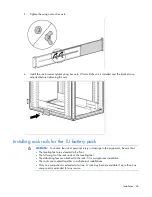
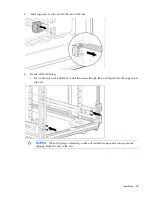
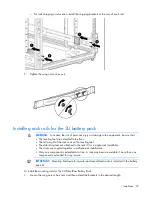
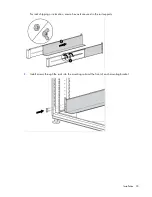
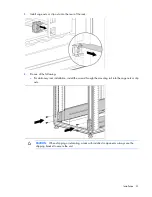
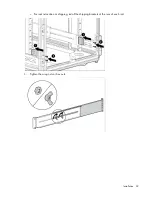
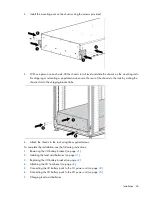
Install the reinforcement plates using hex nuts. Wait until the unit is installed and the brackets are
adjusted before tightening the nuts.
Installing battery packs
The HP DirectFlow Battery Pack can be installed to provide extended run-time. The HP DirectFlow VRLA
Battery Pack (3U) consists of a four-battery string in a 3U chassis. The HP R12000 and R18000 DirectFlow
1U Lithium-ion Battery Packs consist of an eight lithium-ion battery string in a 1U chassis. Each battery pack
can connect directly to a power unit and optionally to another battery pack that is the same battery type and
rack unit (U) height. Up to two battery packs can be connected in series.
Before installing any battery packs, see "Powering down the UPS (on page
33
)."
Powering down the UPS
To power down an existing UPS configuration that includes battery packs, see "Powering down the UPS and
battery packs (on page
80
)."
To power down the UPS:
1.
Power down all load devices.
2.
Press the
ESC
button for 3 seconds, and then press the
Enter
button to place the UPS in Bypass mode.
3.
Disconnect the power unit from utility power.
4.
Wait at least 5 minutes for the UPS internal circuitry to discharge and power down.
Installing the 1U battery pack
Before installing the unit, review and adhere to all warnings provided in "Precautions (on page
18
)."
WARNING:
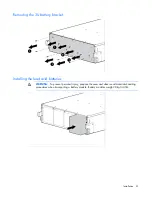
To reduce the risk of personal injury or equipment damage due to weight
considerations, first load the empty battery pack chassis into the rack, and then install the battery
modules in the chassis.
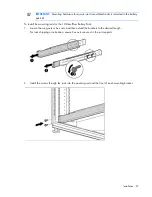
Mount the battery pack directly below the UPS without a U gap.
Summary of Contents for R12000 XR
Page 17: ...Overview 17 o Two 3U DirectFlow Battery Packs o Two 1U DirectFlow Battery Packs ...
Page 98: ...Troubleshooting 98 ...
Page 99: ...Troubleshooting 99 ...
Page 100: ...Troubleshooting 100 ...
Page 101: ...Troubleshooting 101 ...
Page 102: ...Troubleshooting 102 ...
Page 103: ...Troubleshooting 103 ...
Page 104: ...Troubleshooting 104 ...
Page 105: ...Troubleshooting 105 ...
Page 106: ...Troubleshooting 106 ...
Page 107: ...Troubleshooting 107 ...
Page 108: ...Troubleshooting 108 ...
Page 109: ...Troubleshooting 109 ...
Page 110: ...Troubleshooting 110 ...
Page 111: ...Troubleshooting 111 ...

