13.
Route the data cable through the cable guides.
CAUTION:
There are two cable guides that keep the data cable from being pinched by the
drive cage when raising or lowering it. One is located on the bottom side of the drive cage. The
other is located on the chassis frame under the drive cage. Ensure that the data cable is routed
through these guides.
14.
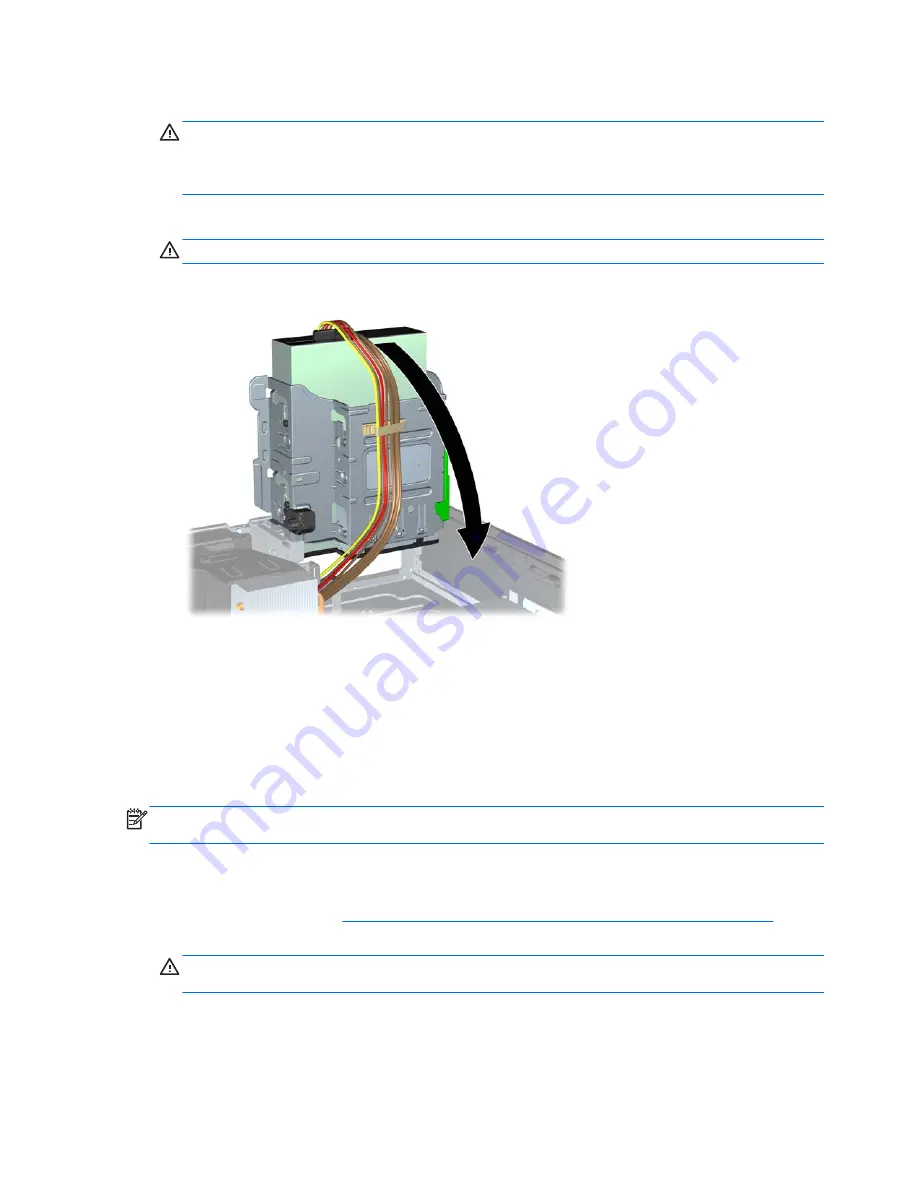
Rotate the drive cage back down to its normal position.
CAUTION:
Be careful not to pinch any cables or wires when rotating the drive cage down.
Figure 2-52
Rotating the Drive Cage Down
15.
Replace the front bezel (if removed) and access panel.
16.
If the computer was on a stand, replace the stand.
17.
Reconnect the power cord and any external devices, then turn on the computer.
18.
Lock any security devices that were disengaged when the access panel was removed.
Removing a 3.5-inch Secondary Hard Drive from a Drive Bay
NOTE:
Before you remove the old hard drive, be sure to back up the data from the old hard drive so
that you can transfer the data to the new hard drive.
The 3.5-inch secondary hard drive is located underneath the 5.25-inch optical drive. You must
remove the 5.25-inch optical drive before removing the 3.5-inch secondary hard drive.
1.
Follow the procedure in
Removing a 5.25-inch Optical Drive from a Drive Bay on page 41
to
remove the optical drive and access the secondary hard drive.
CAUTION:
Ensure that the computer is turned off and that the power cord is disconnected
from the electrical outlet before proceeding.
46
Chapter 2 Hardware Upgrades
ENWW


