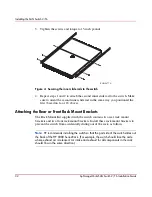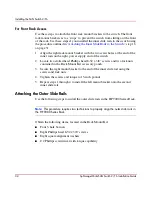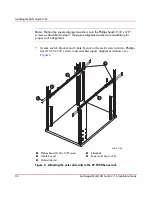
Installing the SAN Switch 2/16
33
hp StorageWorks SAN Switch 2/16 Installation Guide
For Rear Rack Access
Use these steps to attach the rear rack mount brackets to the switch. The rear rack
mount brackets act as “stops” to prevent the switch from sliding out the rear of the
rack. Use these steps if you installed the inner slide rails to the switch using the
procedure outlined in “
Attaching the Inner Slide Rails to the Switch
,” step 1a on
page 31.
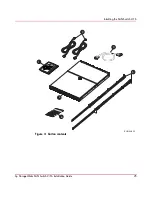
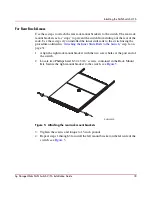
1. Align the right rack mount bracket with the two screw holes at the port end of
the switch.
2. Locate two Phillips head 8-32 x 3/16” screws, contained in the Rack Mount
Kit. Secure the right mount bracket to the switch, see
Figure 5
.
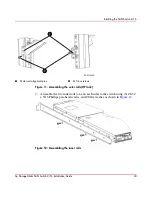
Figure 5: Attaching the rear rack mount brackets
3. Tighten the screws and torque to 15-inch pounds.
4. Repeat steps 1 through 3 to install the left mount bracket on the left side of the
switch, see
Figure 5
.
SHR-2490A
Summary of Contents for StorageWorks 2/16 - SAN Switch
Page 8: ...Contents 8 hp StorageWorks SAN Switch 2 16 Installation Guide ...
Page 60: ...Installing the SAN Switch 2 16 60 hp StorageWorks SAN Switch 2 16 Installation Guide ...
Page 74: ...Managing the SAN Switch 2 16 74 hp StorageWorks SAN Switch 2 16 Installation Guide ...
Page 86: ...Regulatory Compliance Notices 86 hp StorageWorks SAN Switch 2 16 Installation Guide ...
Page 94: ...Technical Specifications 94 hp StorageWorks SAN Switch 2 16 Installation Guide ...
Page 111: ......
Page 112: ......

