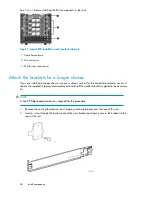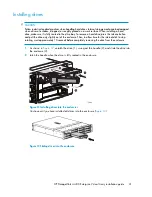
See
before installing the EVA components in the rack.
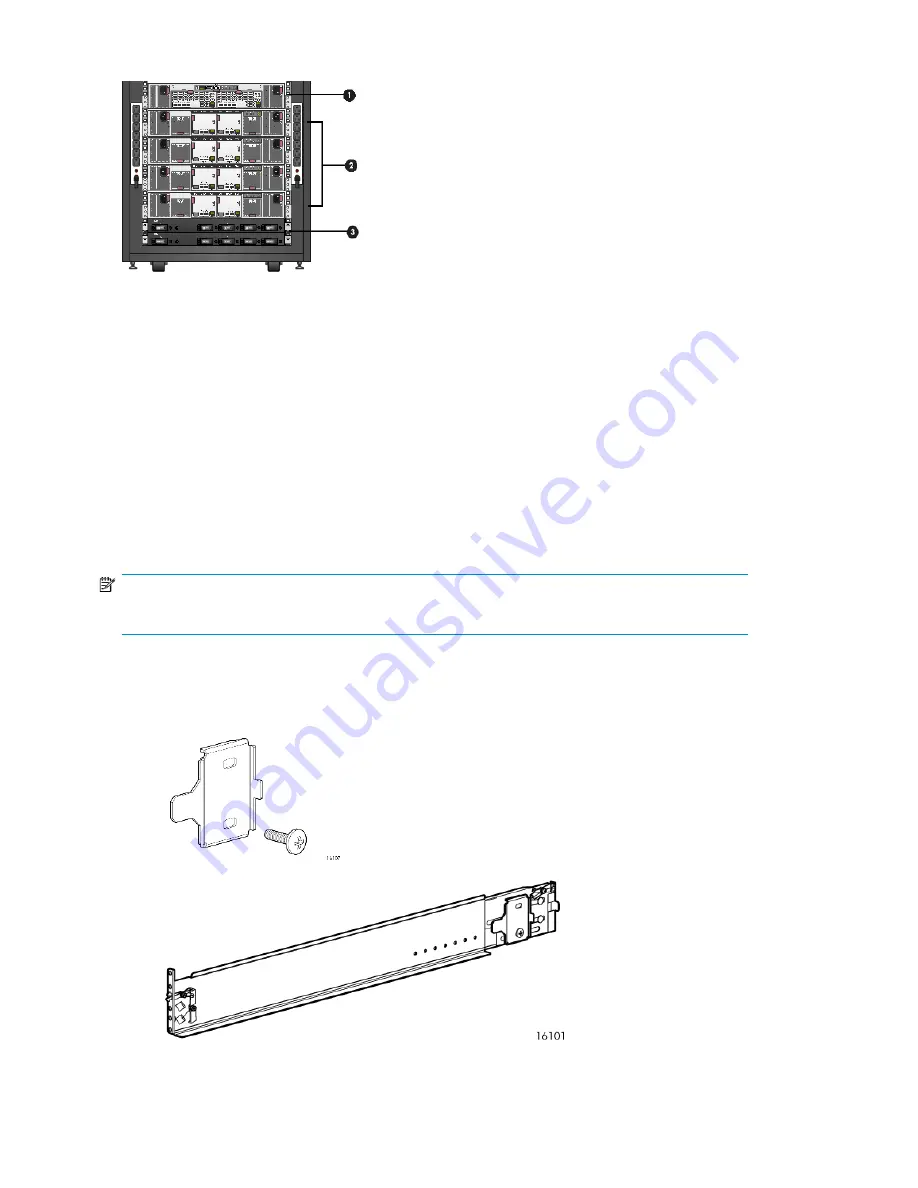
Figure 5 Typical EVA installed in rack (preferred layout)
1. Controller enclosure
2. Disk enclosures
3. PDU (at rear of enclosure)
Attach the brackets for a longer chassis
If you are installing a longer chassis into your cabinet, such as for the controller enclosure, you must
remove the supplied shipping retaining bracket and install the smaller brackets supplied in the accessory
kit.
NOTE:
A No. 2 Phillips head screwdriver is required for this procedure.
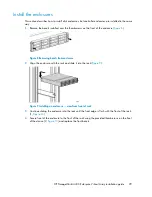
1.
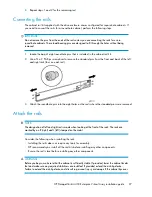
Remove the existing thumbscrew and shipping retaining bracket from the rear of the rail.
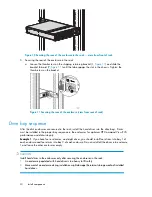
2.
Insert a screw through the bottom hole of the new bracket and loosely secure the bracket to the
rear of the rail.
Install components
26
Summary of Contents for StorageWorks 4400
Page 16: ...Figure 4 Installation checklist cont d About this guide 16 ...
Page 20: ...Review and confirm your plans 20 ...
Page 24: ...Remove product from packaging 24 ...
Page 36: ...Connect cables and power cords 36 ...
Page 48: ...Configuring management servers using HP SmartStart EVA Storage 48 ...
Page 50: ...Configuring application servers for Windows using HP SmartStart EVA Storage 50 ...
Page 78: ...Configuring non Windows application servers 78 ...

