Creating and presenting virtual disks
When creating and presenting virtual disks to an IBM AIX host, be sure to:
•
Set the OS unit ID to
0
.
•
Set Preferred path/mode to
No Preference
.
Select a LUN number if you chose a specific LUN on the Virtual Disk Properties window.
Verifying virtual disks from the host
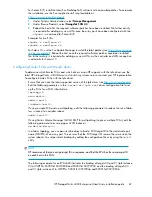
To scan the IBM AIX bus, enter:
cfgmgr -v
The
-v
switch (verbose output) requests a full output.
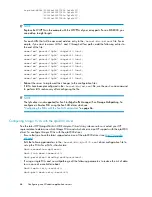
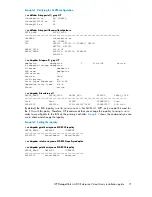
To list all EVA devices, enter:
Output similar to the following is displayed:
hdisk1 Available 1V-08-01 HP HSV300 Enterprise Virtual Array
hdisk2 Available 1V-08-01 HP HSV300 Enterprise Virtual Array
hdisk3 Available 1V-08-01 HP HSV300 Enterprise Virtual Array
Linux
Driver failover mode
If you use the
INSTALL
command without command options, the driver’s failover mode depends on
whether a QLogic driver is already loaded in memory (listed in the output of the
lsmod
command).
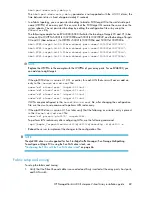
Possible driver failover mode scenarios include:
•
If an hp_qla2x00src driver RPM is already installed, then the new driver RPM uses the failover of
the previous driver package.
•
If there is no QLogic driver module (qla2xxx module) loaded, the driver defaults to failover mode.
This is also true if an inbox driver is loaded that does not list output in the
/proc/scsi/qla2xxx
directory.
•
If there is a driver loaded in memory that lists the driver version in
/proc/scsi/qla2xxx
but
no driver RPM has been installed, then the driver RPM loads the driver in the failover mode that
the driver in memory currently uses.
Installing a Qlogic driver
NOTE:
The HP Emulex driver kit performs in a similar manner; use
./INSTALL -h
to list all supported
arguments.
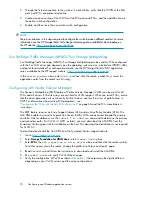
1.
Download the appropriate driver kit for your distribution. The driver kit file is in the format
hp_qla2x00-yyyy-mm-dd.tar.gz
.
2.
Copy the driver kit to the target system.
3.
Uncompress and untar the driver kit using the following command:
# tar zxvf hp_qla2x00-
yyyy-mm-dd.tar.gz
HP StorageWorks 4400 Enterprise Virtual Array installation guide
57
Summary of Contents for StorageWorks 4400
Page 16: ...Figure 4 Installation checklist cont d About this guide 16 ...
Page 20: ...Review and confirm your plans 20 ...
Page 24: ...Remove product from packaging 24 ...
Page 36: ...Connect cables and power cords 36 ...
Page 48: ...Configuring management servers using HP SmartStart EVA Storage 48 ...
Page 50: ...Configuring application servers for Windows using HP SmartStart EVA Storage 50 ...
Page 78: ...Configuring non Windows application servers 78 ...

