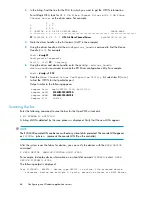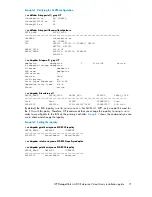
4.
Change directory to the
hp_qla2x00-yyyy-mm-dd
directory.
5.
Execute the
INSTALL
command.
The
INSTALL
command syntax varies depending on your configuration. If a previous driver kit
is installed, you can invoke the
INSTALL
command without any arguments:
To use the currently loaded configuration:
# ./INSTALL
To force the installation to failover mode, use the
-f
flag:
# ./INSTALL -f
To force the installation to single-path mode, use the
-s
flag:
# ./INSTALL -s
To list all supported arguments, use the
-h
flag:
# ./INSTALL -h
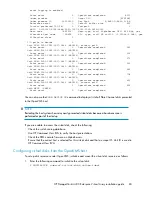
The
INSTALL
script installs the appropriate driver RPM for your configuration, as well as the
appropriate fibreutils RPM. Once the
INSTALL
script is finished, you will either have to reload
the QLogic driver modules (qla2xxx, qla2300, qla2400, qla2xxx_conf) or reboot your server.
The commands to reload the driver are:
# /opt/hp/src/hp_qla2x00src/unload.sh
# modprobe qla2xxx_conf
# modprobe qla2xxx
# modprobe qla2300
# modprobe qla2400
The command to reboot the server is:
# reboot
CAUTION:
If the boot device is attached to the SAN, you must reboot the host.
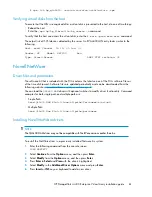
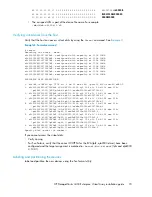
To verify which RPM versions are installed, use the
rpm
command with the
-q
option. For example:
# rpm -q hp_qla2x00src
# rpm –q fibreutils
Upgrading Linux components
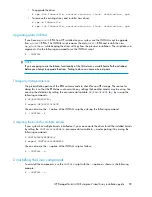
If you have any installed components from a previous solution kit or driver kit such as the
qla2x00
RPM, invoke the INSTALL script with no arguments, as shown in the following example:
# ./INSTALL
To manually upgrade the components, select one of the following kernel distributions:
•
For 2.4 kernel based distributions, use version 7.xx.
•
For 2.6 kernel based distributions, use version 8.xx.
Depending on the kernel version you are running, upgrade the driver RPM manually as follows:
•
For the
hp_qla2x00src
RPM:
# rpm -Uvh hp_qla2x00src-
version-revision
.linux.rpm
•
For
fibreutils
RPM, you have two options:
Configuring non-Windows application servers
58
Summary of Contents for StorageWorks 4400
Page 16: ...Figure 4 Installation checklist cont d About this guide 16 ...
Page 20: ...Review and confirm your plans 20 ...
Page 24: ...Remove product from packaging 24 ...
Page 36: ...Connect cables and power cords 36 ...
Page 48: ...Configuring management servers using HP SmartStart EVA Storage 48 ...
Page 50: ...Configuring application servers for Windows using HP SmartStart EVA Storage 50 ...
Page 78: ...Configuring non Windows application servers 78 ...

