2.
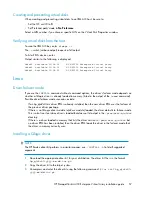
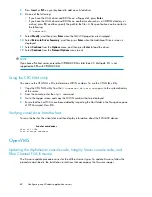
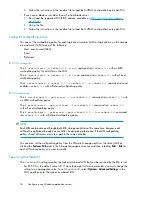
Enter the following command to mount the disk:
MOUNT/SYSTEM
name-of-virtual-disk volume-label
NOTE:
The
/SYSTEM
switch is used for a single stand-alone system, or in clusters if you want to
mount the disk only to select nodes. You can use
/CLUSTER
for OpenVMS clusters. However,
if you encounter problems in a large cluster environment, HP recommends that you enter a
MOUNT/SYSTEM
command on each cluster node.
3.
View the virtual disk’s information with the
SHOW DEVICE
command. For example, enter the
following command sequence to configure a virtual disk named
data1
in a stand-alone
environment:
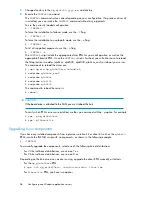
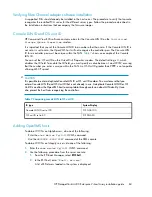
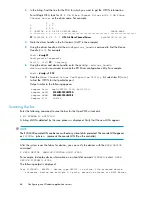
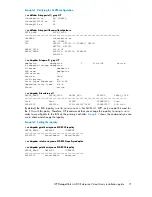
$ INIT $1$DGA1: data1
$ MOUNT/SYSTEM $1$DGA1: data1
$ SHOW DEV $1$DGA1: /FULL
Setting preferred paths
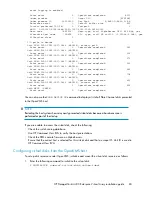
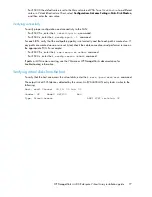
You can set or change the preferred path used for a virtual disk by using the
SET DEVICE /PATH
command. For example:
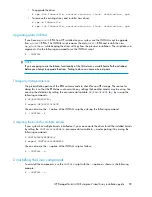
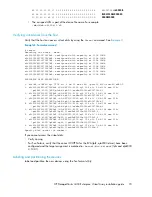
$ SET DEVICE $1$DGA83: /PATH=PGA0.5000-1FE1-0007-9772
/SWITCH
This allows you to control which path each virtual disk uses.
You can use the
SHOW DEV/FULL
command to display the path identifiers.
For additional information on using OpenVMS commands, see the OpenVMS help file:
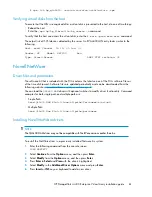
$ HELP
TOPIC
For example, the following command displays help information for the
MOUNT
command:
$ HELP MOUNT
Sun Solaris
Loading the operating system and software
Follow the manufacturer’s instructions for loading the operating system (OS) and software onto the
host. Load all OS patches and configuration utilities supported by HP and the FCA manufacturer.
Configuring FCAs with the Sun SAN driver stack
Sun-branded FCAs are supported only with the Sun SAN driver stack. The Sun SAN driver stack is
also compatible with current Emulex FCAs and QLogic FCAs. Support information is available on the
Sun website:
http://www.sun.com/io_technologies/index.html
To determine which non-Sun branded FCAs HP supports with the Sun SAN driver stack, see the latest
MPxIO application notes or contact your HP representative.
Update instructions depend on the version of your OS:
Configuring non-Windows application servers
66
Summary of Contents for StorageWorks 4400
Page 16: ...Figure 4 Installation checklist cont d About this guide 16 ...
Page 20: ...Review and confirm your plans 20 ...
Page 24: ...Remove product from packaging 24 ...
Page 36: ...Connect cables and power cords 36 ...
Page 48: ...Configuring management servers using HP SmartStart EVA Storage 48 ...
Page 50: ...Configuring application servers for Windows using HP SmartStart EVA Storage 50 ...
Page 78: ...Configuring non Windows application servers 78 ...

