Installation and Configuration
52
SSL1016 Tape Autoloader Reference Guide
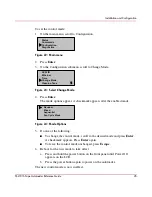
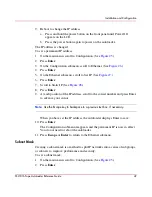
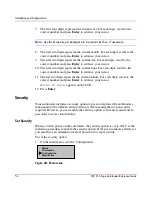
7. At each position of the server address, scroll to the correct number and press
Enter to advance your cursor.
Figure 31: Setting the SNMP server address
Note:
Use the Escape key to backspace to a previous text box, if necessary.
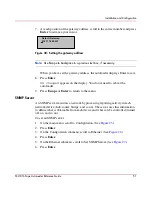
When you have set the server address, the autoloader displays Enter to save.
8. Press Enter.
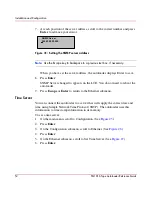
SNMP Server changed to appears on the LCD. You do not need to reboot the
autoloader.
9. Press Escape or Enter to return to the Ethernet submenu.
Time Server
You can connect the autoloader to a server that will supply the correct date and
time using Simple Network Time Protocol (SNTP). The autoloader uses this
information to time stamp information in its memory.
To set a time server:
1. On the main menu, scroll to Configuration. (See
Figure 25
.)
2. Press Enter.
3. On the Configuration submenu, scroll to Ethernet. (See
Figure 26
.)
4. Press Enter.
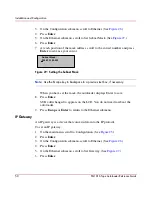
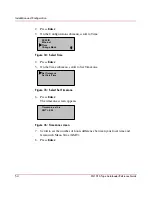
5. On the Ethernet submenu, scroll to Set Time Server. (See
Figure 27
.)
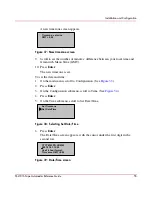
6. Press Enter.
SNMP Server:
255.255.255.255
Summary of Contents for StorageWorks SSL1016
Page 8: ...Contents 8 SSL1016 Tape Autoloader Reference Guide ...
Page 14: ...About this Guide 14 SSL1016 Tape Autoloader Reference Guide ...
Page 22: ...Overview 22 SSL1016 Tape Autoloader Reference Guide ...
Page 60: ...Installation and Configuration 60 SSL1016 Tape Autoloader Reference Guide ...
Page 118: ...Autoloader Operation 118 SSL1016 Tape Autoloader Reference Guide ...
Page 126: ...Tape Drive Cleaning 126 SSL1016 Tape Autoloader Reference Guide ...
Page 143: ...Regulatory Compliance Notices 143 SSL1016 Tape Autoloader Reference Guide Japanese Notice ...
Page 144: ...Regulatory Compliance Notices 144 SSL1016 Tape Autoloader Reference Guide ...
Page 156: ...Upgrading or Replacing the DCA 156 SSL1016 Tape Autoloader Reference Guide ...
Page 160: ...Index 160 SSL1016 Tape Autoloader Reference Guide ...


