Chapter 1
1-15
Setting Up the Jukebox
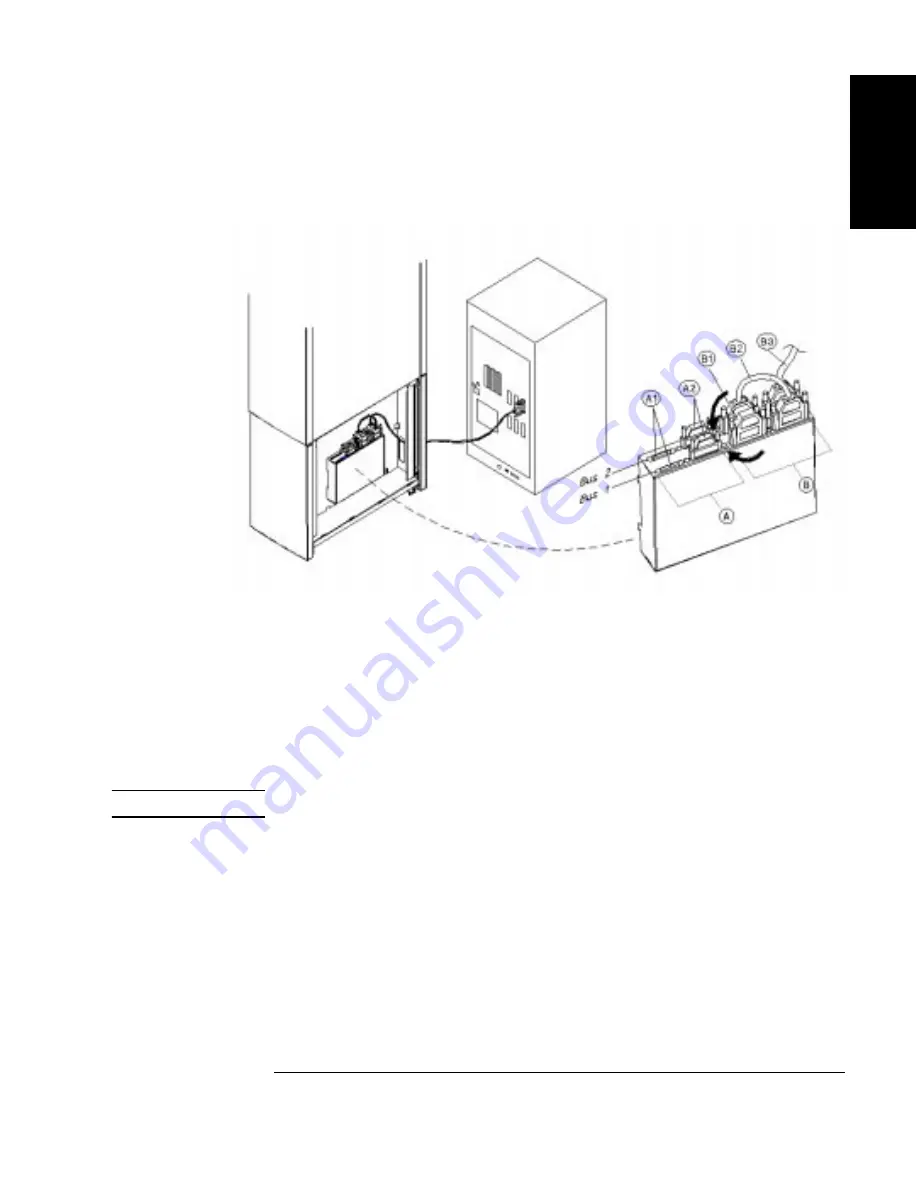
Connecting a 10-Drive Jukebox, One Host Adapter, Bus 1 and 2
Daisy-Chained, LUN Addressing
Ch
ap
ter
1
: Setti
ng
up
the Disk Driv
e
S
ettin
g Up
th
e
Ju
kebo
x
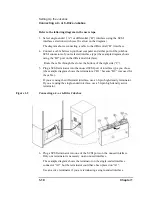
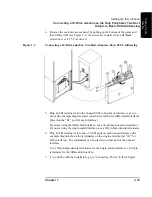
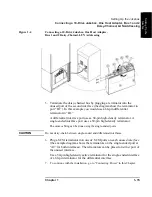
Figure 1-4
Connecting a 10-Drive Jukebox, One Host Adapter,
Bus 1 and 2 Daisy-Chained, LUN Addressing
5.
Terminate the daisy-chained bus by plugging a terminator into the
unused port of the second interface (the diagram show the terminator in
port “B1”). In this example you would use a 68-pin differential
terminator in “B1.”
A differential interface port uses a 68-pin high-density terminator. A
single-ended interface port uses a 50-pin high-density terminator.
The same cabling can be done using the single-ended ports.
CAUTION
Do not daisy-chain between single-ended and differential interfaces.
6.
Plug a SCSI terminator into one of SCSI ports on each unused interface
(the example diagram shows the terminators on the single-ended port at
“A2” for both interfaces). The terminators can be placed on either port of
the unused interface.
Use a 50-pin high-density active terminator for the single-ended interface
or a 68-pin terminator for the differential interface.
7. To continue with the installation, go to “Connecting Power” in this Chapter.
Summary of Contents for Surestore 660ex - Optical Jukebox
Page 10: ...x Figures ...
Page 12: ...xii Tables ...
Page 13: ...1 Setting Up the Jukebox ...
Page 35: ...Using Optical Disks 2 Using Optical Disks ...
Page 41: ...Operating the Jukebox 3 Operating the Jukebox ...
Page 81: ...Supplies and Customer Support A Supplies and Customer Support ...
Page 96: ...A 16 AppendixA Supplies and Customer Support Warranty ...
Page 97: ...Operation on a SCSI Bus B Operating This Jukebox on a SCSI Bus ...
Page 117: ...Safety and Regulatory Information C Safety and Regulatory Information ...
Page 122: ...C 6 Safety and Regulatory Information Declaration of Conformity Declaration of Conformity ...


