
●
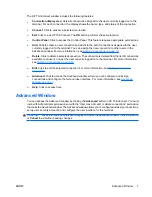
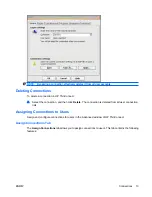
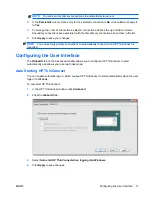
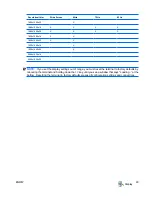
User
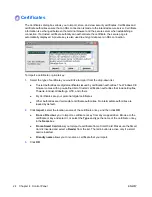
: This list includes all users accounts associated with the system. To configure connections
for a user, select the user from the list.
●
Security
: Allows you to access the Security window, where you can create and configure user
accounts. This button opens the same window as selecting Security from Control Panel.
●
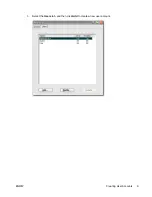
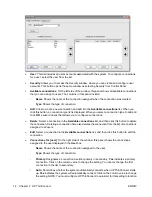
Available connections
: On the left side of the window, this panel shows all available connections
that you can assign to users. The columns in this panel include:
◦
Name
: Shows the name of the connection assigned when the connection was created.
◦
Type
: Shows the type of connection.
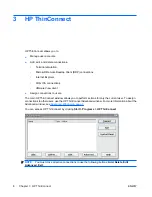
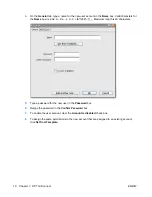
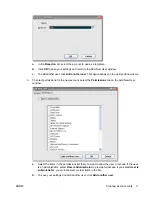
●
Add
: Click to create a new connection and add it to the
Available connections
list. When you
click this button, a connection type list is displayed. When you select a connection type to add and
click
OK
, a wizard opens that allows you to configure connections.
●
Delete
: Select a connection in the
Available connections
list, and then click this button to delete
the connection. Deleting a connection here also deletes the connection from the list of connections
assigned to all users.
●
Edit
: Select a connection in the
Available connections
list, and then click this button to edit the
connection.
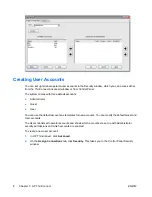
●
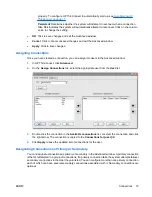
Connections for [user]
: On the right side of the window, this panel shows the connections
assigned to the user displayed in the
User
box.
◦
Name
: Shows the name of the connection assigned to the user.
◦
Type
: Shows the type of connection.
◦
Primary
: Designates a connection as either primary or secondary.
Yes
indicates a primary
connection. Click on the column value to change the setting. You cannot change the first
connection in the list to secondary.
◦
Auto
: Determines whether the system automatically connects when HP ThinConnect starts
up.
Yes
indicates the system will automatically connect. Click on the column value to change
the setting. NOTE: You must configure HP ThinConnect to auto start for this setting to function
14
Chapter 3 HP ThinConnect
ENWW


