
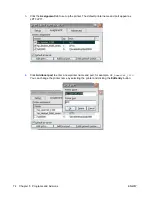
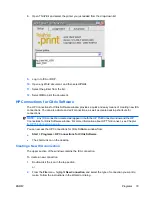


Deleting a Connection
To delete an established connection:
1.
Right-click on the connection and select
Delete Connection
.
or
Select the connection and press the
Delete
key.
2.
Click
Yes
to delete the connection.
NOTE:
Deleting a connection through HP Connections for Citrix Software also deletes the connection
from HP ThinConnect.
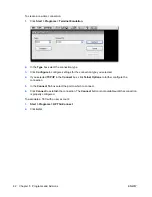
Editing a Connection
To edit an established connection:
1.
Right-click on the connection and select
Edit Connection
.
2.
Modify the connection.
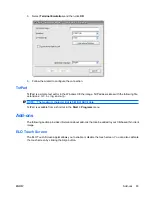
Creating a Desktop Shortcut to a Connection
You can create a shortcut to a connection on the desktop through HP Connections for Citrix Software.
You cannot create shortcuts through HP ThinConnect.
To create a shortcut, right-click on the connection and select
Send to Desktop
.
RDP 6.0
Remote Desktop Protocol (RDP) 6.0 replaces RDP 5.5 and provides the following functionality:
●
Unicode compatibility, which enables you to send Unicode values of characters as virtual key codes
to the keyboard input.
●
RDP supports operation in any environment that allows network localization, automatic disconnect,
and remote configuration.
●
Variable bandwidth allocation through client-side bitmap caching and optional compression for low-
bandwidth connections, significantly improving performance over low-bandwidth connections.
●
Multichannel-capable protocol that permits separate virtual channels for carrying presentation data,
serial-device communication, licensing information, and heavily encrypted data.
●
Remote control which lets the support staff view and control a Terminal Services session. Sharing
input and display graphics between two Terminal Services sessions lets support staff diagnose
and resolve problems remotely.
●
Network Load Balancing (NLB), available in Windows 2000 Advanced Server and Datacenter
Server.
●
High color 16-bit, 24-bit, and 32-bit graphics are supported if they are also supported in the graphics
driver.
●
Custom high resolution supports wide screen monitors.
80
Chapter 5 Programs and Add-ons
ENWW


