25
Chapter 3
Installing and Configuring
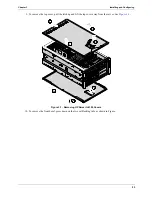
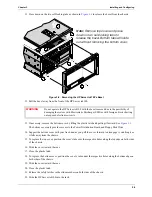
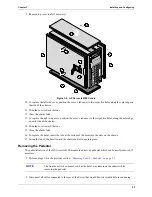
23. To replace the front bezel, line up the 4 tabs into the slots in the chassis. You can then snap the bezel into
place.
24. If the Server is not in a restricted-access area, tighten both slide securing screws.
25. Return the HP Server tc4100 to normal operation.
Removing Covers – Pedestal
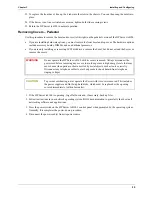
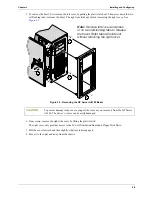
Use this procedure to remove the bezel and covers (left & right) on the pedestal version of the HP Server tc4100.
•
If you are installing hardware options, you must remove the front bezel and top cover. The hardware options
include accessory boards, DIMMs, and an additional processor.
•
If you are only installing or removing SCSI disk drives, remove the bezel, but do not extend the Server or
remove the covers.
1. If the HP Server tc4100 is operating, log off all users and, if necessary, back up files.
2. Follow instructions in your network operating system (NOS) documentation to gracefully shut down all
networking software and applications.
3. Press the power switch on the HP Server tc4100’s control panel when prompted by the operating system.
Normally, this completes the power-down procedure.
4. Disconnect the power cord(s) from its power source.
WARNING
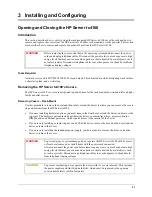
Do not operate the HP Server tc4100 with its covers removed. Always disconnect the
power cord before removing any covers, to avoid exposure to high energy levels that may
cause burns when parts are short-circuited by metal objects such as tools or jewelry.
Disconnect any telephone cables to avoid exposure to shock hazard from telephone
ringing voltages.
CAUTION
To prevent overheating, never operate the Server with its covers removed. This includes
the power supplies and Hot Swap hard disks, which must be replaced or the opening
covered immediately (within 2 minutes).

