1
HP Switch Quick Setup Guide
For more detailed instructions and information, view or download the
documentation for your switch at
www.hp.com/networking/support
.
1.
Unpack and check included parts:
•
Switch
•
Accessory kit
•
Power cord
•
Documentation kit
2.
Prepare for installation.
To avoid personal injury or product damage, review the
“Safety Precautions” on page 3.
3
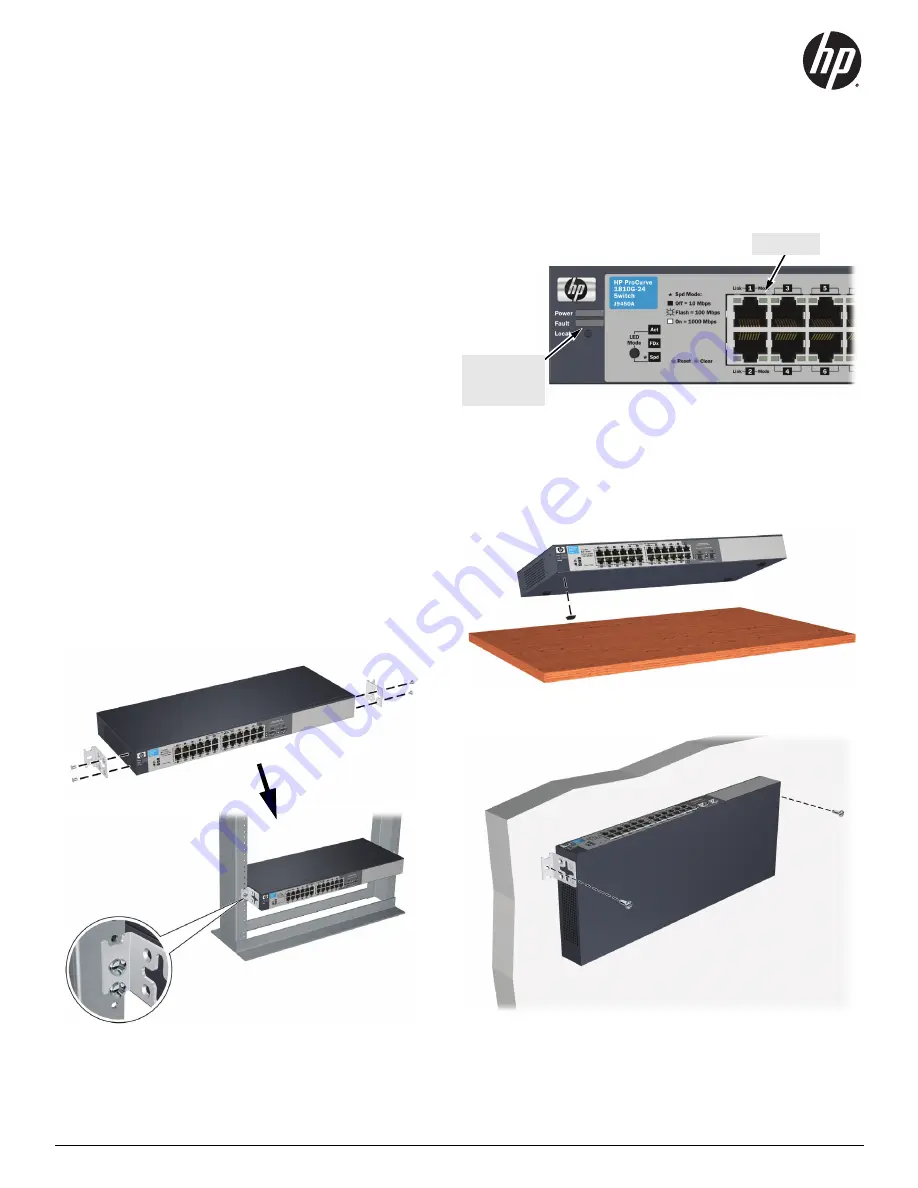
. Power on and verify selftest by connecting
the power cord.
Note:
The switch does not contain a power switch.
It is turned on by connecting the power cord.
Port LEDs
After selftest:
Power LED = On
Fault LED = Off
4.
Install the switch.
To attach the mounting brackets to the switch, use a #1
Phillips (cross-head) screwdriver and the included 8-mm
M4 screws.
To mount the switch to a wall or wood surface, use two
5/8-inch (15.875 mm) number 12 wood screws (not
included).
Rack Mounting
Table or Desktop
Wall Mounting


