


Service and Technical Reference Guide, xw3100
338611-001
5–17
Removal and Replacement Procedures
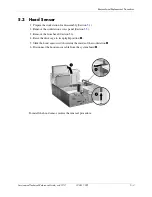
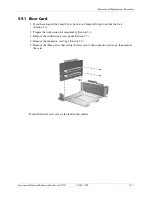
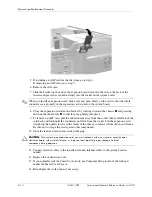
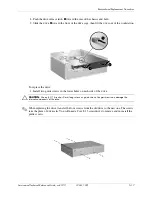
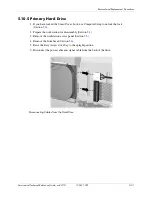
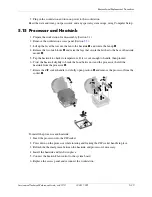
8. Push the drive release latch
1
toward the rear of the chassis and hold.
9. Slide the drive
2
toward the front of the drive cage, then lift the drive out of the workstation.
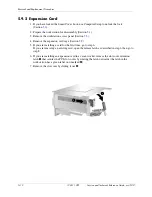
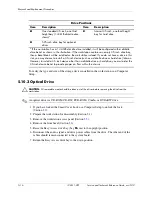
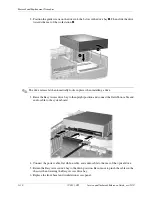
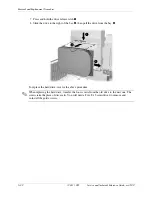
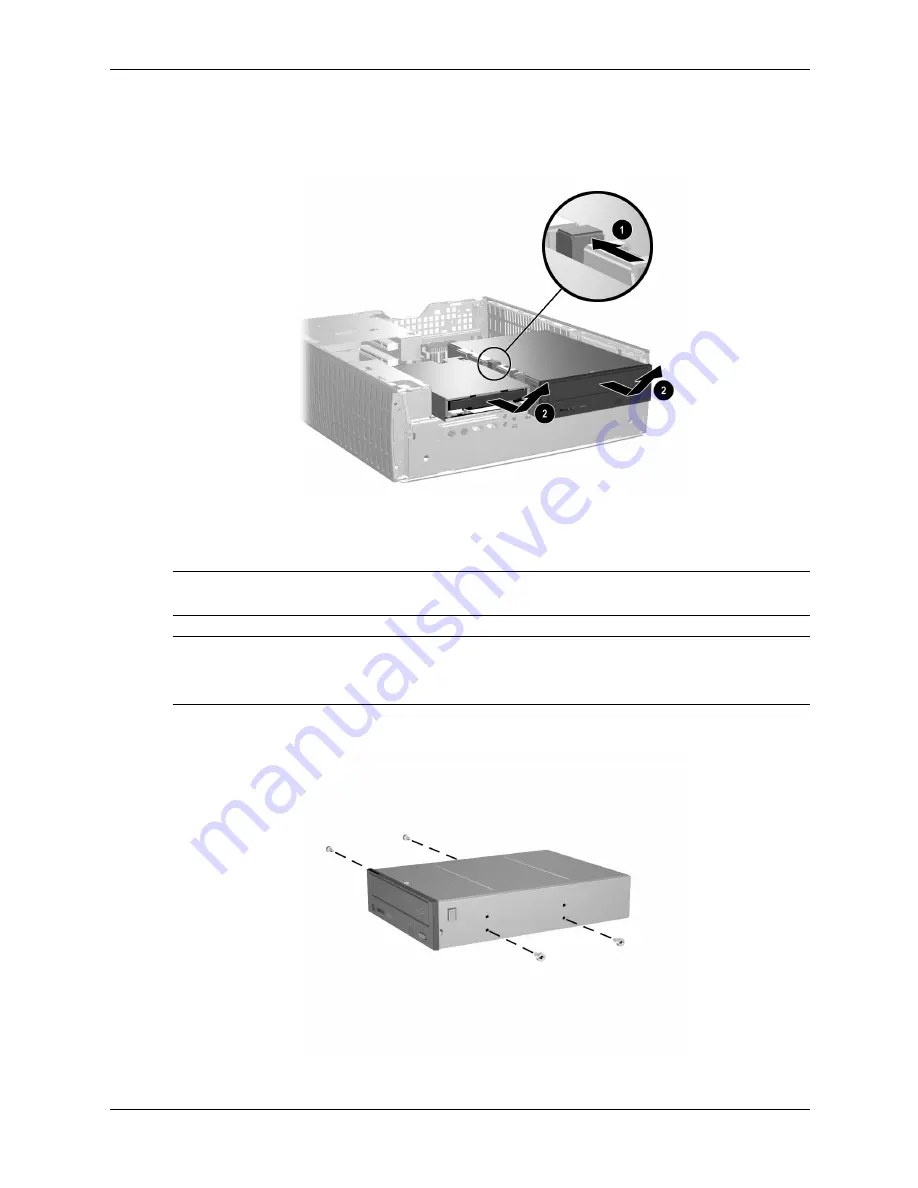
To replace the drive:
1. Install two guide screws in the lower holes on each side of the drive.
Ä
CAUTION:
Use only 3/16-inch or 5-mm long screws as guide screws. Longer screws can damage the
internal components of the drive.
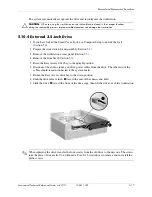
✎
When replacing the drive, transfer the four screws from the old drive to the new one. The screws
take the place of drive rails. You will need a Torx T-15 screwdriver to remove and re-install the
guide screws.
Summary of Contents for Workstation xw3100
Page 6: ...vi 338611 001 Service and Technical Reference Guide xw3100 Contents ...
Page 10: ...1 4 338611 001 Service and Technical Reference Guide xw3100 Installing the Operating System ...
Page 106: ...C 8 Service and Technical Reference Guide xw3100 POST Error Messages ...
Page 132: ...D 26 Service and Technical Reference Guide xw3100 Troubleshooting Without Diagnostics ...
Page 144: ...G 6 Service and Technical Reference Guide xw3100 Ultra ATA Drive Guidelines and Features ...


