10.
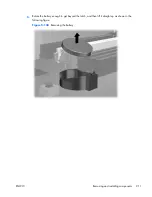
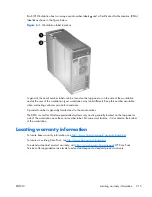
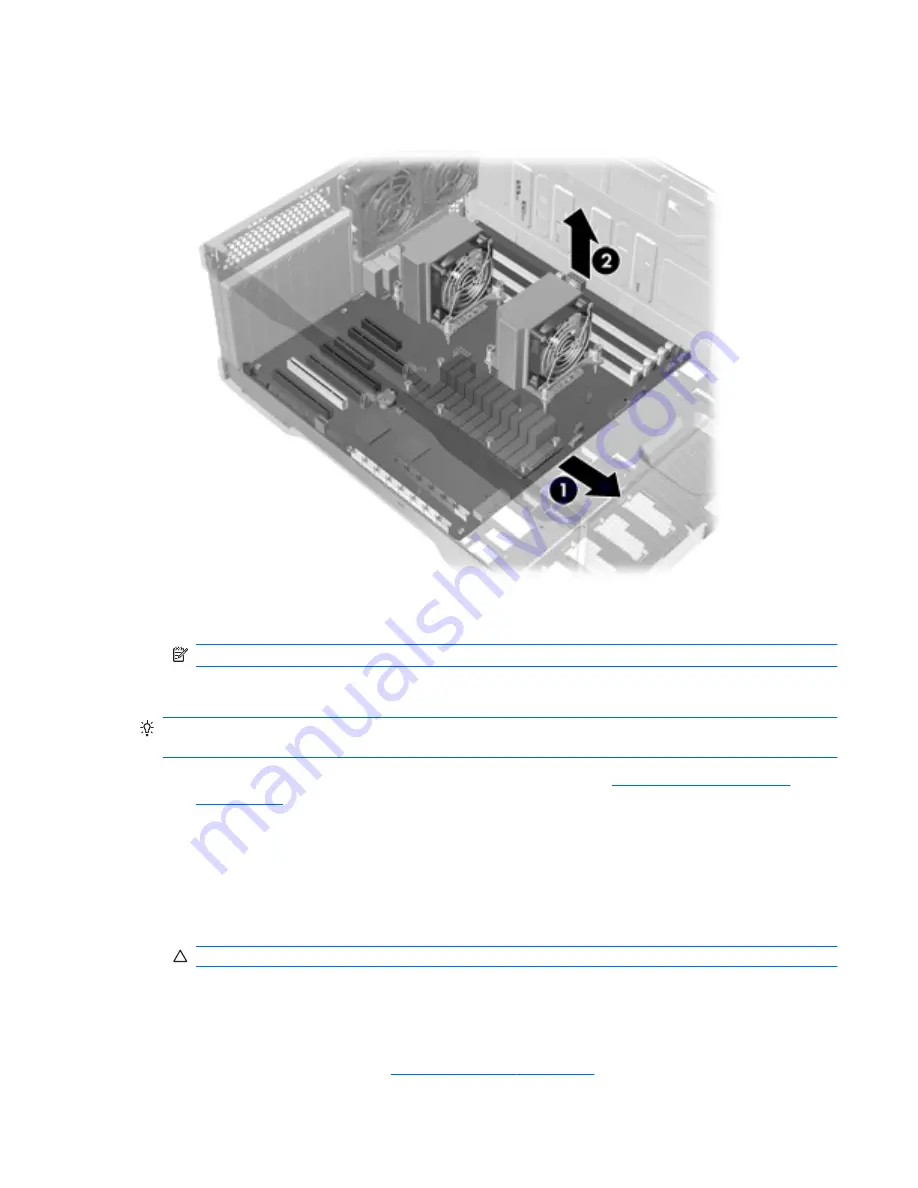
Slide the system board forward as shown in the following figure (1).
Figure 5-127
Removing the system board
11.
Using the CPU heatsinks as handles, lift the system board straight up and then tilt the board to
remove it from the chassis (2). Do not damage the cables and rear panel connectors.
NOTE:
If desired, remove system board components such as the CPU heatsinks and the CPUs.
Installing the system board
TIP:
For convenience, you may install the CPUs and the CPU heatsinks before installing the system
board in the chassis.
1.
Ensure that all cables are clear of the bottom of the chassis (see
Removing the system board
on page 206
).
2.
Tilt the system board and lower it into the chassis, ensuring that all standoffs engage the chassis
keyholes.
Ensure that the system board connectors engage correctly with the rear I/O panel.
3.
Push back on the board while maintaining downward pressure on the board so all standoffs
remain engaged.
CAUTION:
Do not pinch any power or data cables.
4.
Lift the system board corners to make sure the board is engaged properly.
5.
Reinstall all removed components (in the reverse order of the section above) and reconnect any
cables that have been disconnected.
To identify power cables, see
Power connections on page 90
.
ENWW
Removing and installing components
209

