Configuring iLO 2 72
Static Route #1, #2, and #3 (destination gateway)
—Assigns the appropriate static route destination and
gateway IP address on your network (the default IP values are 0.0.0.0 and 0.0.0.0, where the first IP
address corresponds to the destination IP, and the second IP address corresponds to the gateway IP).
Enabling iLO 2 IP address assignment
The bay #1 through bay #16 checkboxes enable you to select which BL p-Class blade servers will be
configured. You can Enable All, Clear All, or Apply your selection.
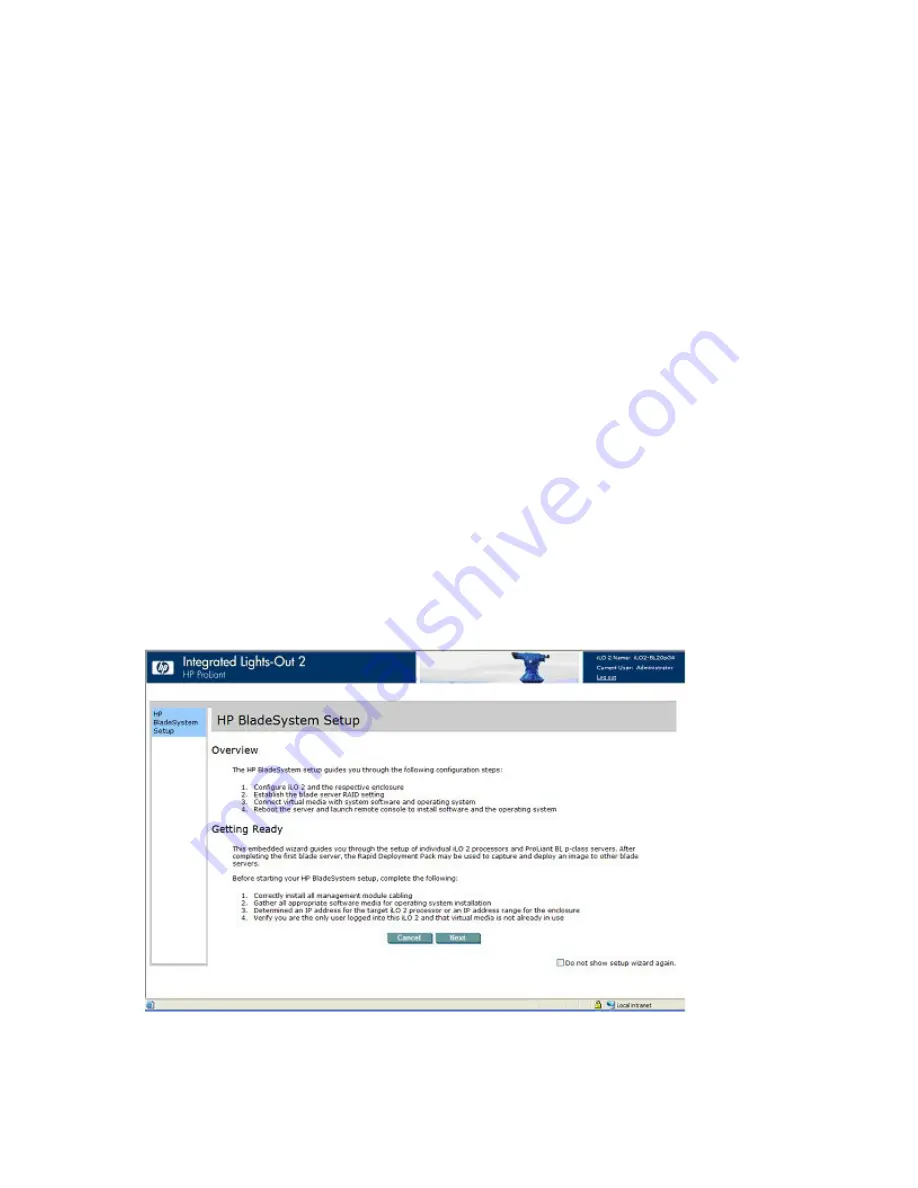
HP BladeSystem setup
The HP BladeSystem setup wizard provides step-by-step instructions to simplify single blade setup without
requiring DHCP or PXE. The HP BladeSystem Setup page launches after you authenticate to iLO 2 from
the front port.
The server blade must be properly cabled for iLO 2 connectivity. Connect to the server blade through the
server blade I/O port, while the blade is in the rack. This method requires you to connect the local I/O
cable to the I/O port and a client PC. Using the static IP address listed on the I/O cable label and the
initial access information on the front of the server blade, you can access the server blade through iLO 2
through its standard Web browser interface.
Although any blade can be used for access, if static IP bay configuration will be used to configure iLO 2
network settings, then the first blade in the enclosure should be used for access.
The first page of the wizard automatically launches if:
•
This blade is new from the factory, and you have logged into iLO 2 from the front port.
•
You did not fully complete the wizard by selecting
Finish
on the final page, and you did not select
Do not show setup wizard again
and clicked
Cancel
on the beginning page.
•
You have set iLO 2 back to factory default settings.
Click
Cancel
to close the automated setup wizard. Click
Next
to set up your blade server. The setup
wizard will guide you through:


