background image

16

13

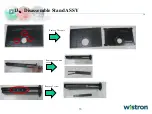
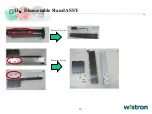
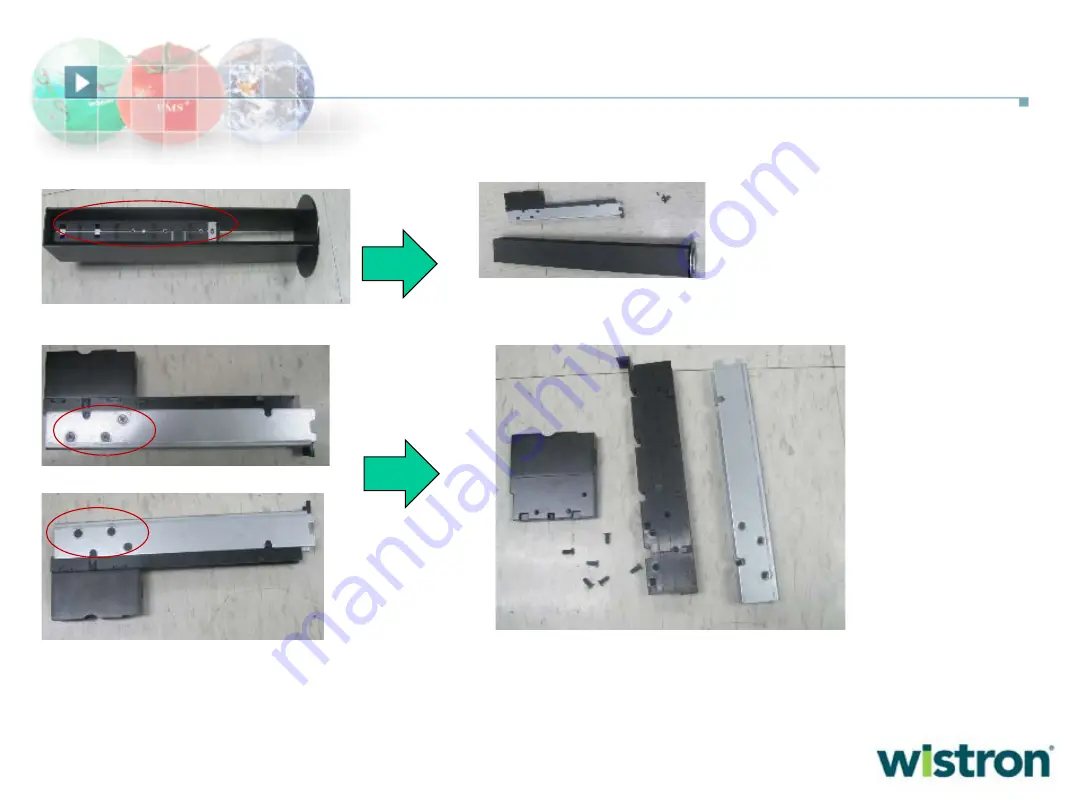
Disassemble Stand ASSY

Remove 8 Screws

Remove 6 Screws

Summary of Contents for Z43

Page 1: ...surface greater than 10 sq cm IF BD POWER BD Driver BD Connector BD 4 Batteries All types including standard alkaline and lithium coin or button style batteries 0 Mercury containing components For example mercury in lamps display backlights scanner lamps switches batteries 0 Liquid Crystal Displays LCD with a surface greater than 100 sq cm Includes background illuminated displays with gas discharg...

Page 2: ...ials requiring selective treatment 1 Remove cable from Display head 2 Remove Stand Base From Display Head 3 Remove Rear Cover From Display Head 4 Remove Back cover from display head 5 Remove Bracket Assy From Display Head 6 Remove Hinge From Display Head 7 Remove Hinge bracket from display head 8 Remove shielding cover from display head 9 Remove tap rubber and LED driver BD 10 Remove Front Cover F...

Page 3: ...HP Pitcher Z43 Disassembly Process Steve Chou Mechanical Engineer August 31 2017 ...

Page 4: ...2 1 External Electric Cables Dissecting Process 1 Remove Cable From Display Head ...

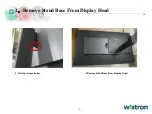
Page 5: ...3 2 Remove Stand Base From Display Head 3 Remove Stand Base From Display Head 2 Pull the release button ...

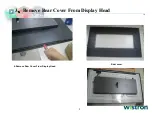
Page 6: ...4 4 Remove Rear Cover From Display Head 3 Remove Rear Cover From Display Head Rear cover ...

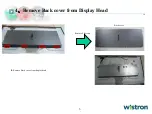
Page 7: ...5 4 Remove Back cover from Display Head 5 Remove Back cover from display head Remove 4 Screws Back cover ...

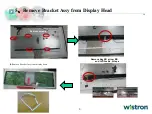
Page 8: ...6 5 Remove Bracket Assy from Display Head 6 Remove Bracket Assy from display head Remove screws Remove Key BD driver BD and LVDScable Al tape ...

Page 9: ...7 6 Remove Hinge from display head 7 Remove Hinge from display head Remove 6 screws ...

Page 10: ...8 7 Remove Hinge Bracket from display head 8 Remove Hinge bracket from display head Remove 5 screws Remove Gasket ...

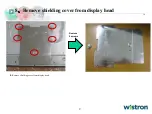
Page 11: ...9 8 Remove shielding cover from display head Remove 5 screws 9 Remove shielding cover from display head ...

Page 12: ...10 FC Power Button Function key 9 Remove tape rubber and LED Driver BD 10 Remove tape rubber and LED driver BD ...

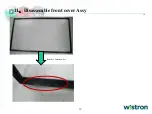
Page 13: ...11 10 Remove Front cover Assy from display head 11 Remove Front cover Assy from display head Front cover Assy ...

Page 14: ...12 FC Power Button Function key 11 Disassemble front cover Assy Remove Function key ...

Page 15: ...13 12 Disassemble Bracket ASSY Remove Screws Remove Cable Remove Mylar gasket ...

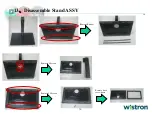
Page 16: ...14 13 Disassemble Stand ASSY Remove Rubber Remove 4 Screws Remove 12 Screws Remove base cover down ...

Page 17: ...15 13 Disassemble Stand ASSY Remove 3 Screws Remove screw and cover Remove 3 screw ...

Page 18: ...16 13 Disassemble Stand ASSY Remove 8 Screws Remove 6 Screws ...

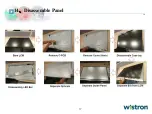
Page 19: ...17 14 Disassemble Panel ...

Reviews: