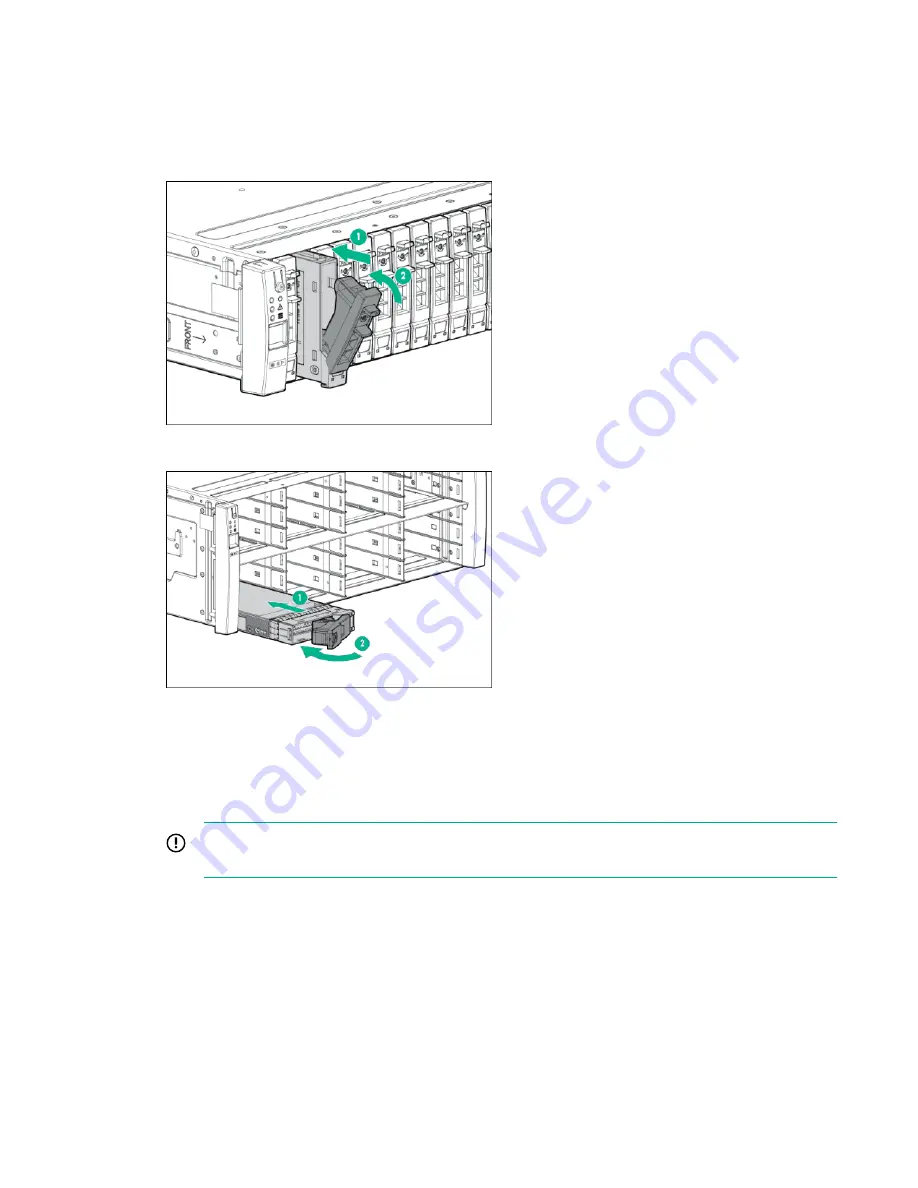
a.
On the drive, press the release button to open the handle.
b.
With the latch handle of the drive fully extended, align and slide the drive into the bay until the
handle begins to engage (1).
c.
To seat the drive into the drive bay, close the handle (2).
Figure 50: Installing an SFF drive
Figure 51: Installing an LFF drive
Verification
10.
From the Service Console interface, verify the installation of the additional drives. The display
refreshes periodically, and you will see the newly inserted drives, which are automatically admitted
into the storage system.
IMPORTANT:
The storage system can be used normally, but newly added drive capacity must
be initialized before it can be allocated.
Within six minutes (depending on the storage system load and the size of the upgrade), the drives
will be assigned an ID number, and the storage system starts to initialize the chunklets to ready for
use. Chunklet initialization can take several hours to complete and the output of the available
capacity is displayed. Once the drives are admitted, notice at the top of the list that your drive count
has increased appropriately. Scroll down to the bottom of the list to see all the drives installed in your
system.
11.
Initiate
Check Health
on the storage system.
66
Upgrade


