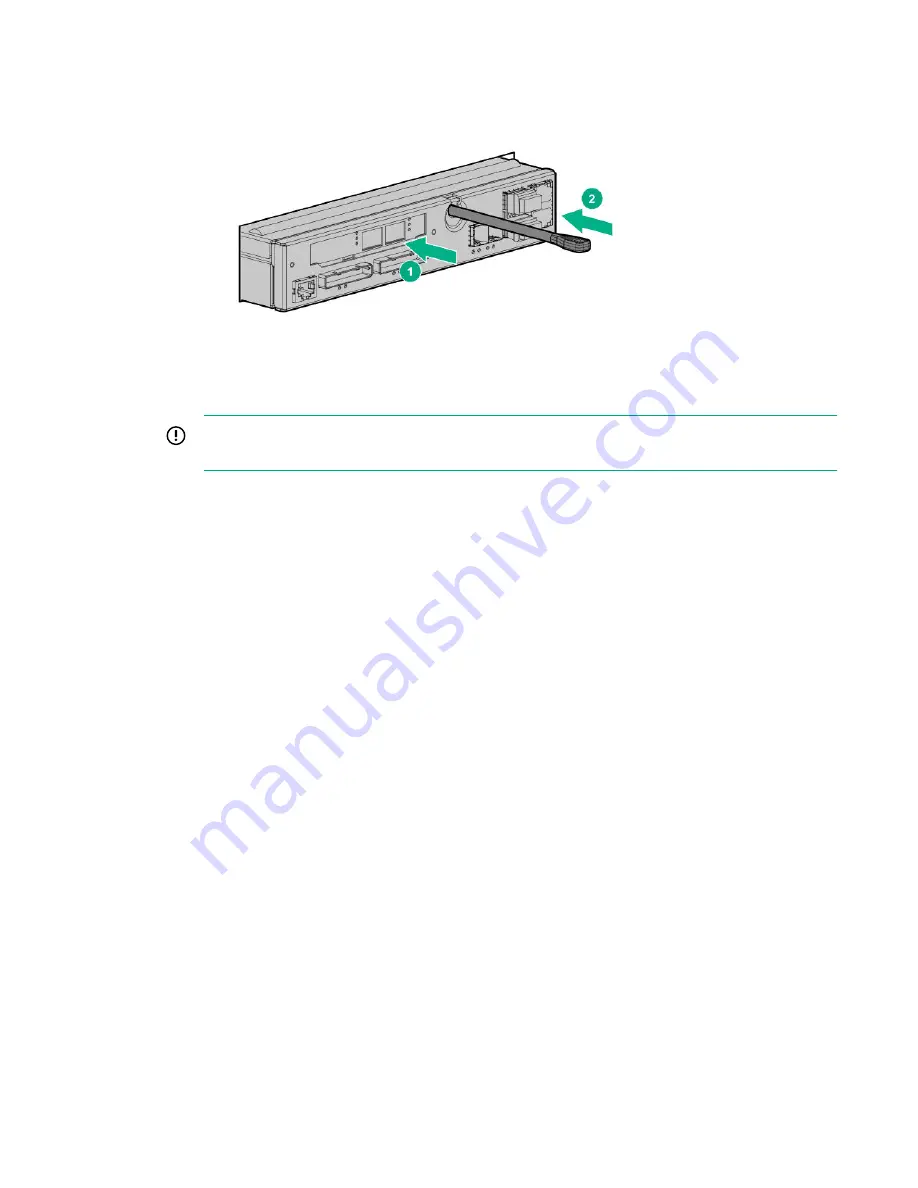
Slide in the controller node (1) while pushing in on the gray rod until it stops (2).
If the UID LED is flashing blue after two minutes, this LED status indicates that the replacement
controller node is not properly seated, so repeat this step.
Figure 5: Fully install and seat the controller node into the slot
Once inserted, the replacement controller node powers up and goes through the automatic node-to-
node rescue before joining the cluster. This process might take up to 10 minutes.
IMPORTANT:
If the automatic node-to-node rescue does not start automatically, contact your
authorized service provider.
Verification
14.
Verify that the controller node has joined the cluster.
Confirm that the green Status LED on the controller node is flashing in synchronization with the other
controller nodes, indicating that it has joined the cluster.
15.
From the SPOCC interface, verify that the
State
for the component and the storage system are
Normal
(green).
16.
After the component replacement, initiate
Check Health
on the storage system.
a.
From the SPOCC interface main menu, click
Support
in the left navigation pane.
b.
From the
Service Processor - Support
page, under
StoreServs
, click
Health Check
in the
Action
column.
17.
If significant time is left in the maintenance window, end the
Maintenance Mode
.
a.
From the SPOCC interface main menu, select
SPMAINT
in the left navigation pane.
b.
From the SPMaint interface main menu under
Service Processor - SP Maintenance
, select
StoreServ Configuration Management
.
c.
Under
Service Processor - StoreServ Configuration
, select
Modify
under
Action
.
d.
Under
Service Processor - StoreServ Info
, select
Off
for the
Maintenance Mode
setting.
18.
Follow the return instructions provided with the replacement component.
Replacing a controller node—Two-node system only—SP 5.x
This procedure is for the replacement of an HPE 3PAR StoreServ 8000 Storage controller node using
HPE 3PAR Service Processor (SP) 5.x.
12
Service


